Crispy Beef and Cheese Chimichangas Recipe: A Family Favorite
Beef and cheese chimichangas represent a mouthwatering culinary adventure that revolutionizes classic Mexican-inspired flavors into a crispy, indulgent experience.
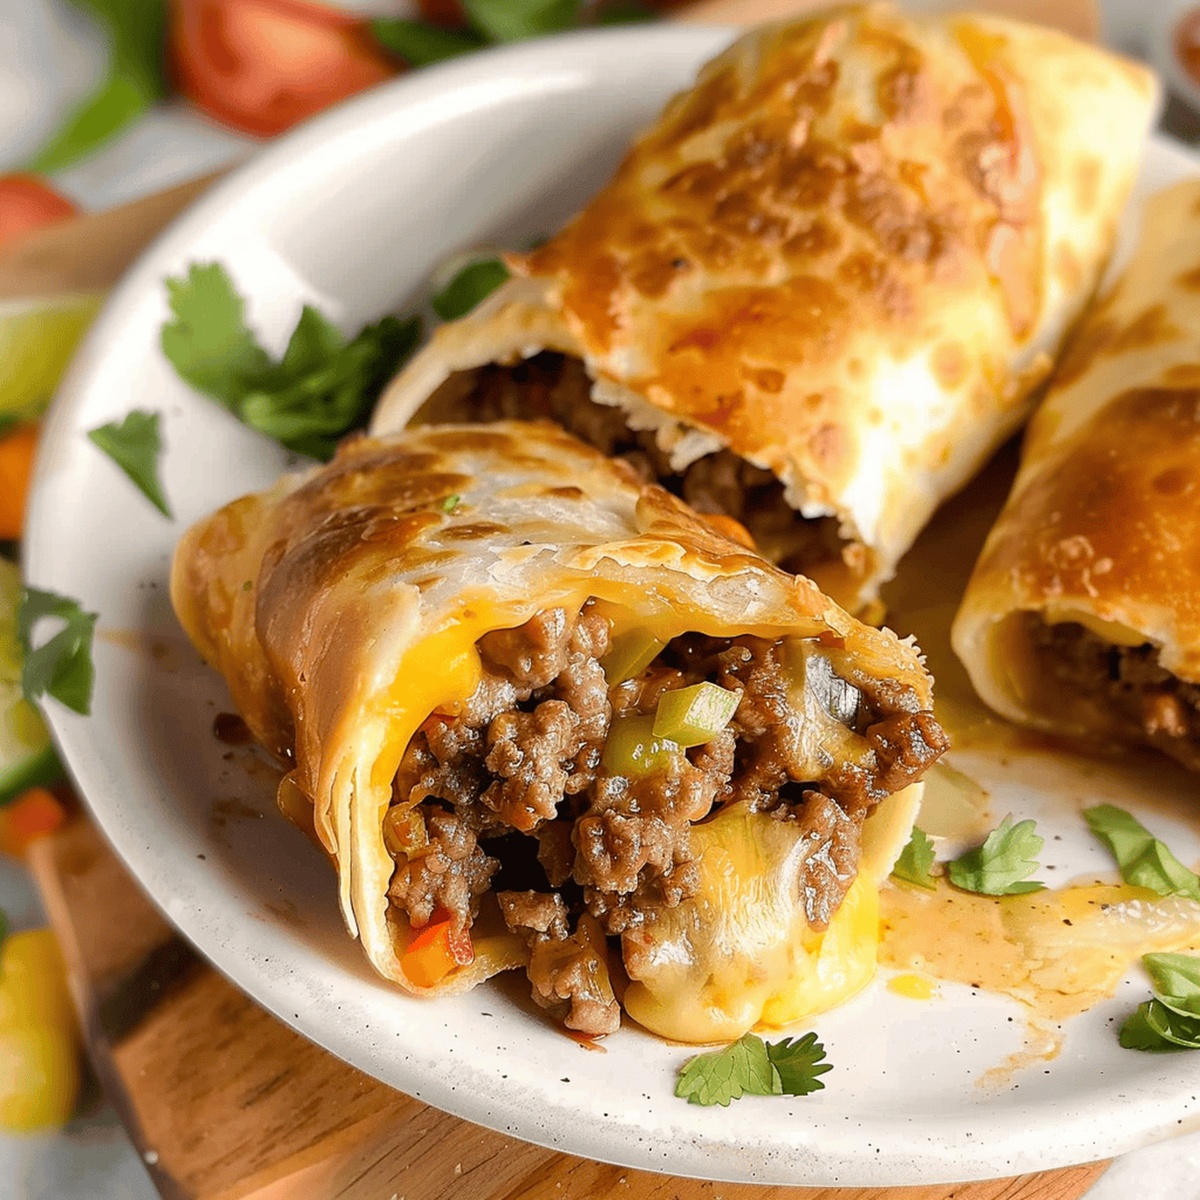
These golden-brown delights combine hearty ingredients within a perfectly crunchy wrapper, creating a sensational contrast of textures.
Skilled home cooks can easily master this delectable dish that elevates comfort food to new heights.
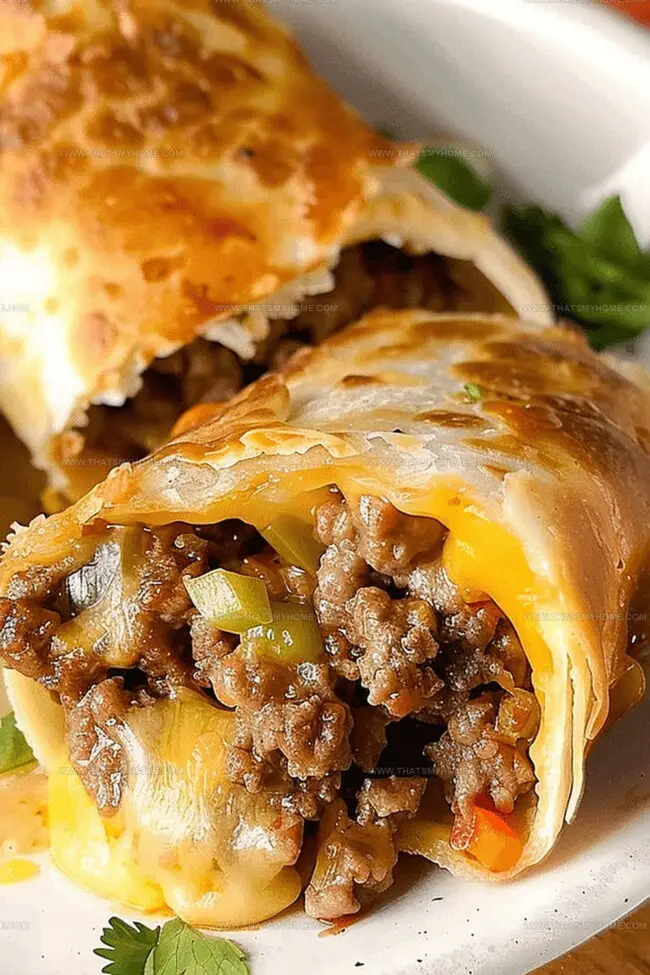
Rich, seasoned ground beef melds seamlessly with melted cheese, delivering robust flavors in every single bite.
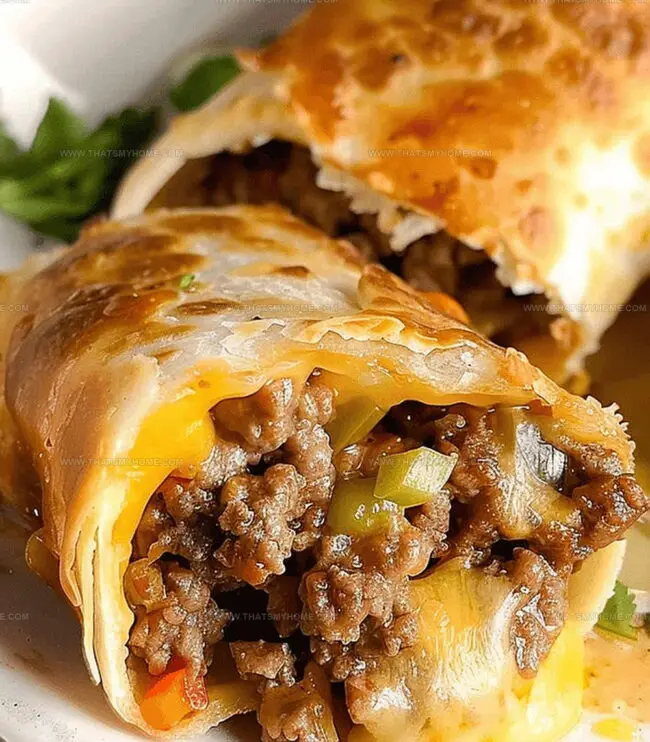
Each chimichanga promises a delightful explosion of taste that tantalizes the palate with its complex spice profile.
The versatile nature of this recipe allows for endless customization, making it a crowd-pleasing option for diverse dining preferences.
Prepare to impress friends and family with a meal that balances authenticity and innovation.
Beef and Cheese Chimichangas: A Crispy and Flavorful Meal
What You Need to Make Beef and Cheese Chimichangas
Meat and Protein:Wrap and Base:Cheese and Dairy:Seasonings and Flavor Enhancers:Cooking Ingredients:Optional Garnish Ingredients:How to Make Crispy Beef and Cheese Chimichangas
Step 1: Sizzle the Beef
Brown ground beef in a skillet over medium heat until fully cooked with no pink remaining. Carefully drain excess grease from the pan.
Step 2: Spice Up the Meat
Return beef to the skillet and add:Mix thoroughly and let simmer until liquid is completely absorbed.
Step 3: Prepare the Tortilla Base
Spread a layer of beans on one side of each tortilla. Top with the seasoned meat mixture and sprinkle generously with cheese.
Step 4: Create Perfect Rolls
Carefully roll tortillas into tight bundles, tucking in the sides to seal the filling completely.
Step 5: Fry to Golden Perfection
Heat vegetable oil in a skillet. Gently place rolled chimichangas seam-side down and fry until each side turns a beautiful golden brown.
Step 6: Finish and Serve
Remove chimichangas from oil and drain on paper towels to remove excess oil. Add your favorite garnishes like sour cream, salsa, or chopped cilantro. Serve immediately while hot and crispy.
Tips for the Best Chimichanga Texture
Storing and Reheating Beef and Cheese Chimichangas
Pairing Chimichangas with These Side Dishes
Play Around with New Ingredients in Chimichangas
Print
Beef and Cheese Chimichangas Recipe
- Total Time: 30 minutes
- Yield: 6 1x
Description
Beef and Cheese Chimichangas deliver a delightful Mexican-inspired feast with crispy tortillas packed with savory ground beef and melted cheese. Sizzling golden exteriors give way to a rich, spicy filling that promises pure comfort and satisfaction for hungry diners seeking a classic southwestern comfort meal.
Ingredients
Protein and Main Components:
- 1 pound ground beef
- 2 cups shredded cheese
- 1 can refried pinto beans
Base and Wrapper:
- 6 large flour tortillas
- 2 cups vegetable oil (for frying chimichangas)
Seasonings and Liquids:
- 1 tablespoon (15 milliliters) chili powder
- 1 teaspoon (5 milliliters) garlic powder
- 1 teaspoon (5 milliliters) black pepper
- ½ tablespoon (7.5 milliliters) seasoned salt
- ½ tablespoon (7.5 milliliters) ground cumin
- ½ teaspoon (2.5 milliliters) dried oregano
- 1 cup (237 milliliters) water (for cooking and seasoning beef)
Toppings:
- Sour cream
- Shredded lettuce
- Fresh salsa
- Chopped tomatoes
Instructions
- Preheat a large skillet over medium heat and thoroughly cook ground beef, ensuring no pink remains visible, then carefully drain excess fat using a colander.
- Return the beef to the skillet, generously incorporate selected seasonings and measured water, stirring consistently until liquid completely absorbs and creates a rich, flavorful meat mixture.
- Prepare a separate skillet with vegetable oil, heating to an appropriate temperature for frying.
- Lay out soft tortillas and spread a uniform layer of refried beans across one half of each tortilla, leaving a small border around the edges.
- Distribute the seasoned beef mixture evenly over the beans, ensuring consistent coverage.
- Sprinkle shredded cheese across the beef, creating a melty layer that will bind the filling together.
- Carefully fold the tortilla sides inward, then roll tightly from the bottom, creating a compact chimichanga that will prevent filling from escaping during frying.
- Gently place the rolled chimichangas seam-side down into the hot oil, frying until each side achieves a golden-brown, crispy exterior (approximately 2-3 minutes per side).
- Remove chimichangas using tongs and drain excess oil on layers of paper towels to absorb remaining grease.
- Serve immediately, optionally garnishing with sour cream, chopped cilantro, or salsa for additional flavor and presentation.
Notes
- Fold tortillas tightly to prevent filling from spilling during frying, creating a crispy, compact chimichanga.
- Customize seasoning blend with chili powder, cumin, and garlic for a personalized flavor profile that elevates the beef.
- Select large flour tortillas to ensure easier rolling and better containment of savory meat and cheese mixture.
- Drain excess grease thoroughly from beef to maintain a lighter, less greasy final dish that’s more appetizing.
- Use a deep skillet with high sides to safely fry chimichangas without oil splattering, ensuring even golden-brown coloration.
- Prep Time: 20 minutes
- Cook Time: 10 minutes
- Category: Dinner
- Method: Frying
- Cuisine: Mexican
Nutrition
- Serving Size: 6
- Calories: 490 kcal
- Sugar: 5g
- Sodium: 740mg
- Fat: 28g
- Saturated Fat: 12g
- Carbohydrates: 36g
- Fiber: 3g
- Protein: 22g
- Cholesterol: 65mg
Mary Ellen
Founder, Pastry Chef & Recipe Developer
Expertise
Education
Savannah Technical College
Mary Ellen is the heart and soul of thatsmyhome.com. As the founder, pastry chef, and recipe developer, she refined her skills at Savannah Technical College with an Associate of Applied Science in Culinary Baking & Pastry Arts.
Mary blends classic techniques with modern twists to make artisanal breads, beautifully crafted pastries, and desserts full of unique flavor. Her passion is evident in every recipe, and she enjoys sharing her expertise through hands-on pastry workshops and insightful articles in local culinary magazines.