The Best Butterfinger Balls Recipe: Sweet Treats in Minutes
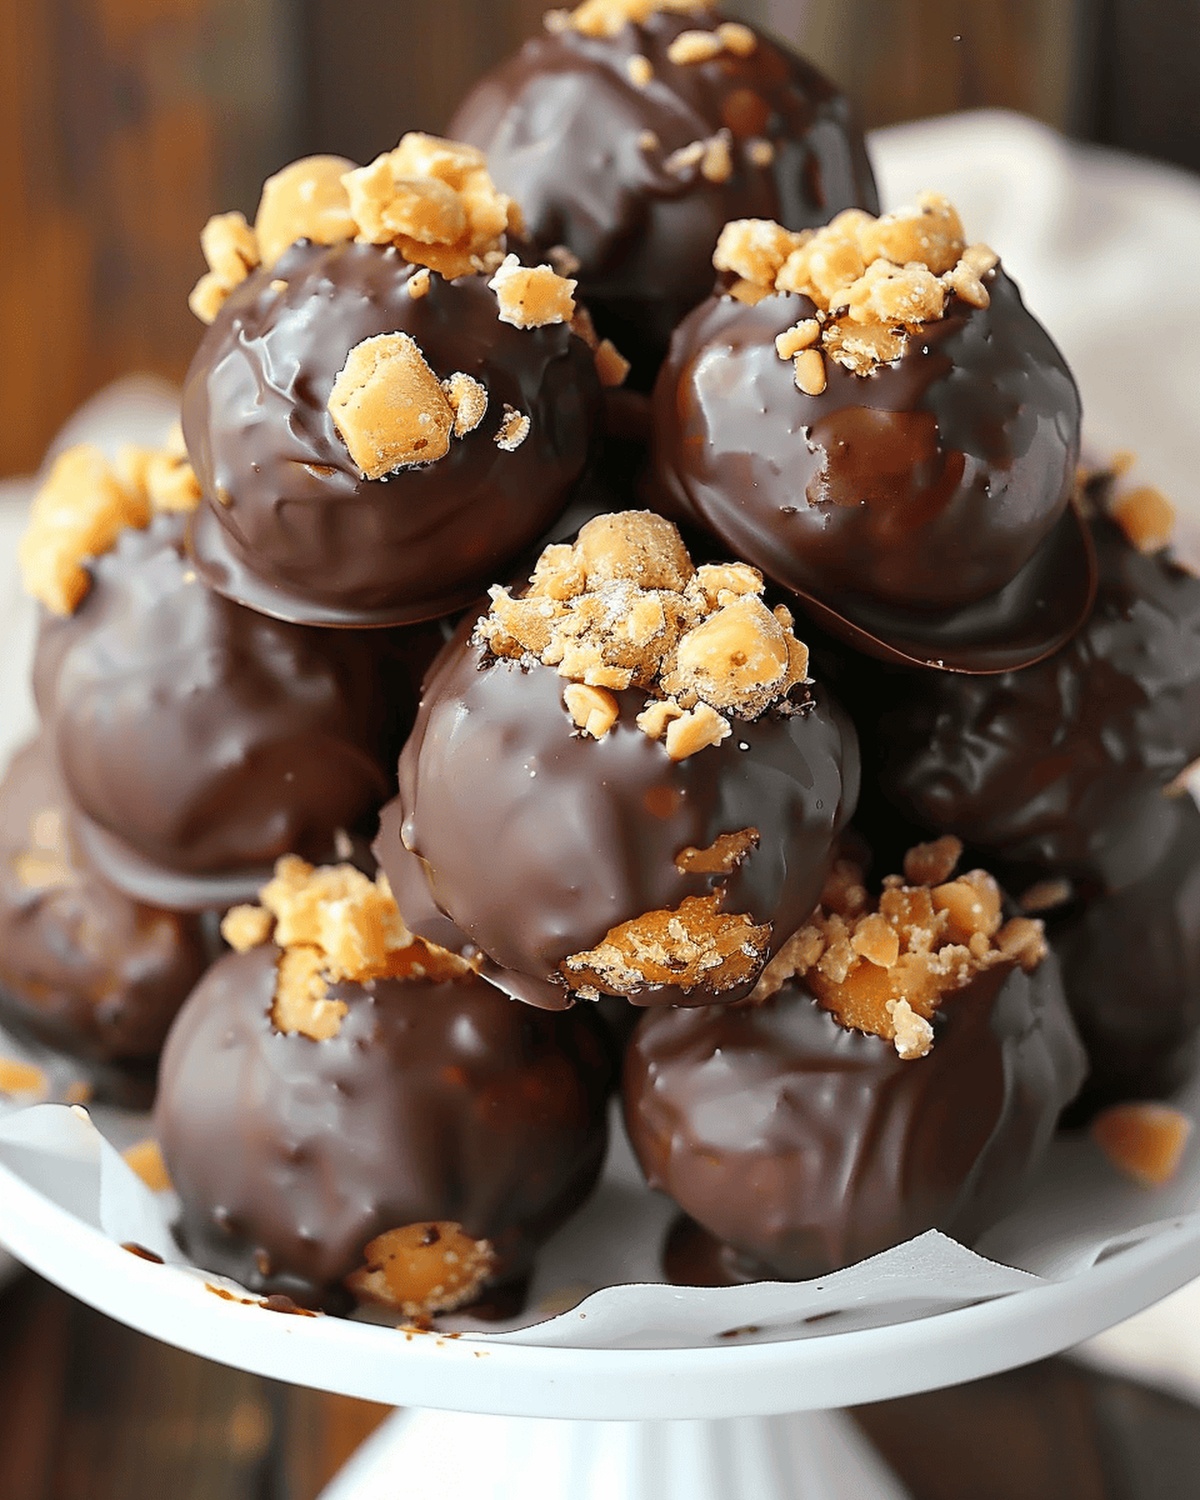
Butterfinger balls spark pure joy with their decadent blend of sweet and salty elements.
Crumbled candy bars revamp into magical spheres of deliciousness that dance on your palate.
Rich peanut butter provides a smooth foundation for these irresistible confections.
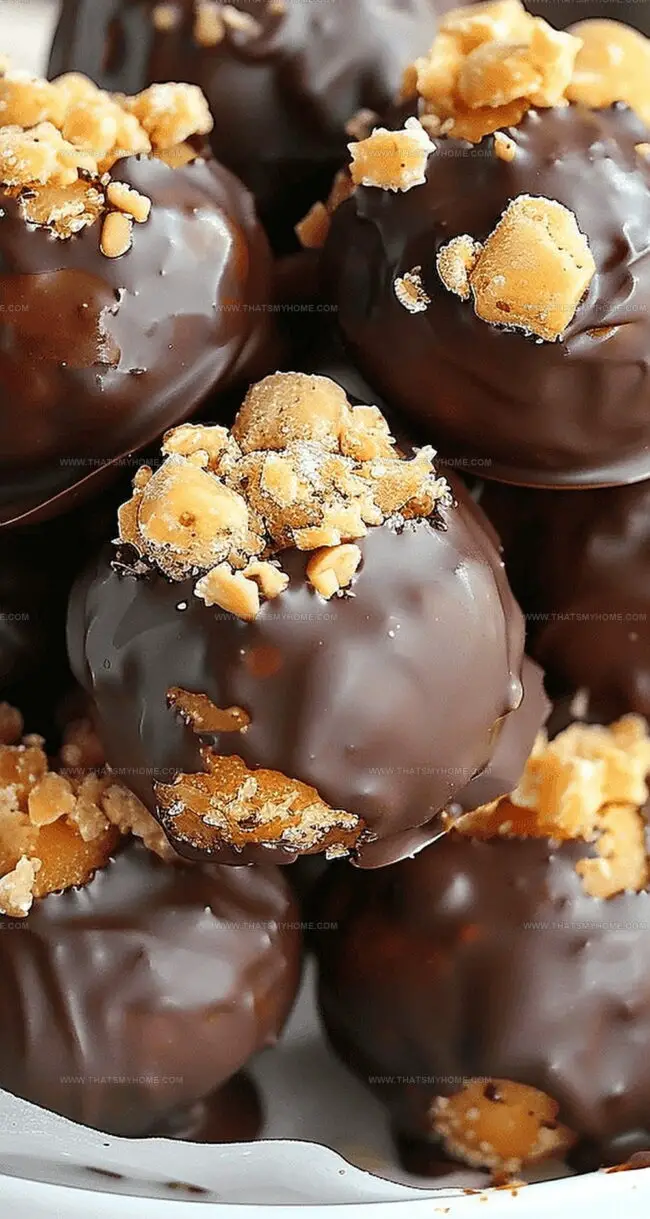
Chocolate coating adds a luxurious exterior that elevates the entire sensory experience.
Crunchy texture contrasts beautifully with silky inner layers, creating a multilayered treat.
Each bite promises a symphony of flavors that connects childhood memories with sophisticated dessert crafting.
Indulgence awaits those brave enough to whip up these tiny spheres of happiness.
Butterfinger Balls: A Decadent No-Bake Treat
Ingredients for Delicious Butterfinger Balls
Base Ingredients:Candy Ingredient:Coating Ingredients:How to Make the Perfect Butterfinger Balls

Step 1: Create Magical Mixture
Blend all ingredients in a large mixing bowl until the mixture becomes smooth and perfectly combined. Use a hand mixer or wooden spoon to ensure everything is well incorporated.
Step 2: Shape Tempting Treats
Roll the mixture into small, bite-sized balls using your hands. Place the formed balls on a baking sheet lined with parchment paper.
Step 3: Chill and Prep
Put the formed balls in the refrigerator for about 30 minutes to firm up. While chilling, melt chocolate for coating.
Step 4: Chocolate Dipping Delight
Carefully dip each chilled ball into melted chocolate, ensuring complete coverage. Use a fork to lift and tap off excess chocolate.
Step 5: Final Cooling
Place chocolate-coated balls back on the parchment paper. Return to the refrigerator for another 15-20 minutes until chocolate sets completely.
Step 6: Serve and Enjoy
Remove from refrigerator and serve these irresistible Butterfinger Balls. Store in an airtight container in the refrigerator for up to 1 week.
Tips for Shaping Butterfinger Balls
Storing and Reheating Butterfinger Balls
Pairing Your Butterfinger Balls with Drinks
Fun Variations of Butterfinger Balls
Print
Butterfinger Balls Recipe
- Total Time: 20 minutes
- Yield: 24 1x
Description
Butterfinger Balls deliver irresistible chocolate-peanut butter bliss with crushed candy bar magic. Creamy, crunchy spheres of pure indulgence will tempt sweet tasters into an unforgettable dessert experience you cannot resist.
Ingredients
Main Ingredients:
- 1 cup (240 ml) creamy peanut butter
- 6 Butterfinger candy bars, finely crushed
- 2 cups (240 g) powdered sugar
Binding Ingredients:
- ¼ cup (57 g) unsalted butter, softened
- 1 teaspoon vanilla extract
- Pinch of salt
Coating Ingredient:
- 12 ounces (340 g) semisweet or milk chocolate, chopped (optional, for dipping)
Instructions
- In a spacious mixing bowl, thoroughly combine softened creamy peanut butter, room temperature unsalted butter, sifted powdered sugar, pure vanilla extract, and finely crushed Butterfinger candy bars until the mixture achieves a uniform, smooth consistency.
- Using clean hands or a small cookie scoop, carefully form the mixture into uniform 1-inch (2.5 centimeters) round spheres, placing them on a parchment-lined baking sheet.
- Refrigerate the shaped balls for approximately 20-25 minutes to help them firm up and maintain their structural integrity.
- Melt high-quality chocolate chips or chocolate melting wafers in a microwave-safe bowl, stirring every 30 seconds to ensure smooth and even melting.
- Delicately dip each chilled peanut butter ball into the melted chocolate, using a fork to gently tap off excess chocolate and create an even coating.
- Carefully place the chocolate-covered balls back onto the parchment-lined baking sheet, allowing excess chocolate to drip and set.
- Return the chocolate-coated balls to the refrigerator for an additional 10-15 minutes until the chocolate shell becomes completely firm and glossy.
Notes
- Crush Butterfinger bars completely to ensure a smooth, even texture throughout the mixture.
- Chill the formed balls for at least 30 minutes to help them maintain their shape during chocolate coating.
- Use a fork or dipping tool to easily coat each ball in melted chocolate, allowing excess to drip off.
- Place coated balls on parchment paper to prevent sticking and create a clean, professional look.
- Store in an airtight container in the refrigerator for up to a week, if they last that long!
- Bring to room temperature for 5-10 minutes before serving for the best flavor and texture.
- Prep Time: 20 minutes
- Cook Time: 0 minutes
- Category: Desserts, Snacks
- Method: None
- Cuisine: American
Nutrition
- Serving Size: 24
- Calories: 440 kcal
- Sugar: 36g
- Sodium: 150mg
- Fat: 28g
- Saturated Fat: 10g
- Unsaturated Fat: 16g
- Trans Fat: 0g
- Carbohydrates: 46g
- Fiber: 1g
- Protein: 9g
- Cholesterol: 15mg
Mary Ellen
Founder, Pastry Chef & Recipe Developer
Expertise
Education
Savannah Technical College
Mary Ellen is the heart and soul of thatsmyhome.com. As the founder, pastry chef, and recipe developer, she refined her skills at Savannah Technical College with an Associate of Applied Science in Culinary Baking & Pastry Arts.
Mary blends classic techniques with modern twists to make artisanal breads, beautifully crafted pastries, and desserts full of unique flavor. Her passion is evident in every recipe, and she enjoys sharing her expertise through hands-on pastry workshops and insightful articles in local culinary magazines.