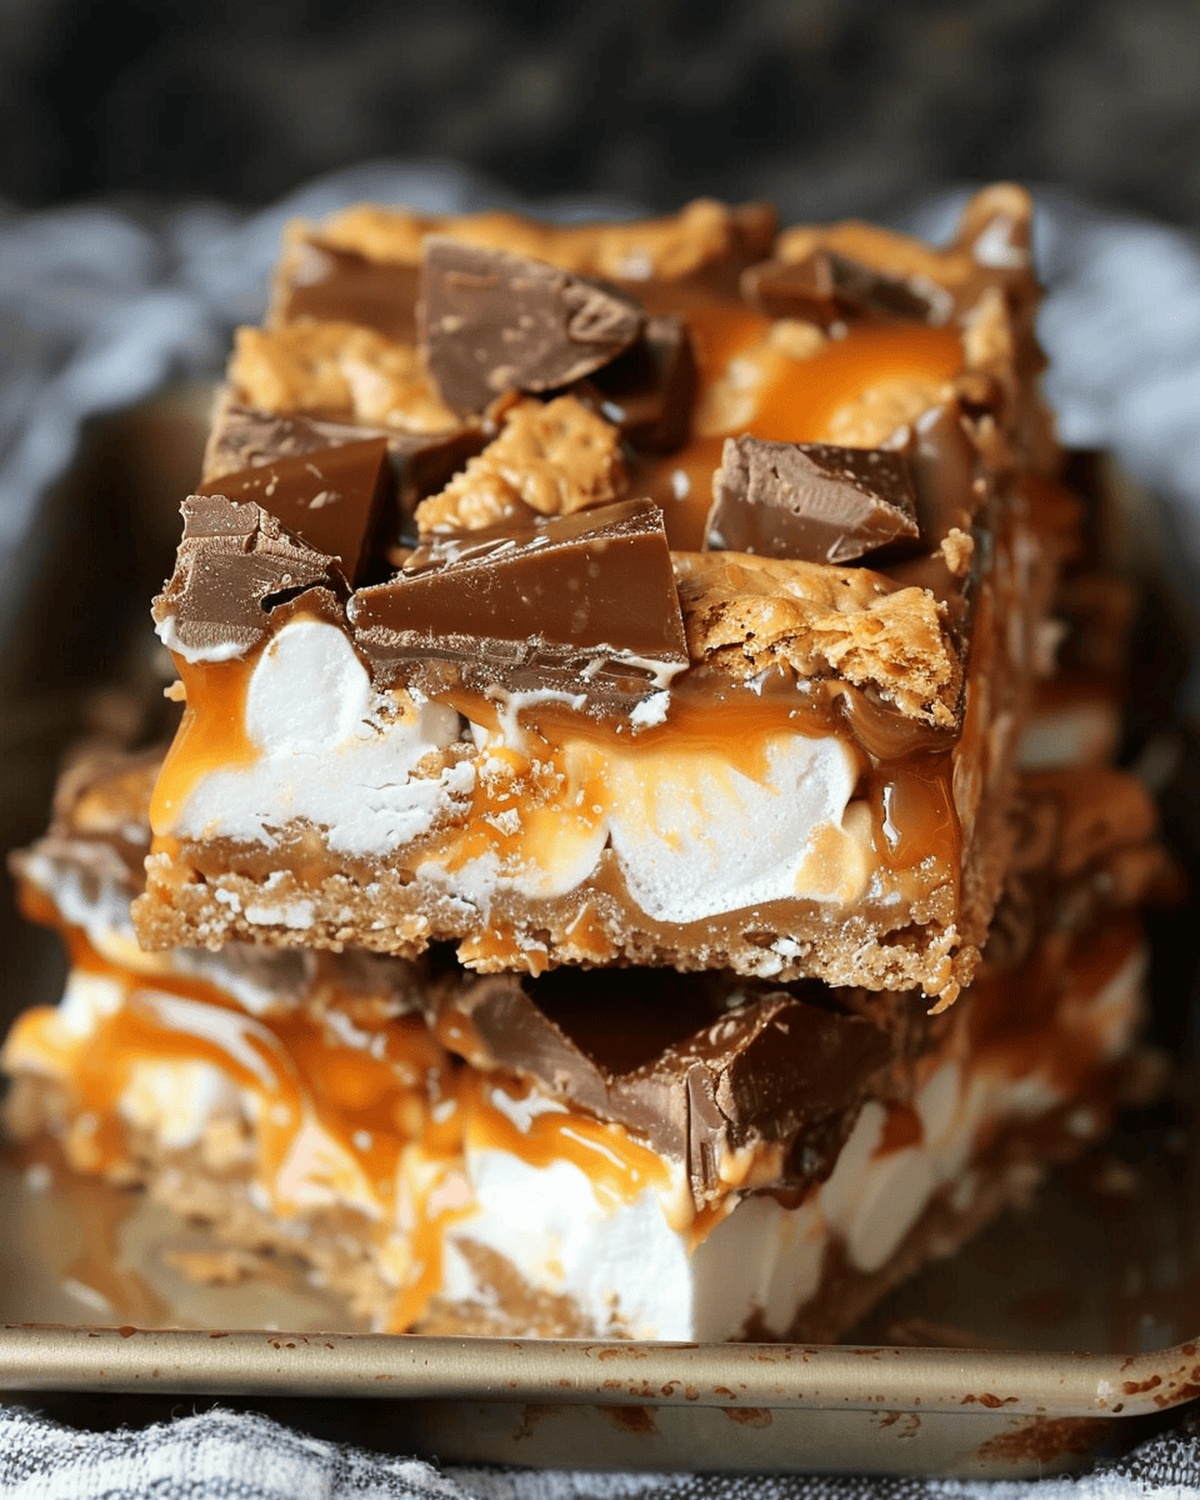
Sweet butterfinger caramel bars tantalize taste buds with their irresistible combination of rich, decadent flavors and contrasting textures.
Layers of smooth caramel intertwine with crunchy, crumbly elements that promise an extraordinary dessert experience.
Chocolate enthusiasts and candy lovers recognize this treat as a perfect indulgence for those seeking something beyond ordinary confections.
Crisp, golden fragments create a delightful crackle that complements the silky caramel binding each delectable bite.
The magic happens when carefully selected ingredients revamp into a symphony of sweetness that dances across your palate.
Crafting these bars requires precision and passion, allowing home bakers to elevate their dessert game with a professional-level confection.
Each carefully constructed layer builds anticipation for that first unforgettable moment of pure culinary bliss.
Why Butterfinger Caramel Bars Are a Sweet Tooth’s Dream
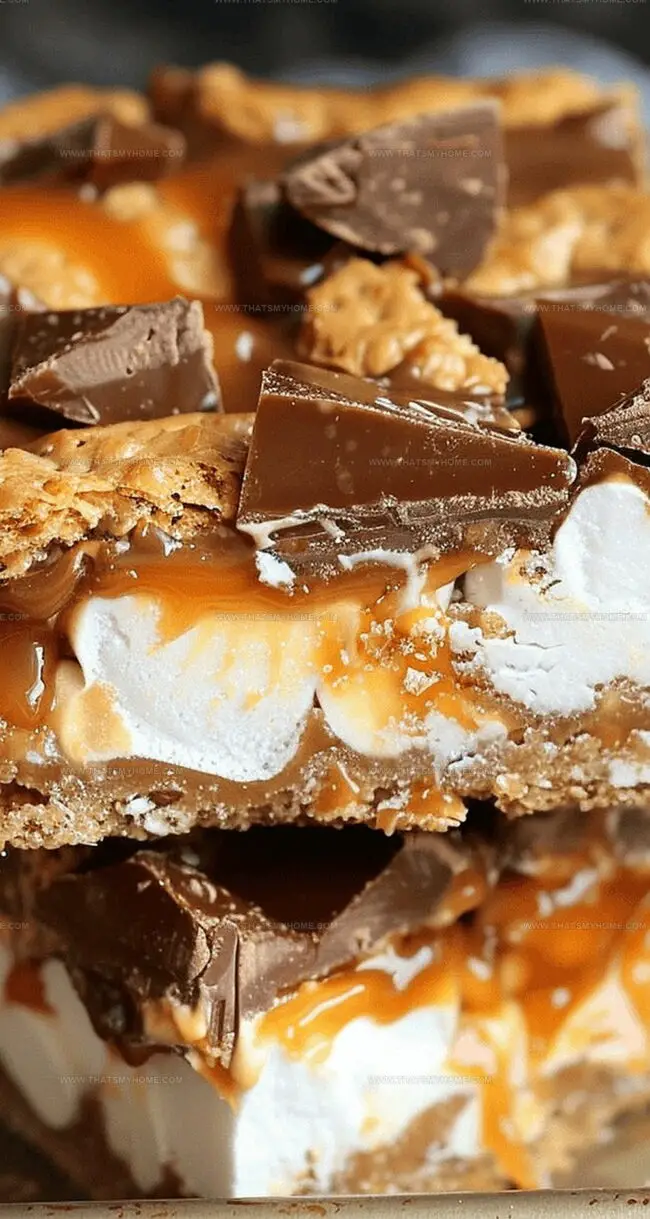
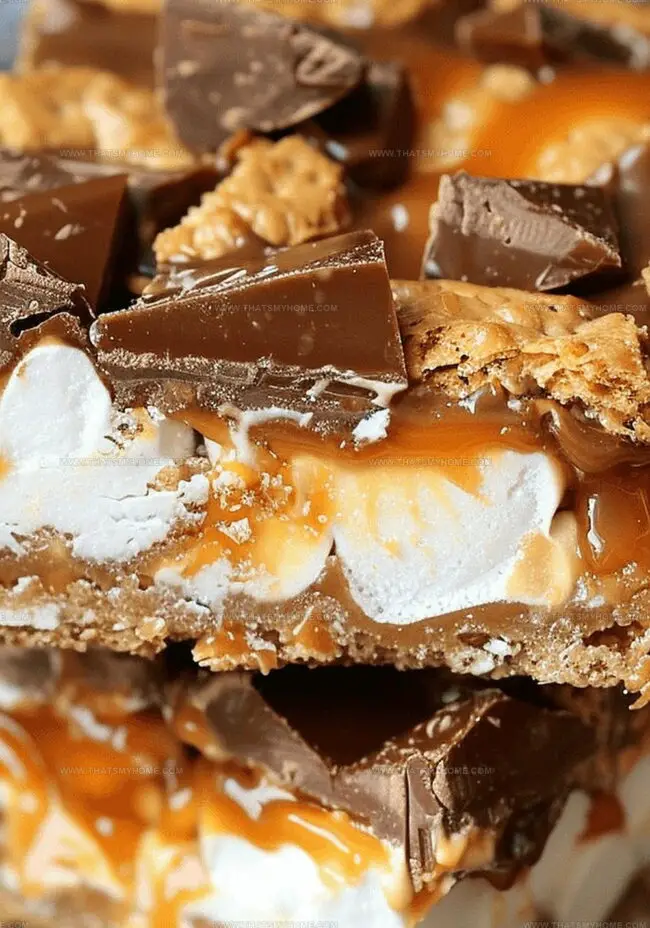
Crunch-Packed Delight: These bars deliver an irresistible texture combination with crispy graham crackers, gooey marshmallows, and crunchy Butterfinger pieces that create an addictive mouthfeel.
Quick Sweet Escape: The recipe requires minimal cooking skills and just 10 minutes of prep time, making it perfect for busy home bakers who want a delicious treat without complicated techniques.
Layered Flavor Explosion: Each bite offers a harmonious blend of caramel’s rich sweetness, chocolate’s smooth richness, and Butterfinger’s distinctive peanut butter crunch, ensuring a complex and satisfying dessert experience.
No-Bake Convenience: This dessert doesn’t require an oven, allowing anyone to whip up a decadent treat using simple microwave melting techniques and basic pantry ingredients.
Everything You Need to Make Butterfinger Caramel Bars
Base Layer:
Graham Crackers: Classic base that provides a crunchy foundation for the dessert bar, offering a sweet and sturdy platform for toppings.
Cooking Spray: Ensures easy removal of bars from the pan and prevents sticking.
Caramel and Marshmallow Layer:
Mini Marshmallows: Soft, sweet ingredient that adds a gooey texture and enhances the dessert’s overall sweetness.
Caramel Bits: Provides rich, buttery flavor and creates a smooth, sticky layer that binds ingredients together.
Milk: Helps melt caramel and creates a creamy, smooth consistency for the caramel sauce.
Topping Layer:
Butterfinger Bites: Crunchy, peanut buttery candy that adds a distinctive texture and bold flavor to the bars.
Semi-Sweet Chocolate: Melted chocolate drizzle that adds a rich, decadent finish and complements the caramel and Butterfinger flavors.
How to Make Gooey Butterfinger Caramel Bars at Home
Step 1: Prepare the Baking Pan
Line a 9×9 inch baking pan with foil, letting it hang over the edges for easy removal
Spray the foil with cooking spray to prevent sticking
Step 2: Create the Base Layer
Arrange graham crackers across the bottom of the pan
Break crackers as needed to cover the entire surface evenly
Step 3: Add Marshmallow Cushion
Sprinkle mini marshmallows generously over the graham cracker base
Step 4: Craft the Caramel Sauce
Combine caramel bits and milk in a microwave-safe bowl
Microwave for 1 minute
Stir thoroughly
Continue heating in 30-second intervals until completely smooth and melted
Step 5: Coat the Marshmallow Layer
Pour melted caramel over marshmallows
Spread gently to ensure even coverage
Allow marshmallows to slightly melt into the caramel
Step 6: Sprinkle Butterfinger Crunch
Scatter chopped Butterfinger Bites across the caramel surface
Gently press candies into the caramel layer
Step 7: Drizzle Chocolate Topping
Melt semi-sweet chocolate in a microwave-safe bowl
Heat in 30-second intervals until fully melted
Drizzle chocolate evenly over the Butterfinger layer
Step 8: Chill and Set
Refrigerate bars for 1 hour or until completely set
Step 9: Serve and Enjoy
Remove from refrigerator
Cut into bars
Serve and delight in the sweet, crunchy treat
Tips for Layers That Stick Just Right
Crush Butterfinger Precisely: Chop the candy bars into small, uniform pieces to ensure every bite has a perfect balance of chocolate and crunch.
Prevent Sticky Caramel: Spray your spatula with cooking spray when spreading caramel to create smooth, even coverage without sticking.
Control Microwave Melting: Use short intervals and stir frequently when melting chocolate and caramel to avoid burning and achieve a silky texture.
Line Pan Strategically: Extend foil edges slightly beyond the pan for effortless bar removal and clean cutting.
Chill Completely: Allow bars to set fully in the refrigerator to help chocolate and caramel layers firm up, creating clean, neat slices.
How to Store Butterfinger Caramel Bars Without Losing Texture
Refrigerate the Butterfinger Caramel Bars in an airtight container for up to 5 days. Layer the bars between sheets of parchment paper to prevent sticking and preserve their delicate texture. When ready to enjoy, remove from the refrigerator and let sit at room temperature for 10-15 minutes to soften slightly, which helps restore the caramel’s smooth consistency and brings out the rich flavors. For best taste and texture, consume within 3 days of preparation.
What Goes Great with Butterfinger Caramel Bars
Pair with Creamy Vanilla Milkshake: The rich, sweet chocolate and caramel flavors of the Butterfinger Bars pair perfectly with a cold, smooth vanilla milkshake that balances the dessert’s intense sweetness.
Match with Espresso Shot: A bold espresso provides a robust contrast to the sugary bars, cutting through the richness and cleansing the palate between bites.
Complement with Salted Caramel Latte: The hint of salt in a caramel latte echoes the dessert’s caramel notes while offering a warm, comforting drink that enhances the bars’ flavor profile.
Enjoy with Cold Milk: A classic glass of cold milk helps mellow the intense sweetness of the Butterfinger Bars and provides a refreshing counterpoint to the rich chocolate and caramel layers.
Additions to Make Butterfinger Caramel Bars Your Own
Reese’s Chocolate Crunch: Replace Butterfinger Bites with chopped Reese’s Peanut Butter Cups for a rich, nutty flavor that complements the caramel and graham cracker base.
S’mores Style Bars: Swap Butterfinger for marshmallow pieces and add a graham cracker crumble on top to enhance the classic campfire treat experience.
Almond Joy Remix: Substitute Butterfinger with chopped Almond Joy bars and sprinkle toasted coconut flakes for a tropical-inspired dessert bar with layers of texture and sweetness.
Rocky Road Edition: Mix in mini marshmallows, chopped almonds, and dark chocolate chips instead of Butterfinger to create a decadent, chunky chocolate treat that melts in your mouth.
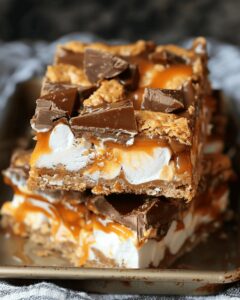
Butterfinger Caramel Bars deliver pure chocolate-peanut butter bliss with caramel’s silky sweet embrace. Rich layers of crunchy candy and smooth caramel promise an irresistible dessert experience that satisfies your deepest indulgence cravings.
Ingredients
Scale
Main Ingredients:
1 (10 oz) bag Butterfinger Bites, coarsely chopped
6 ½ graham crackers
1 (11 oz) bag caramel bits
2 cups mini marshmallows
Liquid Ingredients:
2 tablespoons milk
Topping Ingredient:
2 ounces semi-sweet chocolate (for drizzle)
Instructions
Prepare a 9×9 inch (23×23 centimeters) baking pan by lining it with aluminum foil, ensuring excess foil hangs over the edges for easy removal. Apply a light coating of non-stick cooking spray across the foil surface.
Create a uniform base layer by arranging graham crackers across the bottom of the pan, carefully breaking and fitting pieces to cover the entire surface without gaps.
Distribute mini marshmallows evenly over the graham cracker foundation, creating a soft, fluffy second layer.
Combine caramel bits and milk in a microwave-safe bowl, heating for 1 minute. Stir thoroughly and continue microwaving in 30-second increments until the mixture becomes completely smooth and fully melted.
Gently cascade the molten caramel over the marshmallow layer, using a spatula to ensure comprehensive and even coverage. The marshmallows will slightly melt during this process, which is perfectly acceptable.
Sprinkle chopped Butterfinger Bites across the caramel surface, delicately pressing the candy fragments into the sticky caramel to secure their placement.
Melt semi-sweet chocolate chips in a microwave-safe bowl, using 30-second intervals and stirring between each heating cycle until the chocolate becomes completely liquid.
Artfully drizzle the melted chocolate across the Butterfinger-studded layer, creating an aesthetically pleasing pattern.
Refrigerate the dessert for 1 hour, or until the layers have completely solidified and the chocolate has set.
Remove from refrigerator, lift the bars out using the foil edges, and slice into individual servings.
Notes
Prep your pan carefully by lining with foil and using cooking spray to ensure easy removal and clean cutting of the bars.
Graham crackers create a sturdy, crunchy base that holds the gooey caramel and marshmallow layers perfectly.
Melting caramel requires patience and gentle heating to achieve a smooth, spreadable consistency without burning.
Pressing Butterfinger Bites into the caramel layer helps them adhere and distributes the candy’s signature crispy, peanut butter flavor throughout.
Chocolate drizzle adds a luxurious finish and helps bind the different layers together for a decadent dessert experience.
Chilling is crucial for setting the bars and allowing all flavors and textures to meld together seamlessly.
Program: Associate of Applied Science in Culinary Baking & Pastry Arts
Focus: A specialized program focusing on baking and pastry fundamentals, including bread making, cake decorating, and advanced pastry techniques. Developed creative presentation skills and an understanding of ingredient functions through lab-based practice.
Mary Ellen is the heart and soul of thatsmyhome.com. As the founder, pastry chef, and recipe developer, she refined her skills at Savannah Technical College with an Associate of Applied Science in Culinary Baking & Pastry Arts.
Mary blends classic techniques with modern twists to make artisanal breads, beautifully crafted pastries, and desserts full of unique flavor. Her passion is evident in every recipe, and she enjoys sharing her expertise through hands-on pastry workshops and insightful articles in local culinary magazines.
Mary Ellen
Founder, Pastry Chef & Recipe Developer
Expertise
Education
Savannah Technical College
Mary Ellen is the heart and soul of thatsmyhome.com. As the founder, pastry chef, and recipe developer, she refined her skills at Savannah Technical College with an Associate of Applied Science in Culinary Baking & Pastry Arts.
Mary blends classic techniques with modern twists to make artisanal breads, beautifully crafted pastries, and desserts full of unique flavor. Her passion is evident in every recipe, and she enjoys sharing her expertise through hands-on pastry workshops and insightful articles in local culinary magazines.