Irresistible Cheesy Pepperoni Pizza Pockets Recipe for Busy Days
Pizza pockets pack a flavor-rich punch that reimagines ordinary meals into exciting culinary adventures.
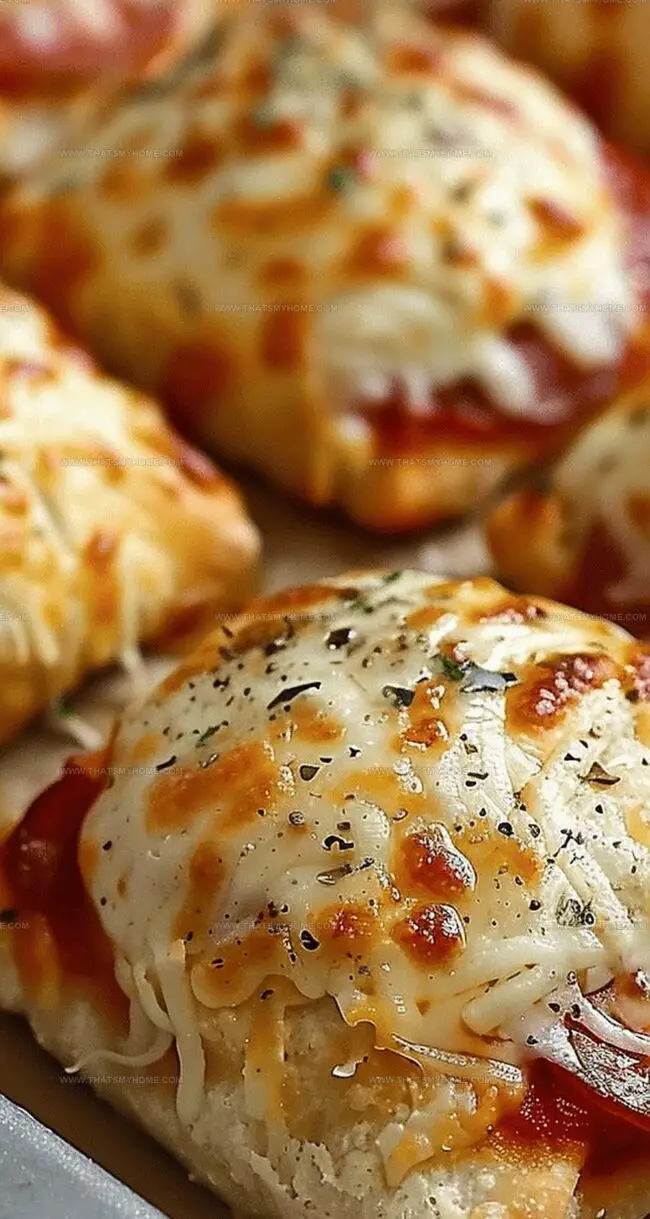
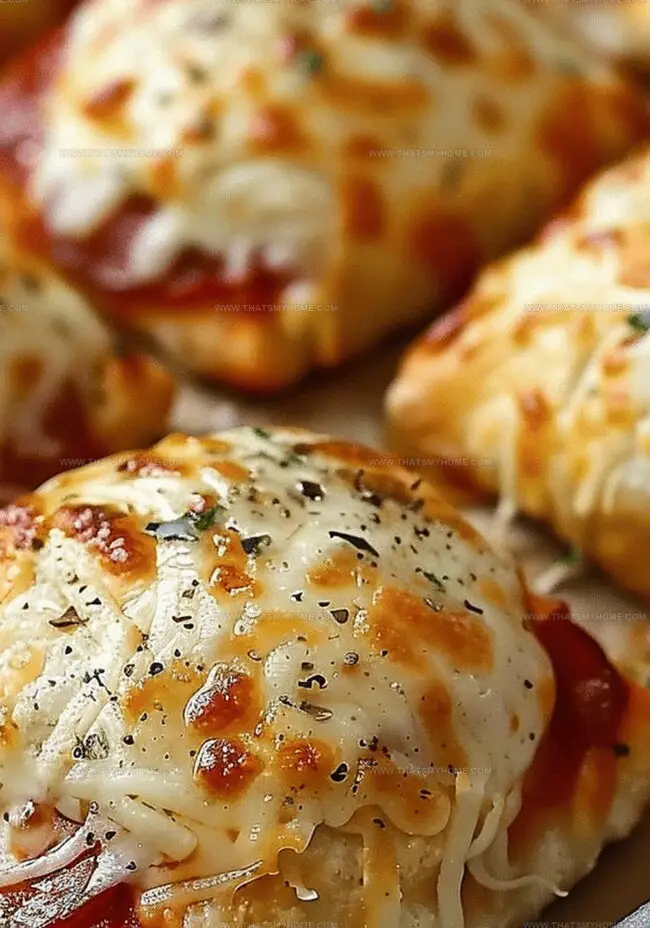
These handheld delights combine crispy pastry with melted cheese and savory meats in a compact, irresistible package.
Comfort food meets convenient snacking through a perfect blend of textures and tasty ingredients.
Crisp exterior shells give way to molten cheese and zesty pepperoni that dance across your taste buds.
Home cooks find endless satisfaction in crafting these crowd-pleasing treats that appeal to both kids and adults.
Every bite delivers a nostalgic reminder of classic pizza flavors wrapped in a portable, golden-brown embrace.
Prepare to elevate your snack game with a recipe that promises pure deliciousness.
Why You’ll Love Cheesy Pepperoni Pizza Pockets
Cheesy Pepperoni Pizza Pockets Ingredients
Main Ingredients:
Dough Ingredients:Filling Ingredients:Seasoning and Topping Ingredients:Preparation Ingredients:How to Make Cheesy Pepperoni Pizza Pockets
Step 1: Prepare the Baking Station
Warm up your oven to 375°F. Cover a baking sheet with parchment paper for easy cleanup and perfect non-stick results.
Step 2: Shape the Dough Circles
Gently separate the biscuit dough. Use your hands or a rolling pin to flatten each biscuit into a smooth, thin circle. These will become the delicious pizza pocket bases.
Step 3: Load Up the Filling
Sprinkle each dough circle with a generous amount of ingredients:Step 4: Create Delicious Pockets
Carefully fold the dough edges over the filling. Pinch and seal the edges completely to lock in all the cheesy goodness. Make sure no gaps remain to prevent cheese from escaping during baking.
Step 5: Add Flavor Boost
In a small bowl, combine:Brush this magical mixture over each dough pocket, ensuring every bite is packed with flavor.
Step 6: Bake to Golden Perfection
Arrange the pockets seam-side down on the prepared baking sheet. Slide into the preheated oven and bake for 12-15 minutes until they turn a beautiful golden brown.
Tips for Making Cheesy Pepperoni Pizza Pockets
Storing and Reheating Cheesy Pepperoni Pizza Pockets
Pairing Cheesy Pepperoni Pizza Pockets with Drinks
Exploring Cheesy Pepperoni Pizza Pockets Variations
Print
Cheesy Pepperoni Pizza Pockets Recipe
- Total Time: 25 minutes
- Yield: 4 1x
Description
Handcrafted pepperoni pizza pockets deliver explosive Italian-American comfort straight from your kitchen. Melted cheese, zesty marinara, and crispy edges make these portable delights irresistible for quick meals or game-day snacking.
Ingredients
Main Ingredients:
- 1 can (8 ounces / 226 grams) refrigerated biscuit dough
- ¾ cup (180 milliliters) shredded mozzarella cheese
- ½ cup (118 milliliters) mini pepperoni slices (halal if necessary)
Cheese and Seasoning:
- 2 tablespoons (30 milliliters) melted butter
- 1 teaspoon (5 milliliters) garlic powder
- 1 teaspoon (5 milliliters) Italian seasoning
Dipping Sauce:
- Marinara or pizza sauce for dipping
Instructions
- Preheat the oven to 375 degrees Fahrenheit (190 degrees Celsius) and arrange a sheet of parchment paper on a baking tray to ensure effortless release and minimal cleanup.
- Gently separate each biscuit from the package and use gentle palm pressure or a rolling pin to transform each piece into a delicate, thin circular shape approximately 4 inches (10 centimeters) in diameter.
- Position a modest heap of shredded mozzarella cheese at the center of each circular dough, strategically placing 3-4 miniature pepperoni slices around the cheese to create balanced flavor distribution.
- Carefully fold the dough’s edges toward the center, creating a sealed pouch by carefully pinching and pressing the seams together to prevent cheese from escaping during baking.
- Combine melted unsalted butter with finely ground garlic powder and aromatic Italian herb seasoning in a small mixing bowl, then delicately brush the exterior of each prepared pocket with this flavor-enhancing mixture.
- Arrange the prepared pizza pockets on the parchment-lined baking sheet with the sealed side facing downward, ensuring slight separation between each pocket for even heat circulation.
- Transfer the baking sheet to the preheated oven and bake for 13-16 minutes, monitoring until the pockets achieve a rich, golden-brown exterior and emit an appetizing aroma.
Notes
- Prepare a parchment-lined baking sheet to prevent sticking and make cleanup a breeze.
- Create perfect pizza pockets by gently flattening biscuit dough into even circles for uniform cooking.
- Seal the edges carefully when forming pockets to lock in cheesy pepperoni goodness and prevent leaks.
- Brush garlic butter mixture over the pockets for an extra flavor punch that elevates the entire dish.
- Watch carefully during baking, as golden-brown color indicates the perfect crispy texture and doneness.
- Serve immediately to enjoy the melty cheese and crisp exterior at its absolute best.
- Prep Time: 10 minutes
- Cook Time: 15 minutes
- Category: Lunch, Snacks, Dinner
- Method: Baking
- Cuisine: American
Nutrition
- Serving Size: 4
- Calories: 320 kcal
- Sugar: 3 g
- Sodium: 780 mg
- Fat: 22 g
- Saturated Fat: 10 g
- Unsaturated Fat: 10 g
- Trans Fat: 0.5 g
- Carbohydrates: 25 g
- Fiber: 1 g
- Protein: 12 g
- Cholesterol: 45 mg
Mary Ellen
Founder, Pastry Chef & Recipe Developer
Expertise
Education
Savannah Technical College
Mary Ellen is the heart and soul of thatsmyhome.com. As the founder, pastry chef, and recipe developer, she refined her skills at Savannah Technical College with an Associate of Applied Science in Culinary Baking & Pastry Arts.
Mary blends classic techniques with modern twists to make artisanal breads, beautifully crafted pastries, and desserts full of unique flavor. Her passion is evident in every recipe, and she enjoys sharing her expertise through hands-on pastry workshops and insightful articles in local culinary magazines.