Irresistible Chicken Katsu with Homemade Curry Sauce Recipe
Katsu curry represents a beloved Japanese comfort food that seamlessly blends crispy textures with complex flavor profiles.
Japanese culinary traditions have revamped simple ingredients into a remarkable dining experience that captivates taste buds.
The golden-brown breaded cutlet serves as a delightful canvas for the deeply aromatic sauce, creating a harmonious marriage of textures and tastes.
Warm spices dance across your palate, inviting a sensory journey through layers of delectable nuance.
Traditionally prepared with tender meats and carefully crafted sauces, this dish embodies the elegance of Japanese home cooking.
Its popularity stems from an incredible ability to balance richness with subtle spice undertones.
Each forkful promises a delightful adventure that satisfies both hunger and culinary curiosity.
Katsu Curry: A Japanese Classic You’ll Love
What You’ll Need for the Best Katsu Curry
Main Ingredients:
Protein:Coating Ingredients:Curry Sauce Ingredients:
Aromatics:Sauce Base:Seasoning Ingredients:Garnish:How to Make Delicious Katsu Curry
Step 1: Prepare Chicken Cutlets
Season chicken breasts with salt and pepper. Create a breading station with flour, beaten eggs, and panko breadcrumbs. Coat each chicken piece completely:Ensure even coverage for a crispy exterior.
Step 2: Fry Chicken Perfectly
Heat vegetable oil in a frying pan over medium-high heat. Carefully place breaded chicken and cook 5-7 minutes per side until golden brown and cooked through. Transfer to a paper towel-lined plate to drain excess oil.
Step 3: Start Curry Sauce Base
In a saucepan, heat oil over medium heat. Add finely chopped onions and diced carrots. Cook for 10 minutes until vegetables become soft and translucent.
Step 4: Build Sauce Aromatics
Stir in minced garlic and freshly grated ginger. Cook for 2 minutes until fragrant, releasing their intense flavors.
Step 5: Create Curry Roux
Mix curry powder and flour into the vegetable mixture, creating a paste. Cook for 2 minutes to develop deeper flavors. Slowly whisk in chicken broth, bringing the sauce to a boil. Reduce heat and simmer 15-20 minutes until sauce thickens.
Step 6: Finish Curry Sauce
Add soy sauce and honey. Taste and adjust seasoning as needed for balanced flavor.
Step 7: Plate and Serve
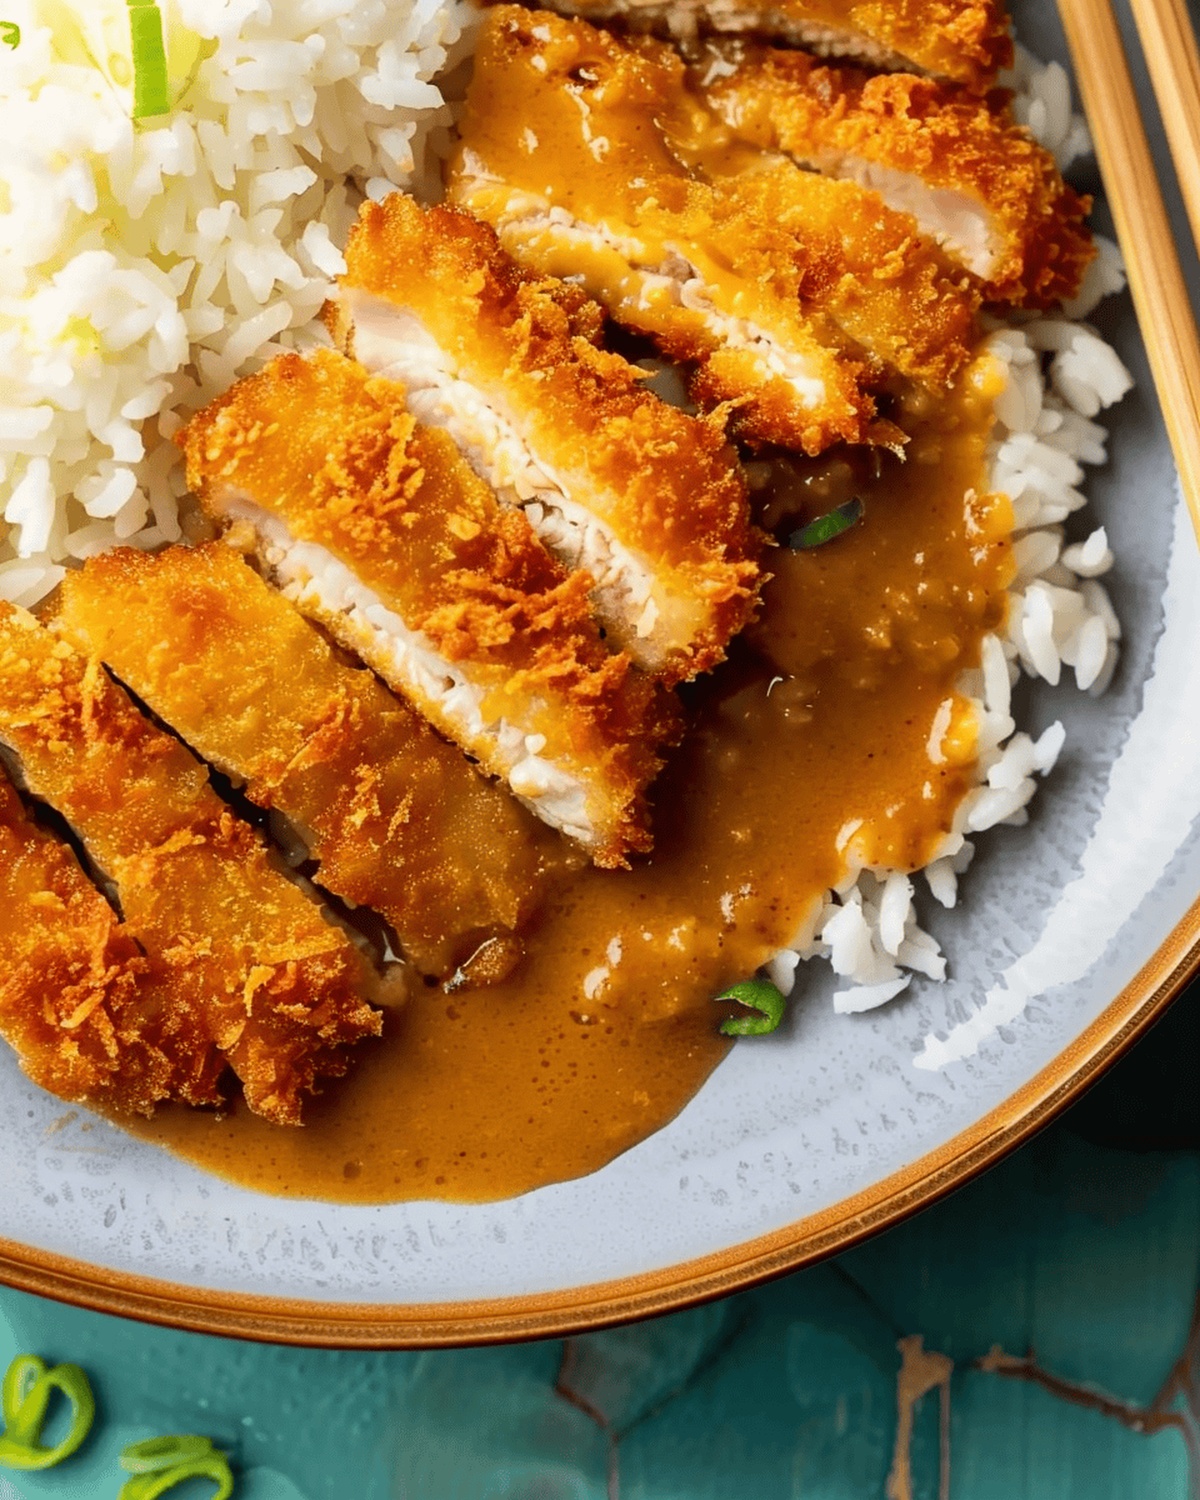
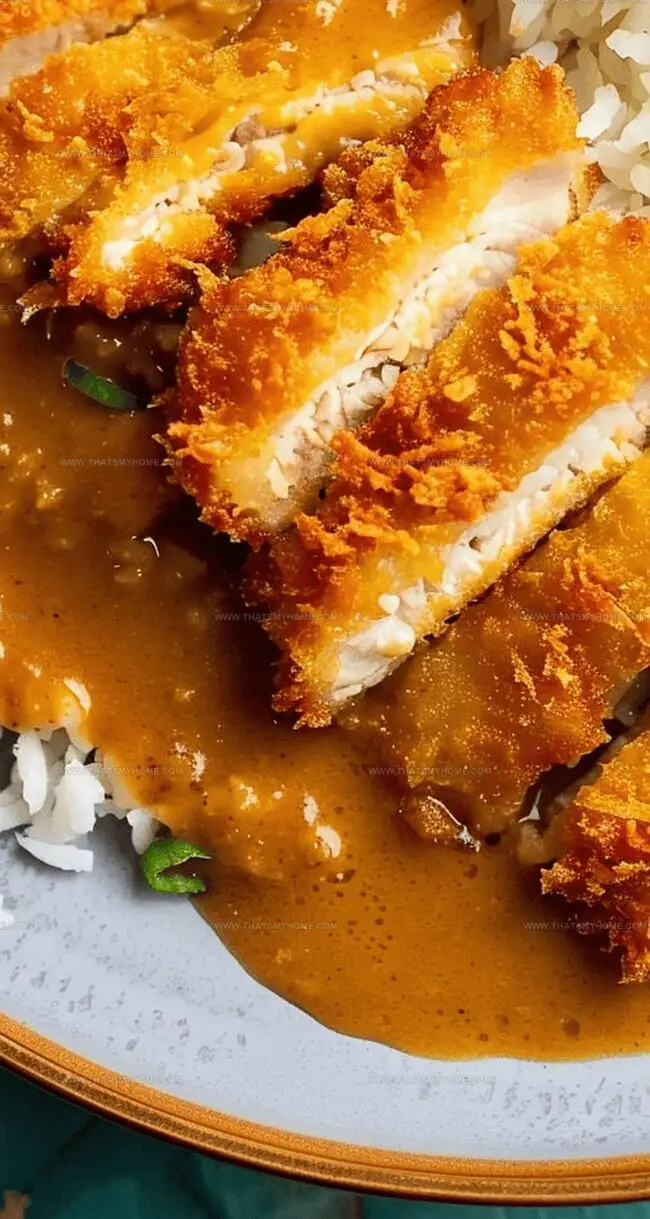
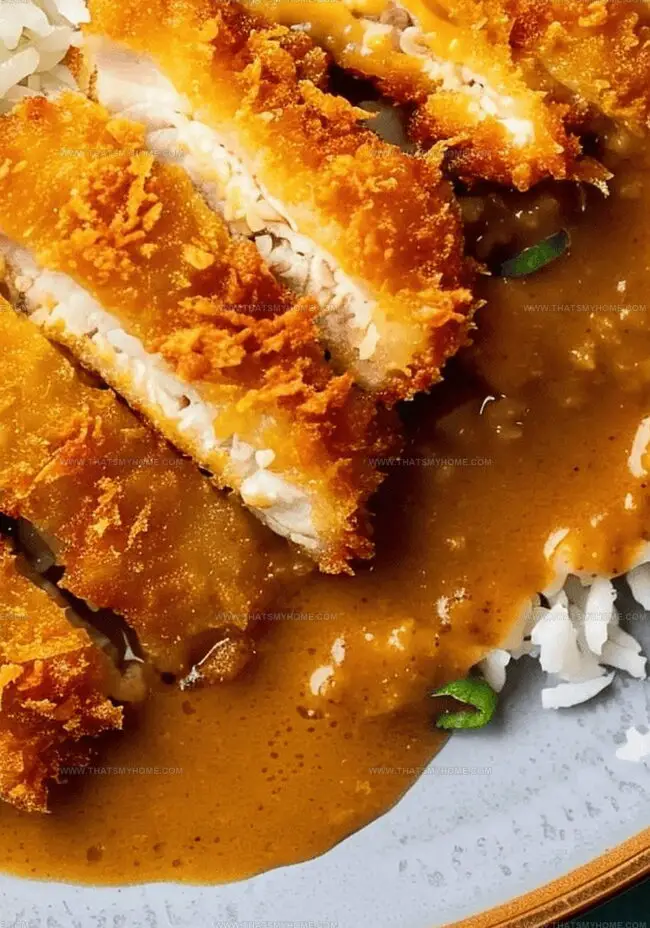
Slice chicken cutlets diagonally. Arrange over steamed rice, generously pour curry sauce on top. Garnish with thinly sliced green onions for freshness and color.
Tips for Cooking the Perfect Katsu Curry
Storing and Enjoying Leftover Katsu Curry
Best Accompaniments for Katsu Curry
Creative Variations of Katsu Curry
Print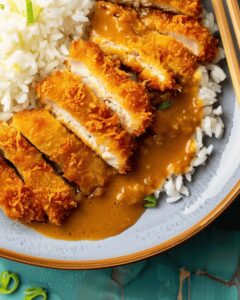
Chicken Katsu with Homemade Curry Sauce Recipe
- Total Time: 50 minutes
- Yield: 4 1x
Description
Katsu Curry brings Japanese comfort to your plate with crispy breaded pork nestled in rich, velvety curry sauce. Hearty flavors and textures create a satisfying meal that transports you straight to Tokyo’s bustling streets.
Ingredients
Main Ingredients:
- 4 boneless chicken breasts
- 2 onions, finely chopped
- 2 carrots, peeled and chopped
- 3 cups chicken broth
Breading and Coating Ingredients:
- 1 cup all-purpose flour
- 2 large eggs, beaten
- 2 cups panko breadcrumbs
- Salt and pepper, to taste
Seasoning and Sauce Ingredients:
- 2 tablespoons vegetable oil
- 2 cloves garlic, minced
- 1 tablespoon grated ginger
- 2 tablespoons curry powder
- 3 tablespoons all-purpose flour
- 1 tablespoon soy sauce
- 1 tablespoon honey
- 1 cup vegetable oil for frying
- Steamed rice
- Sliced green onions for garnish
Instructions
- Prepare the chicken by generously seasoning both sides with salt and freshly ground black pepper, ensuring an even coating.
- Create a three-stage breading station: dust the seasoned chicken in all-purpose flour (about ), then immerse in whisked eggs, and finally coat thoroughly with crispy panko breadcrumbs, pressing gently to help crumbs adhere.
- Heat vegetable oil in a large heavy-bottomed skillet over medium-high heat until shimmering and hot.
- Carefully place breaded chicken into the hot oil, cooking for 4-6 minutes on each side until the exterior turns a deep golden brown and the internal temperature reaches 165°F (74°C).
- Transfer the fried chicken to a wire rack or paper towel-lined plate to drain excess oil and maintain crispiness.
- In a separate saucepan, warm of oil over medium heat and sauté finely chopped onions and diced carrots until they become soft and translucent, approximately 8-10 minutes.
- Add minced garlic and freshly grated ginger, stirring continuously for 1-2 minutes to release their aromatic flavors.
- Sprinkle curry powder and flour into the vegetable mixture, stirring to create a fragrant roux that will thicken the sauce.
- Gradually pour in chicken broth, whisking constantly to prevent lumps and ensure a smooth consistency.
- Simmer the curry sauce for 12-15 minutes, stirring occasionally, until it reaches a rich, velvety texture.
- Enhance the sauce with soy sauce and honey, tasting and adjusting seasonings as needed.
- Slice the crispy chicken diagonally into elegant strips and arrange over steamed white rice.
- Ladle the warm curry sauce generously over the chicken and garnish with thinly sliced green onions for a fresh, vibrant finish.
Notes
- Prep your station by gathering all ingredients before starting to cook.
- Breadcrumb coating works best when you use dry hands and press panko firmly onto chicken.
- Temperature control matters when frying to prevent burning and ensure even golden-brown color.
- Grating fresh ginger and garlic boosts the sauce’s aromatic depth compared to pre-minced versions.
- Resting the chicken after frying helps maintain its crispy exterior and juicy interior.
- Adjust curry sauce thickness by adding more broth or simmering longer based on your preferred consistency.
- Prep Time: 20 minutes
- Cook Time: 30 minutes
- Category: Dinner, Lunch
- Method: Frying
- Cuisine: Japanese
Nutrition
- Serving Size: 4
- Calories: 204 kcal
- Sugar: 0g
- Sodium: 1mg
- Fat: 0.4g
- Saturated Fat: 0.1g
- Unsaturated Fat: 0.3g
- Trans Fat: 0g
- Carbohydrates: 44.5g
- Fiber: <1g
- Protein: 4.2g
- Cholesterol: 0mg
Mary Ellen
Founder, Pastry Chef & Recipe Developer
Expertise
Education
Savannah Technical College
Mary Ellen is the heart and soul of thatsmyhome.com. As the founder, pastry chef, and recipe developer, she refined her skills at Savannah Technical College with an Associate of Applied Science in Culinary Baking & Pastry Arts.
Mary blends classic techniques with modern twists to make artisanal breads, beautifully crafted pastries, and desserts full of unique flavor. Her passion is evident in every recipe, and she enjoys sharing her expertise through hands-on pastry workshops and insightful articles in local culinary magazines.