The Ultimate Easy Cool Whip Candy Recipe: Sweet & Fluffy Treats
Cool whip candy reimagines ordinary ingredients into an extraordinary confectionery marvel that dances between cloud-like softness and sweet indulgence.
This delightful creation breaks traditional dessert boundaries with its unexpected texture and playful personality.
Lightweight yet decadent, the candy represents a culinary innovation that surprises taste buds and challenges conventional treat expectations.
Home bakers and sweet enthusiasts adore its simple preparation and magical metamorphosis from basic components.
Minimal effort yields maximum satisfaction, making this confection a perfect choice for spontaneous sugar cravings.
Elegant yet unpretentious, the candy promises a sensory experience that balances simplicity with sophisticated flavor profiles.
You’ll find yourself captivated by its innovative approach to dessert crafting.
Cool Whip Candy: A Sweet Treat in Minutes
What You Need to Make Cool Whip Candy
Dairy Component:Simple Steps to Making Cool Whip Candy
Step 1: Prepare Chocolate Base
Melt milk chocolate chips in a microwave-safe bowl for 1-minute intervals, stirring between each interval until completely smooth.
Step 2: Set Up Preparation Area
Line an 8×8 inch pan with parchment paper for easy candy removal.
Step 3: Blend Chocolate and Cream
Gently fold melted chocolate into Cool Whip. Small chocolate flakes are normal during mixing.
Step 4: Initial Freezing
Pour the chocolate-cream mixture into the prepared pan and freeze for 30 minutes until firm.
Step 5: Shape the Candies
Cut the frozen mixture into bite-sized squares or drop spoonfuls onto a parchment-covered tray for truffle-style treats.
Step 6: Chocolate Coating
Melt dark chocolate wafers in the microwave using short intervals.
Step 7: Final Freezing
Store the chocolate-covered candies in the freezer until ready to serve.
Tips for Creating Perfect Cool Whip Candy
How to Keep Cool Whip Candy Fresh for Days
Pairing Cool Whip Candy with These Sweets
Fun Variations of Cool Whip Candy You Can Try
Print
Cool Whip Candy Recipe
- Total Time: 15 minutes
- Yield: 24 1x
Description
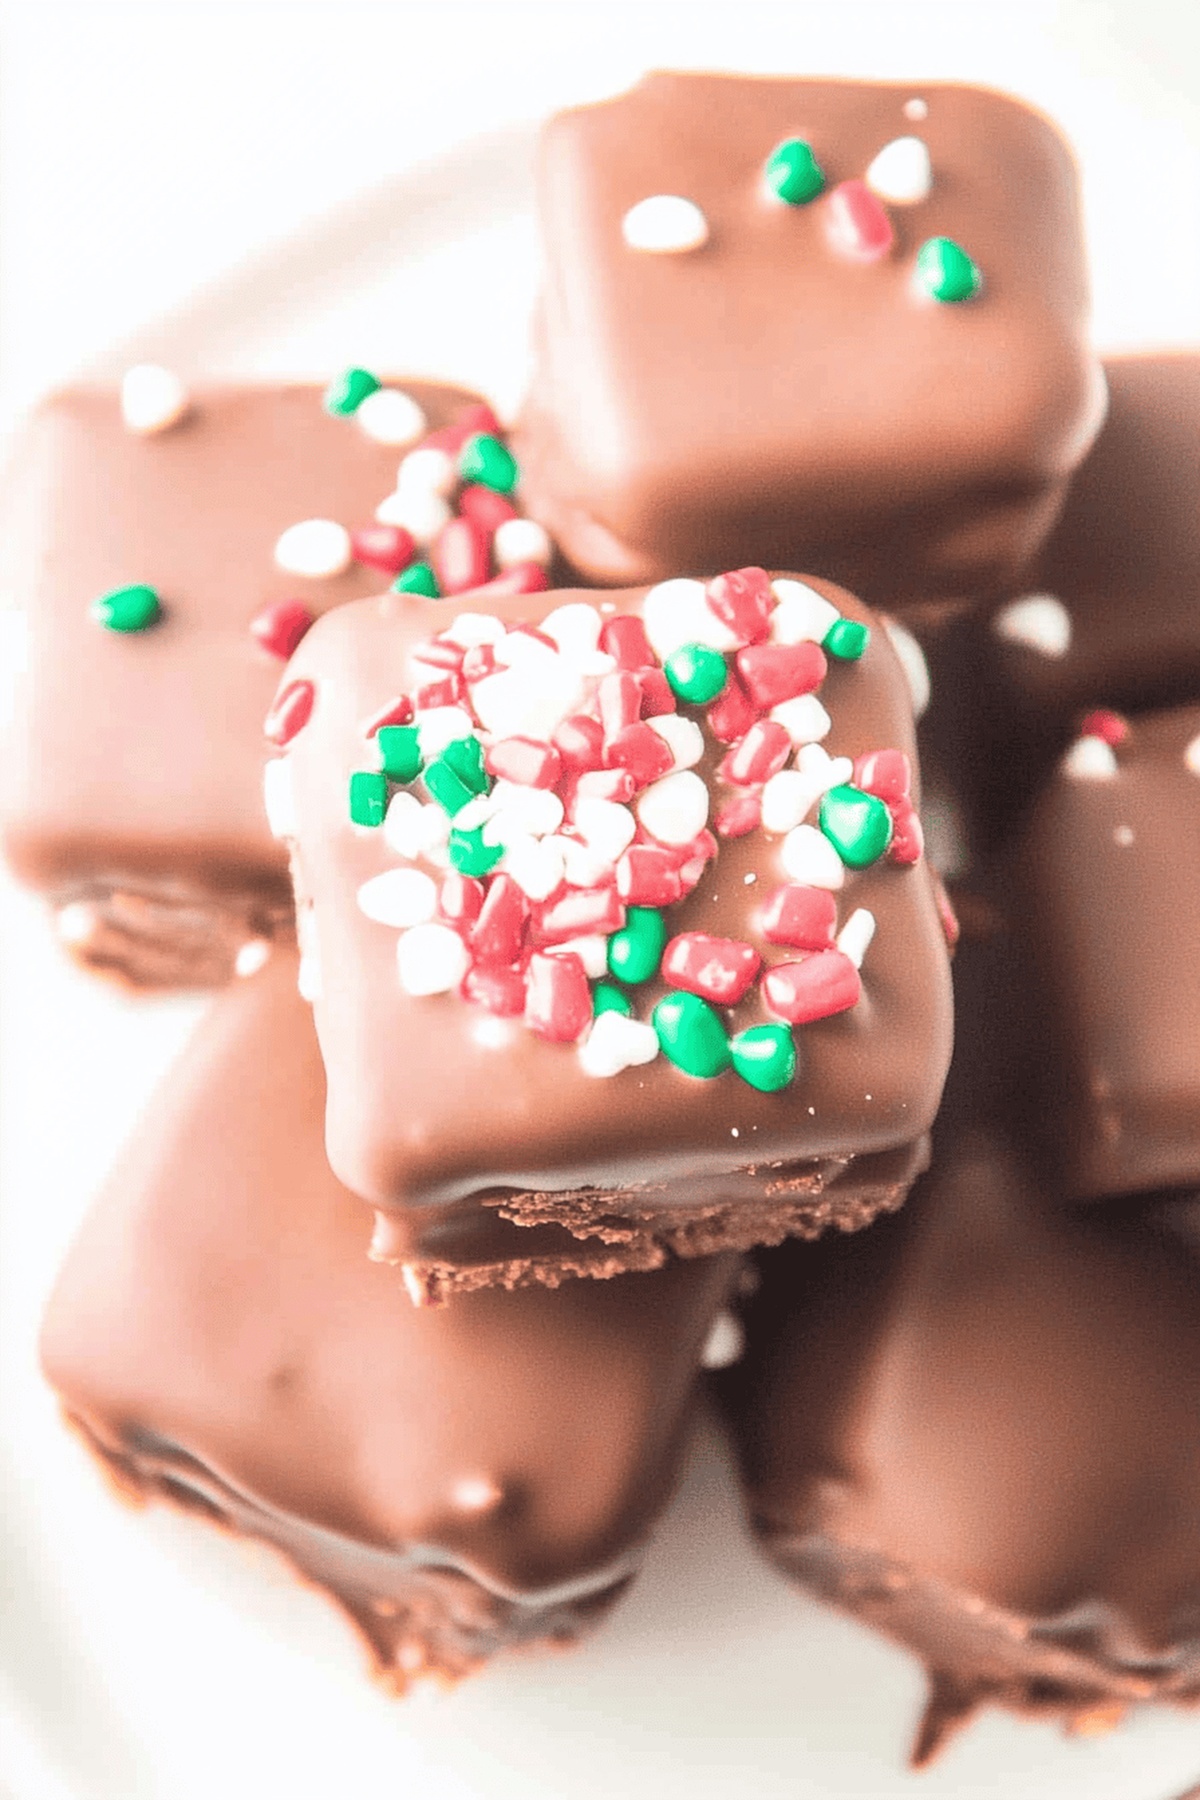
Cool Whip Candy delivers a cloud-like confection that melts effortlessly on your palate. Chocolate-dipped marshmallow clouds create a quick dessert sensation that will delight sweet seekers with minimal effort.
Ingredients
Main Ingredients:
- 2 bags milk chocolate chips (22 ounces / 624 grams total)
- 24 ounces (680 grams) good quality dark chocolate melting wafers
- 1 8-ounce (226 grams) tub Cool Whip whipped topping
Instructions
- Prepare a microwave-safe bowl and melt milk chocolate chips by heating in 30 to 45-second intervals, gently stirring between each heating cycle until completely smooth and liquid.
- Take an 8-inch by 8-inch (20 cm by 20 cm) baking pan and carefully line the interior with parchment paper, ensuring complete coverage of bottom and sides.
- Gradually incorporate the melted milk chocolate into the Cool Whip, mixing thoroughly. Expect the mixture to develop small chocolate flakes during the blending process, which is completely normal.
- Transfer the chocolate and Cool Whip mixture into the prepared parchment-lined pan, spreading evenly with a spatula to create a uniform layer approximately 1/2 inch (1.3 cm) thick.
- Place the pan in the freezer and allow the mixture to solidify for 25 to 35 minutes until firm and completely set.
- Remove the frozen chocolate mixture from the freezer and slice into uniform square pieces using a sharp knife, approximately 1 inch (2.5 cm) in size.
- Melt dark chocolate wafers in a microwave-safe bowl, heating in short 15-second intervals and stirring between each cycle to prevent burning.
- Carefully dip each frozen chocolate square into the melted dark chocolate, ensuring complete coverage, and place on a fresh parchment-lined tray.
- Return the chocolate-coated candies to the freezer and store until ready to serve, maintaining a consistent cold temperature to preserve texture and flavor.
Notes
- Light dessert that transforms basic ingredients into a delightful frozen treat.
- Requires minimal baking skills and delivers impressive chocolate-covered confections.
- Melting chocolate carefully prevents burning and ensures smooth coating consistency.
- Freezing helps set the candy quickly and maintains structural integrity during dipping.
- Perfect for summer gatherings or unexpected sweet cravings with minimal preparation time.
- Prep Time: 15 minutes
- Cook Time: 0 minutes
- Category: Desserts, Snacks
- Method: None
- Cuisine: American
Nutrition
- Serving Size: 24
- Calories: 480 kcal
- Sugar: 56g
- Sodium: 160mg
- Fat: 28g
- Saturated Fat: 16g
- Unsaturated Fat: 10g
- Trans Fat: 0g
- Carbohydrates: 60g
- Fiber: 2g
- Protein: 4g
- Cholesterol: <5mg
Mary Ellen
Founder, Pastry Chef & Recipe Developer
Expertise
Education
Savannah Technical College
Mary Ellen is the heart and soul of thatsmyhome.com. As the founder, pastry chef, and recipe developer, she refined her skills at Savannah Technical College with an Associate of Applied Science in Culinary Baking & Pastry Arts.
Mary blends classic techniques with modern twists to make artisanal breads, beautifully crafted pastries, and desserts full of unique flavor. Her passion is evident in every recipe, and she enjoys sharing her expertise through hands-on pastry workshops and insightful articles in local culinary magazines.