Crispy Keto Cheesy Garlic Breadsticks Recipe

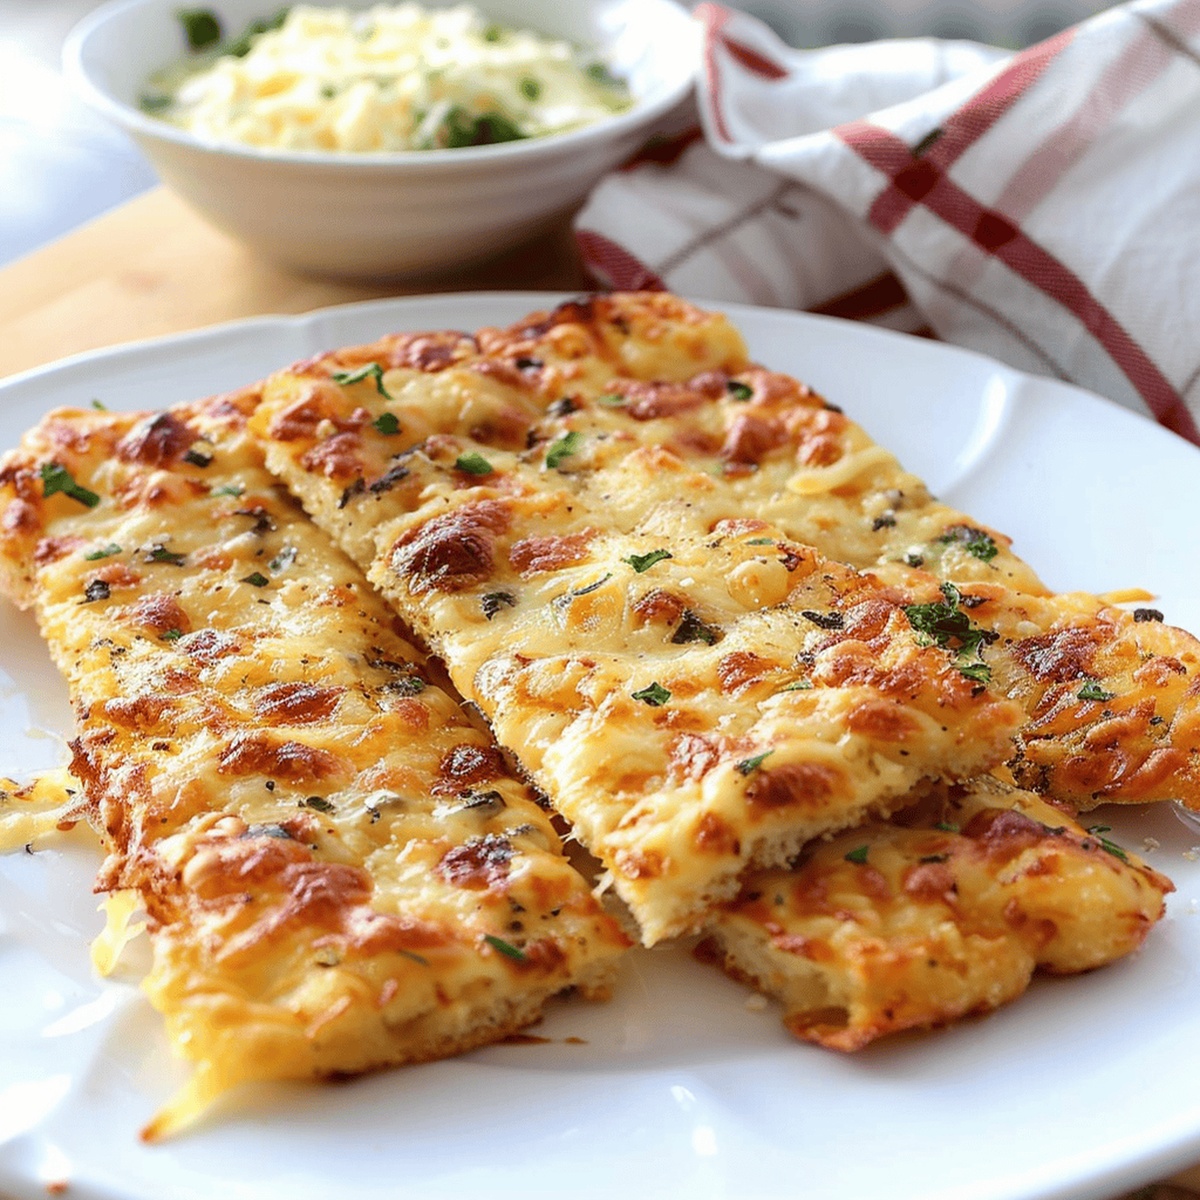
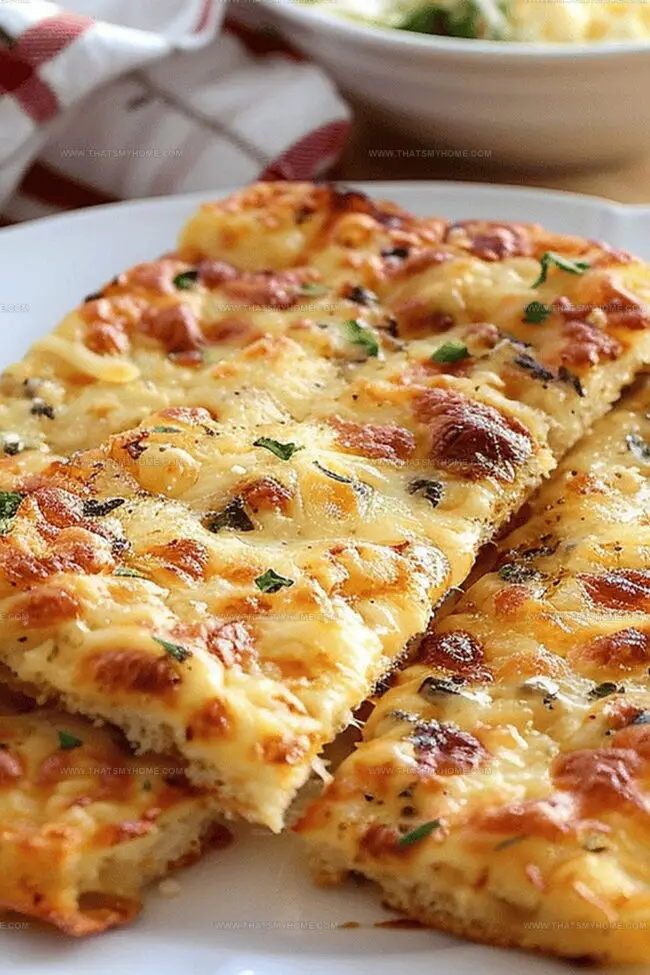
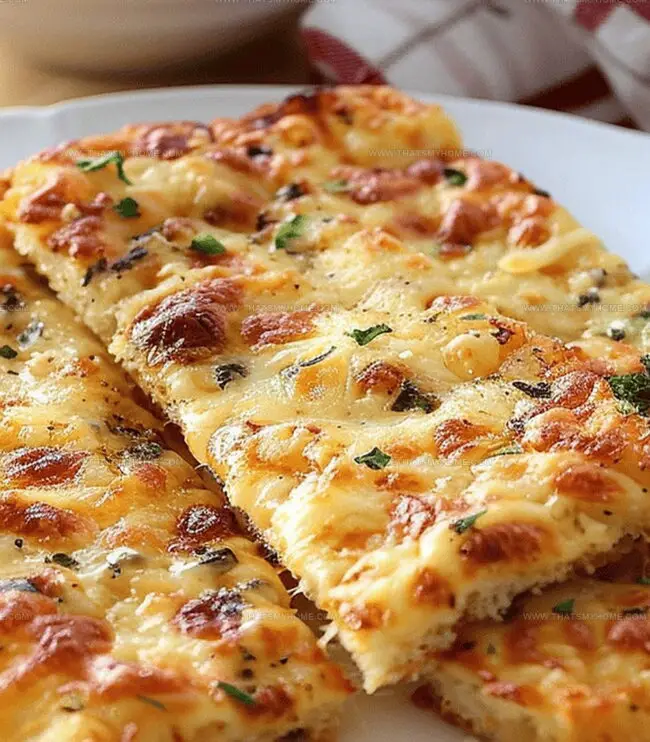
Flavorful Keto Cheesy Garlic Breadsticks Recipe Anyone Can Make

Crispy, golden breadsticks dancing with keto cheesy garlic flavors will make your taste buds sing with delight.

Low-carb enthusiasts and cheese lovers unite over this mouthwatering recipe.

These delectable sticks pack incredible flavor without the guilt of traditional bread.

Each bite delivers a perfect balance of cheesy goodness and robust garlic notes.

The simple ingredients come together quickly, promising a satisfying snack or side dish.

With just a few minutes of preparation, you can serve these irresistible breadsticks that look and taste like restaurant-quality appetizers.

Grab your apron and get ready to impress everyone at the table with this game-changing keto-friendly treat.

Quick Recipe Overview

Prep Time: 10 minutes

Cook Time: 15 minutes

Total Time: 25 minutes

Calories: 240 kcal

Servings: 5

What Goes into Keto Cheesy Garlic Breadsticks

For The Base:
  • Mozzarella Cheese: Melts beautifully to create a stretchy, crispy foundation that mimics traditional bread with zero carbs.
  • Parmesan Cheese: Adds rich, nutty depth and helps bind the mixture while providing a delightful golden crust.
  • Egg: Acts as a crucial binding agent that helps hold the cheesy base together and adds protein.
For Flavor Enhancers:
  • Garlic Powder: Infuses the breadsticks with a warm, aromatic kick that elevates the entire dish without adding bulk.
For Preparation Support:
  • Parchment Paper: Ensures effortless release and prevents sticking, creating a smooth cooking experience with zero mess.

Tools to Help with Cheesy Garlic Breadsticks

  • Baking sheet: Flat metal pan for even baking and easy transfer.
  • Parchment paper: Non-stick surface to prevent sticking and easy cleanup.
  • Mixing bowl: Medium-sized container for combining ingredients smoothly.
  • Cheese grater: Optional tool for freshly grating parmesan cheese.
  • Spatula or wooden spoon: For mixing cheese and egg mixture thoroughly.
  • Oven: To bake and broil the breadsticks to golden perfection.

Cooking Instructions for Keto Garlic Breadsticks

  • Oven Preparation Warm up your kitchen companion to create the perfect golden backdrop for your cheesy adventure.
  • Cheese Fusion Craft a delightful blend of melty mozzarella and rich parmesan, whisking in a playful egg and a sprinkle of garlic magic.
  • Dough Transformation Gently spread your cheesy mixture onto a parchment-lined baking canvas, sculpting it into a rustic pizza-like shape with soft, inviting edges.
  • Initial Baking Let your creation dance in the oven, transforming slowly into a crispy, golden treasure for about 15 magical minutes.
  • Final Crisp Unleash the broiler's intense heat for a quick moment, allowing the top to develop a stunning, irresistible golden crown that beckons hungry taste buds.

Keto Garlic Breadstick Tips and Add-Ons

  • Sprinkle fresh chopped herbs like basil, oregano, or rosemary on top before baking to enhance the aromatic quality of your keto breadsticks.
  • Prepare low-carb marinara, garlic aioli, or ranch dressing as delicious accompaniment to complement the cheesy breadsticks.
  • Adjust baking time slightly for crispier or softer results, depending on personal preference for crust texture.

Ideas for Serving Keto Cheesy Breadsticks

  • Pair with Dipping Sauce: Serve these cheesy garlic breadsticks with a rich marinara or creamy ranch dressing for an extra flavor punch.
  • Create a Low-Carb Meal: Transform these breadsticks into a complete keto-friendly dinner by adding a side of crisp green salad or roasted vegetable medley.
  • Game Day Appetizer: Slice the breadsticks into smaller pieces for the perfect finger food during movie nights, sports gatherings, or casual get-togethers with friends.
  • Breakfast Twist: Enjoy these breadsticks alongside scrambled eggs or as a quick morning snack for a satisfying, protein-packed start to your day.

Freezing and Storing Keto Garlic Breadsticks

  • Store Smartly: Keep leftover breadsticks in an airtight container inside the refrigerator for up to 3-4 days, ensuring maximum freshness and flavor retention.
  • Reheat Perfectly: Crisp up cold breadsticks by warming them in a preheated oven at 350°F for 5-7 minutes, restoring their original delicious texture and warmth.
  • Freeze for Later: Wrap individual breadsticks tightly in plastic wrap, then place in a freezer-safe bag to maintain quality for up to 2 months, creating a convenient make-ahead option.
  • Portion and Prepare: Cut breadsticks into bite-sized pieces before storing, making it easier to grab a quick snack or reheat just the amount you want to enjoy.
Print
clock clock iconcutlery cutlery iconflag flag iconfolder folder iconinstagram instagram iconpinterest pinterest iconfacebook facebook iconprint print iconsquares squares iconheart heart iconheart solid heart solid icon
Crispy Keto Cheesy Garlic Breadsticks Recipe

Crispy Keto Cheesy Garlic Breadsticks Recipe


5 Stars 4 Stars 3 Stars 2 Stars 1 Star

4.9 from 21 reviews

  • Total Time: 25 minutes
  • Yield: 5 1x

Description

Keto cheesy garlic breadsticks bring Italian-style comfort to low-carb diners with crispy, cheesy perfection. Homemade magic happens when almond flour, mozzarella, and garlic combine for a satisfying snack you’ll crave repeatedly.


Ingredients

Scale
  • 1 cup (240 ml) shredded mozzarella
  • 1 cup (240 ml) shredded parmesan cheese
  • 1 egg
  • 1 tsp garlic powder
  • 1 pinch red pepper flakes
  • 1 sprinkle parsley flakes

Instructions

  1. Preparation: Preheat the oven to 350°F (175°C) and line a baking sheet with parchment paper, ensuring full coverage.
  2. Mixture Creation: In a large mixing bowl, combine mozzarella cheese, parmesan cheese, egg, and garlic powder, blending until a uniform mixture forms.
  3. Base Formation: Spread the cheese mixture evenly across the parchment-lined baking sheet, creating a thin, pizza crust-like base approximately 1/4 inch thick.
  4. Initial Baking: Place the baking sheet in the preheated oven and bake for 15 minutes, watching for golden edges and complete cheese melting.
  5. Final Crisping: Switch oven to broil and position the baking sheet under the broiler for 2-3 minutes, carefully monitoring to achieve a golden-brown surface without burning.
  6. Cooling and Serving: Remove from the oven and let the cheesy garlic breadsticks rest for 2-3 minutes to firm up, then slice and serve.

Notes

  • Cheese Selection Matters: Use freshly shredded mozzarella for best melting and texture, avoiding pre-shredded cheese which contains anti-caking agents that prevent smooth blending.
  • Watch Broiling Closely: Broiling happens quickly and can burn easily, so stand near the oven and rotate the pan if needed to ensure even, golden-brown coloring without charring.
  • Cooling is Crucial: Let the breadsticks rest for 2-3 minutes after baking to allow the cheese to set and become sliceable, preventing crumbling when cutting.
  • Uniform Thickness Ensures Success: Spread the cheese mixture evenly to about 1/4 inch thick for consistent cooking and crispy edges, using a spatula or offset knife for smooth distribution.
  • Prep Time: 10 minutes
  • Cook Time: 15 minutes
  • Category: Snacks, Appetizer
  • Method: Baking, Broiling
  • Cuisine: American

Nutrition

  • Serving Size: 5
  • Calories: 240
  • Sugar: 1 g
  • Sodium: 550 mg
  • Fat: 18 g
  • Saturated Fat: 10 g
  • Unsaturated Fat: 8 g
  • Trans Fat: 0 g
  • Carbohydrates: 2 g
  • Fiber: 0 g
  • Protein: 20 g
  • Cholesterol: 70 mg
Michael Rivera

Michael Rivera

Co-Founder & Culinary Instructor

Expertise

  • Classic French Cuisine
  • Artisanal Bread Baking
  • Plant-Based Culinary Innovation
  • Recipe & Menu Development
  • Interactive Online Instruction

Education

The French Culinary Institute (now part of the International Culinary Center)

  • Program: Classic Culinary Arts
  • Focus: An intensive curriculum rooted in classical French techniques, artisanal bread production, and contemporary culinary methods.

Michael Rivera is a seasoned chef and culinary instructor based in San Francisco, CA. Trained in Classic Culinary Arts at The French Culinary Institute, he refined his skills in Michelin-starred kitchens, mastering classic French techniques and artisanal bread baking. 

Passionate about making gourmet methods accessible, Michael co-founded thatsmyhome.com to share his expertise through interactive online lessons and innovative, plant-based recipes. He loves blending traditional techniques with modern ideas, encouraging home cooks to enjoy the art of cooking in a relaxed, fun environment.

Leave a Reply

Your email address will not be published. Required fields are marked *

Recipe rating 5 Stars 4 Stars 3 Stars 2 Stars 1 Star