Bite-Sized Bloomin’ Onions Recipe: Fun Party Pleasers
Dive into a world of crispy, golden deliciousness with these irresistible mini bloomin onions that will make your taste buds dance.
This bite-sized version of the classic appetizer packs a serious flavor punch without the overwhelming size of traditional bloomin onions.
Each carefully crafted morsel delivers a satisfying crunch that’s perfectly seasoned and wonderfully addictive.
The simple yet magical technique creates a stunning flower-like shape that’s guaranteed to impress at any gathering.
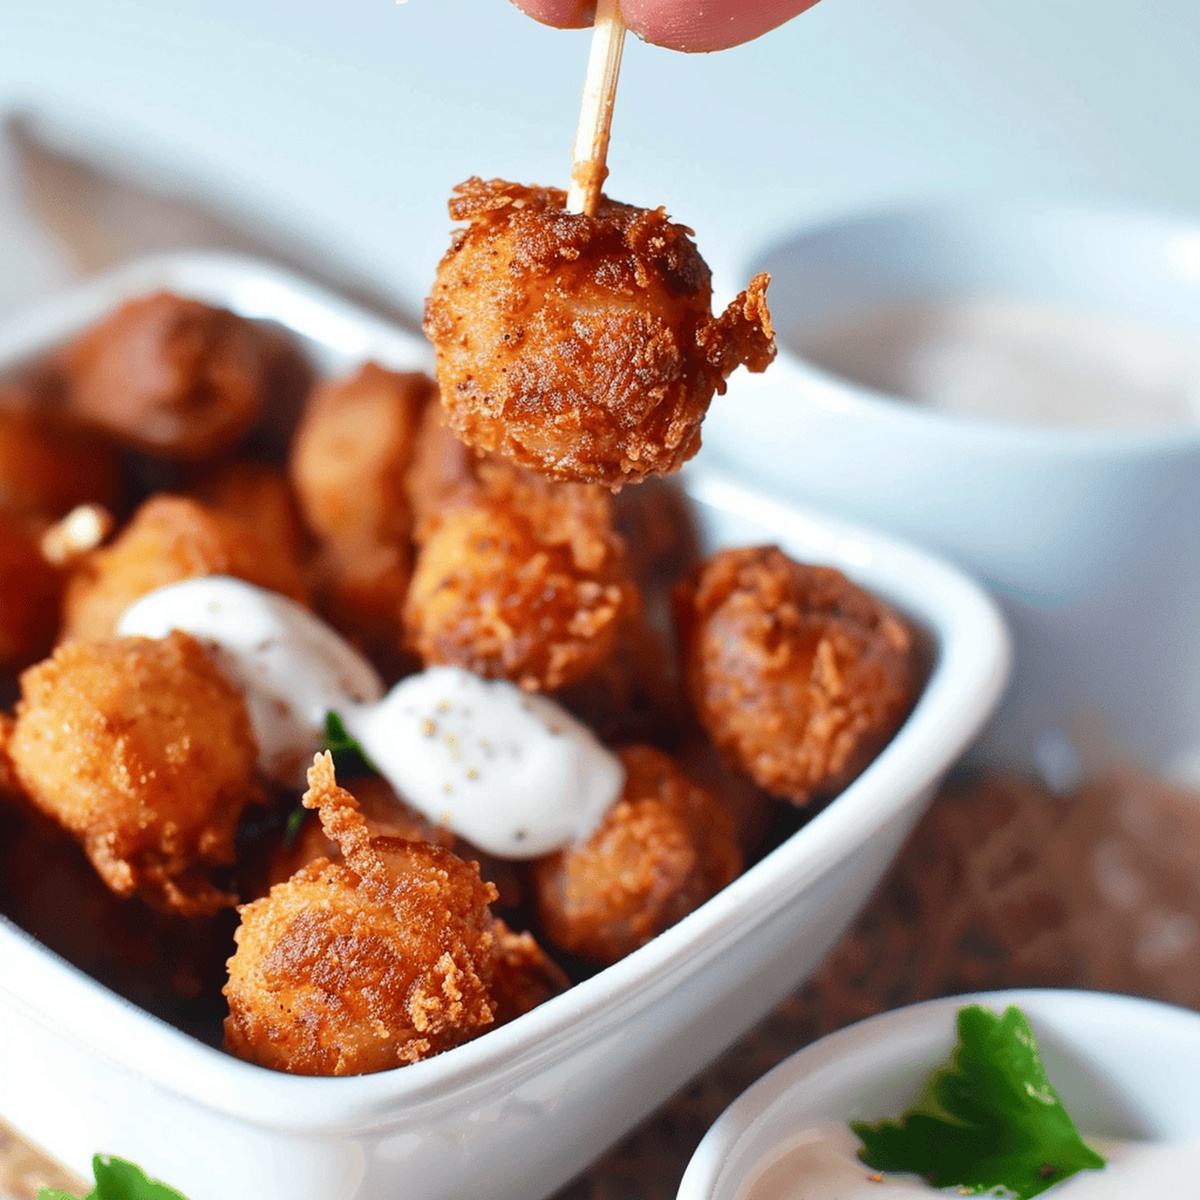
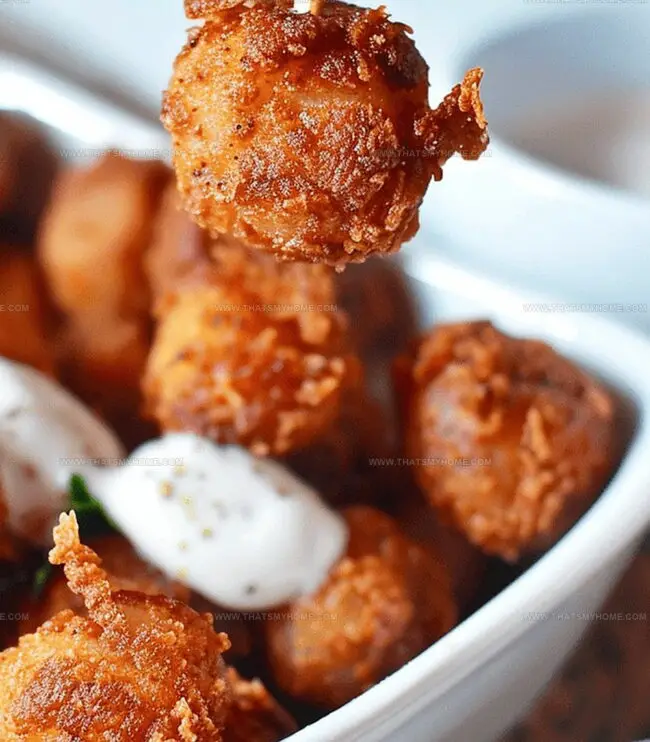
Crispy on the outside and tender on the inside, these mini bloomin onions are a crowd-pleasing snack that disappears faster than you can say “more, please!” Grab your ingredients and get ready to elevate your appetizer game with this irresistible recipe that promises pure snacking joy.
Quick Recipe Overview

Mini Bloomin’ Onions Ingredient Guide
For Onion Base:For Coating Elements:For Cooking and Finishing:Tools to Create a Crisp, Flowered Snack
Frying Instructions for Mini Bloomin’ Onions
Soak pearl onions in chilled water to gently release them from their tight skins and prepare for seasoning.
Create a silky coating by dipping each onion into whisked eggs, ensuring complete coverage for maximum flavor absorption.
Craft a zesty, crunchy exterior by rolling onions in a blend of aromatic seasonings that will transform them into crispy bites.
Plunge the seasoned onions into bubbling oil, letting them dance and transform into golden-brown delights with a perfect crunch.
Rest the freshly fried treasures on absorbent paper, allowing excess oil to drain before serving with a tantalizing dipping companion that complements their rich, spicy profile.
Dips and Spices to Pair With the Crunch
Best Ways to Serve Mini Bloomin’ Onions
How to Store and Reheat Bloomin’ Onions
Print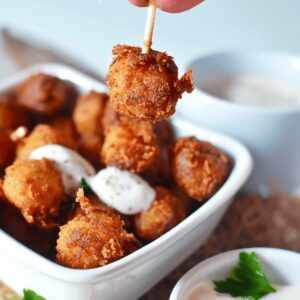
Crispy Mini Bloomin Onions Recipe
- Total Time: 30 minutes
- Yield: 5 1x
Description
Crispy mini bloomin onions bring classic steakhouse flavors home with delightful bite-sized appeal. Crunchy golden petals and zesty dipping sauce make these appetizers irresistible for home cooks craving restaurant-style indulgence.
Ingredients
- 14.4 oz (409 g) frozen pearl onions, thawed
- 2 large eggs
- 1 cup all-purpose flour
- 1 tsp cayenne pepper
- 1 tsp paprika
- 1 tsp onion powder
- 1 tsp garlic powder
- 1 tsp salt
- 0.5 tsp black pepper
- Vegetable oil for frying
Instructions
- Preparation: Thoroughly defrost pearl onions by soaking in cold water overnight, then drain and pat completely dry using kitchen towels.
- Seasoning Station: Whisk eggs in a shallow dish while mixing flour with cayenne pepper, paprika, onion powder, garlic powder, kosher salt, and black pepper in a separate bowl.
- Coating Process: Dip each pearl onion into egg wash, ensuring full coverage, then roll in seasoned flour mixture, gently shaking off excess coating.
- Frying Technique: Heat vegetable oil to 375°F (190°C) and deep-fry coated onions for 4-5 minutes until achieving a rich, golden-amber color and crispy exterior.
- Finishing Touch: Remove onions using a slotted spoon, drain on paper towels to absorb excess oil, and serve immediately with ranch, spicy aioli, or marinara sauce for dipping.
Notes
- Overnight Thawing Technique: Submerge frozen pearl onions in cold water to ensure complete, even defrosting without compromising texture or quality.
- Moisture Elimination Tip: Thoroughly pat onions dry to prevent oil splattering and achieve maximum crispiness during frying.
- Temperature Control Critical: Maintain consistent 375°F oil temperature for perfect golden-brown exterior and avoid greasy results.
- Cooking Method Flexibility: Choose between quick deep-frying for crisp exterior or slow low-heat method for tender, evenly cooked onions depending on preference and time available.
- Prep Time: 10 minutes
- Cook Time: 20 minutes
- Category: Appetizer, Snacks
- Method: Frying
- Cuisine: American
Nutrition
- Serving Size: 5
- Calories: 220
- Sugar: 1 g
- Sodium: 300 mg
- Fat: 10 g
- Saturated Fat: 1.5 g
- Unsaturated Fat: 8 g
- Trans Fat: 0 g
- Carbohydrates: 30 g
- Fiber: 2 g
- Protein: 5 g
- Cholesterol: 60 mg
Michael Rivera
Co-Founder & Culinary Instructor
Expertise
Education
The French Culinary Institute (now part of the International Culinary Center)
Michael Rivera is a seasoned chef and culinary instructor based in San Francisco, CA. Trained in Classic Culinary Arts at The French Culinary Institute, he refined his skills in Michelin-starred kitchens, mastering classic French techniques and artisanal bread baking.
Passionate about making gourmet methods accessible, Michael co-founded thatsmyhome.com to share his expertise through interactive online lessons and innovative, plant-based recipes. He loves blending traditional techniques with modern ideas, encouraging home cooks to enjoy the art of cooking in a relaxed, fun environment.