
Foolproof Pie Crust Recipe: Flaky Layers Every Time
Baking a flawless pie crust strikes fear in many home cooks, but mastering this perfect pie crust recipe becomes surprisingly straightforward with simple techniques.
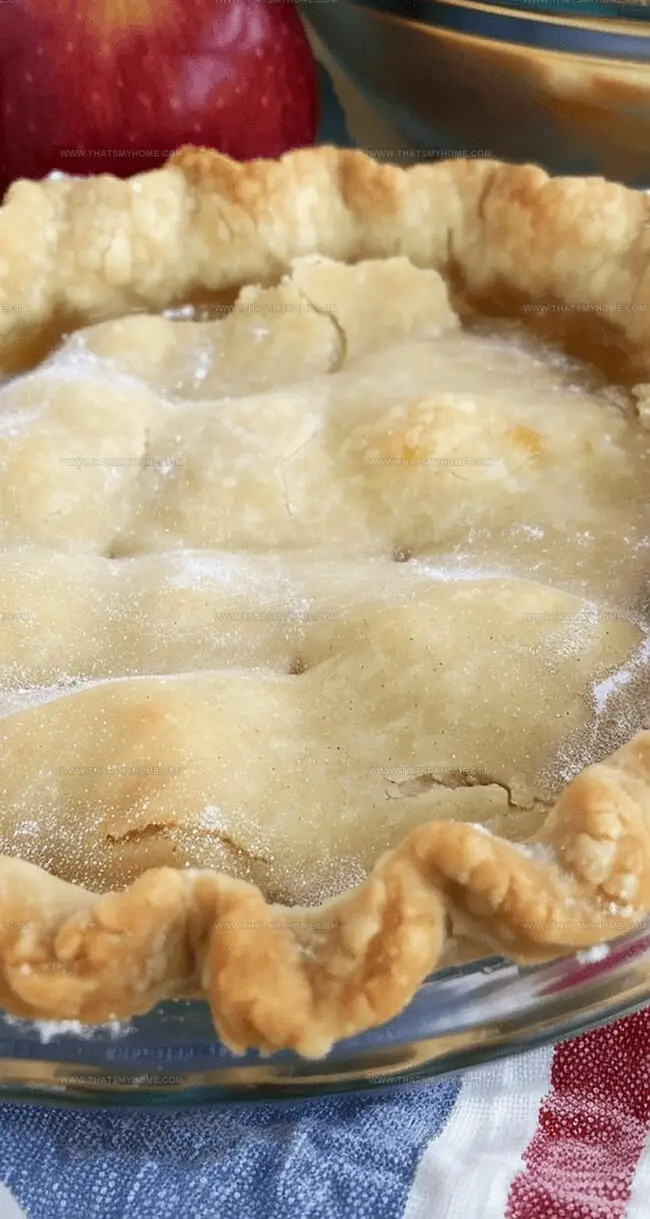
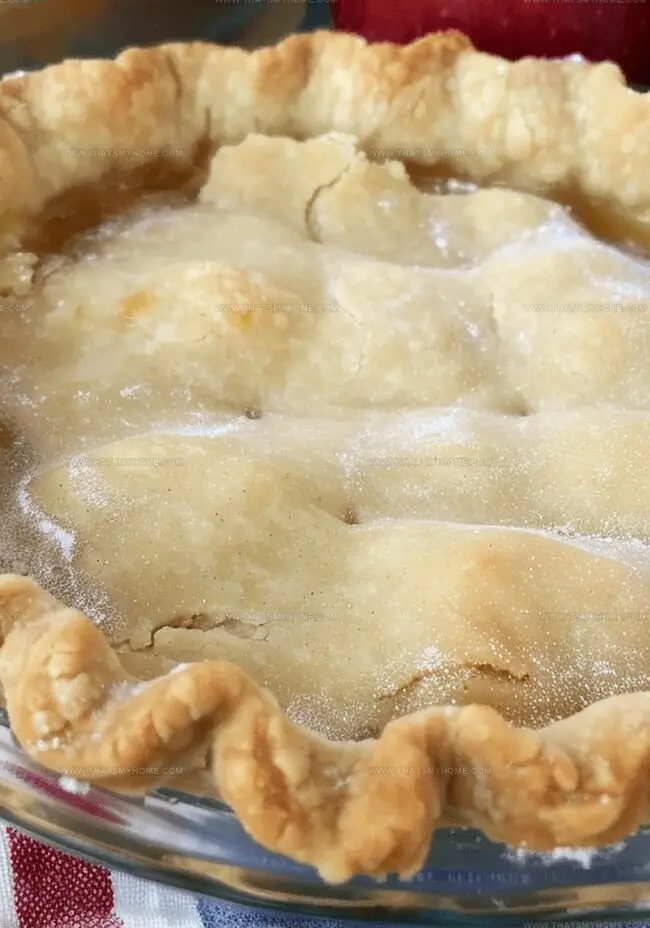
Buttery, tender, and delightfully flaky, this pastry foundation can elevate any dessert from ordinary to extraordinary.
Professional bakers swear by a few crucial steps that guarantee consistent results every single time.
Precise measurements and cold ingredients create the magic behind an exceptional crust.
The right balance of flour, fat, and liquid ensures a delicate, melt-in-your-mouth texture that complements sweet and savory fillings.
Cold butter and minimal handling are secret weapons in achieving that sought-after crisp, layered structure.
Roll up your sleeves and get ready to impress with a pie crust that turns heads and delights taste buds.
Quick Recipe Overview
Perfect Pie Crust: What You’ll Need
For Dry Base:For Liquid Binding:For Optional Enhancement:Tools That Help You Nail the Perfect Pie Crust
How to Prepare the Perfect Pie Crust
Gather your baking tools and create a welcoming workspace with a clean surface, soft lighting, and your favorite music playing softly in the background.
Sprinkle flour across your workspace and toss dry ingredients together gently, letting them blend like dance partners creating a soft, powdery landscape.
Whisk egg and cold water together, watching them swirl and combine into a silky smooth mixture that will transform your dry ingredients into something extraordinary.
Fold liquid into flour mixture with tender movements, letting the ingredients whisper and merge until they form a cohesive, tender ball that feels soft and promising.
Wrap your delicate dough in plastic, tucking it into the refrigerator like a cozy blanket, allowing it to relax and develop depth of flavor for about 15 minutes.
Flavor Additions and Adjustments for Pie Crust
Serving the Perfect Pie Crust for Any Filling
Keeping the Perfect Pie Crust Fresh Until Use
Print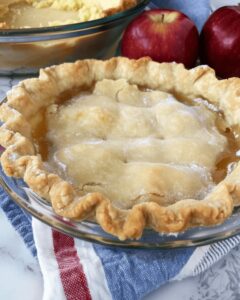
Flaky Pie Crust Recipe
- Total Time: 20 minutes
- Yield: 9 1x
Description
Legendary bakers treasure this perfect pie crust recipe for its flaky, buttery texture. Golden pastry creates delicate layers that complement sweet and savory fillings while offering bakers a reliable technique for exceptional homemade pies.
Ingredients
- 1 large egg
- 1 ¾ cups (397 grams) shortening
- 4 cups all-purpose flour
- ½ cup (120 milliliters) ice water
- 1 tbsp (15 milliliters) apple cider vinegar
- 1 tbsp (12.5 grams) sugar
Instructions
- Preparation: Combine flour, sugar, and shortening in a large mixing bowl, setting the stage for a delicate pie crust with precise texture and consistency.
- Mixing: Employ a pastry cutter or fork to systematically break down ingredients until they resemble fine, sandy crumbs that will create a flaky foundation.
- Egg Blending: Whisk the egg thoroughly in a separate vessel, creating a smooth, uniform liquid that will bind the dough with exceptional precision.
- Liquid Integration: Pour ice-cold water into the beaten egg, stirring until the mixture becomes completely homogeneous and ready for incorporation.
- Dough Formation: Gradually introduce the liquid mixture to the flour base, gently folding with a fork until a soft, malleable dough emerges, avoiding over-manipulation that could toughen the crust.
- Dough Shaping: Tenderly shape the dough into a compact, smooth sphere using clean hands, ensuring even distribution of ingredients and optimal structural integrity.
- Chilling Process: Securely wrap the dough in plastic film, then refrigerate for 15 minutes to relax the gluten, enhance rollability, and develop a supremely tender crust texture.
Notes
- Chill for Flakiness: Refrigerating the dough for exactly 15 minutes helps relax gluten, creating a more tender and flaky pie crust that melts in your mouth.
- Minimal Handling Matters: Work the dough gently and minimally to prevent tough, dense crust; light touches preserve the delicate, crumbly texture that makes pies irresistible.
- Water Temperature Counts: Using ice-cold water is crucial for maintaining solid fat particles, which create those coveted flaky layers during baking.
- Consistent Texture Technique: Breaking the shortening into small, pea-sized crumbs ensures even distribution and a uniform, delectable crust that bakes perfectly golden.
- Prep Time: 20 minutes
- Cook Time: 0 minutes
- Category: Desserts, Snacks
- Method: Mixing
- Cuisine: American
Nutrition
- Serving Size: 9
- Calories: 330
- Sugar: 1.4 g
- Sodium: 0 mg
- Fat: 20 g
- Saturated Fat: 5 g
- Unsaturated Fat: 15 g
- Trans Fat: 0 g
- Carbohydrates: 36 g
- Fiber: 1 g
- Protein: 3 g
- Cholesterol: 10 mg
Michael Rivera
Co-Founder & Culinary Instructor
Expertise
Education
The French Culinary Institute (now part of the International Culinary Center)
Michael Rivera is a seasoned chef and culinary instructor based in San Francisco, CA. Trained in Classic Culinary Arts at The French Culinary Institute, he refined his skills in Michelin-starred kitchens, mastering classic French techniques and artisanal bread baking.
Passionate about making gourmet methods accessible, Michael co-founded thatsmyhome.com to share his expertise through interactive online lessons and innovative, plant-based recipes. He loves blending traditional techniques with modern ideas, encouraging home cooks to enjoy the art of cooking in a relaxed, fun environment.