Garlic Powder: Provides concentrated savory essence without raw garlic intensity.
For Preparation Support:
Nonstick Baking Spray: Ensures easy bread removal and prevents sticking.
Aluminum Foil: Catches potential butter drips and protects baking surface.
Plastic Wrap: Helps create ideal rising environment for dough.
Tools You’ll Need for Pull-Apart Bread
Large Bowl: Essential for mixing ingredients and combining the rolls with the butter and cheese mixture.
Spring-form Pan (9-inch): Perfect for creating the pull-apart bread with easy removal and neat presentation.
Cutting Board: Used for halving the rolls and potentially chopping jalapenos.
Sharp Knife: Needed to cut the rolls and mince jalapenos precisely.
Plastic Wrap: Helps cover the dough during the rising process.
Aluminum Foil: Placed under the pan to catch any butter drips and prevent oven mess.
Measuring Cups: Important for accurately measuring cheese and other ingredients.
Baking Spray: Used to prevent sticking in the spring-form pan.
Cheese Grater (optional): Helpful if using block cheese that needs grating.
Cheddar Pull-Apart Bread Baking Instructions
Dough Preparation Thaw Rhodes rolls at room temperature, carefully slicing each roll in half with precision.
Flavor Fusion Mix melted butter with herbs, spices, and a trio of cheeses in a spacious mixing bowl, creating a tangy coating for the rolls.
Pan Setup Generously spray a spring-form pan with nonstick cooking spray, ensuring smooth release after baking.
Rising Magic Allow the cheese-coated rolls to rest and expand, transforming into puffy pillows of deliciousness over 2-3 hours.
Topping Finale Sprinkle additional cheese and jalapeno pieces across the surface, creating a tempting golden-brown landscape.
Protection Layer Place aluminum foil underneath the pan to catch any wayward butter drips.
Baking Brilliance Slide the pan into a preheated 350°F oven, letting the rolls bake until they turn a gorgeous golden color and the cheese melts into irresistible pools of flavor.
Cheesy Pull-Apart Tips & Tricks
Swap cheddar and Gouda with your favorite melting cheeses like monterey jack, pepper jack, or provolone for unique flavor profiles.
Reduce or remove jalapeno seeds to decrease heat, or replace with mild green chiles for a gentler kick without losing pepper flavor.
Prepare the bread the night before, cover, and refrigerate overnight. Remove from refrigerator 1 hour before baking to allow dough to return to room temperature.
Experiment with different dried herbs like thyme, rosemary, or Italian seasoning blend to create exciting new taste combinations that complement the cheesy base.
Serve warm as a side dish, appetizer, or game day snack. Pair with marinara sauce, ranch dressing, or garlic aioli for delicious dipping options that enhance the bread’s rich flavors.
How to Serve Pull-Apart Bread Warm & Cheesy
Savor Warm Appetizer Moments: Serve this cheesy pull-apart bread as a mouthwatering starter for game day parties or casual gatherings with friends.
Pair with Zesty Dips: Create a delicious side by offering marinara sauce, ranch dressing, or spicy salsa for extra flavor and dipping excitement.
Transform into Party Centerpiece: Bring this golden, cheese-loaded bread directly to the table and let guests pull apart the gooey, herbed rolls for an interactive dining experience.
Complement with Fresh Salads: Balance the rich, cheesy bread by serving alongside a crisp green salad with light vinaigrette to cut through the decadent flavors.
Save & Store Pull-Apart Bread Without Drying Out
Maximize Freshness: Store the Cheddar Pull-Apart Bread in an airtight container at room temperature for up to 2 days, ensuring maximum flavor and texture.
Refrigerate Wisely: Wrap individual portions in plastic wrap or aluminum foil to maintain moisture and prevent drying out when storing in the refrigerator for 3-4 days.
Freeze for Later: Carefully place cooled bread in a freezer-safe container or zip-top bag, removing as much air as possible. Freeze for up to 1 month for a quick and delicious future treat.
Reheat with Care: Warm refrigerated or frozen bread in a preheated oven at 300°F (150°C) for 10-15 minutes, covering with foil to prevent excessive browning and maintain its soft, cheesy texture.
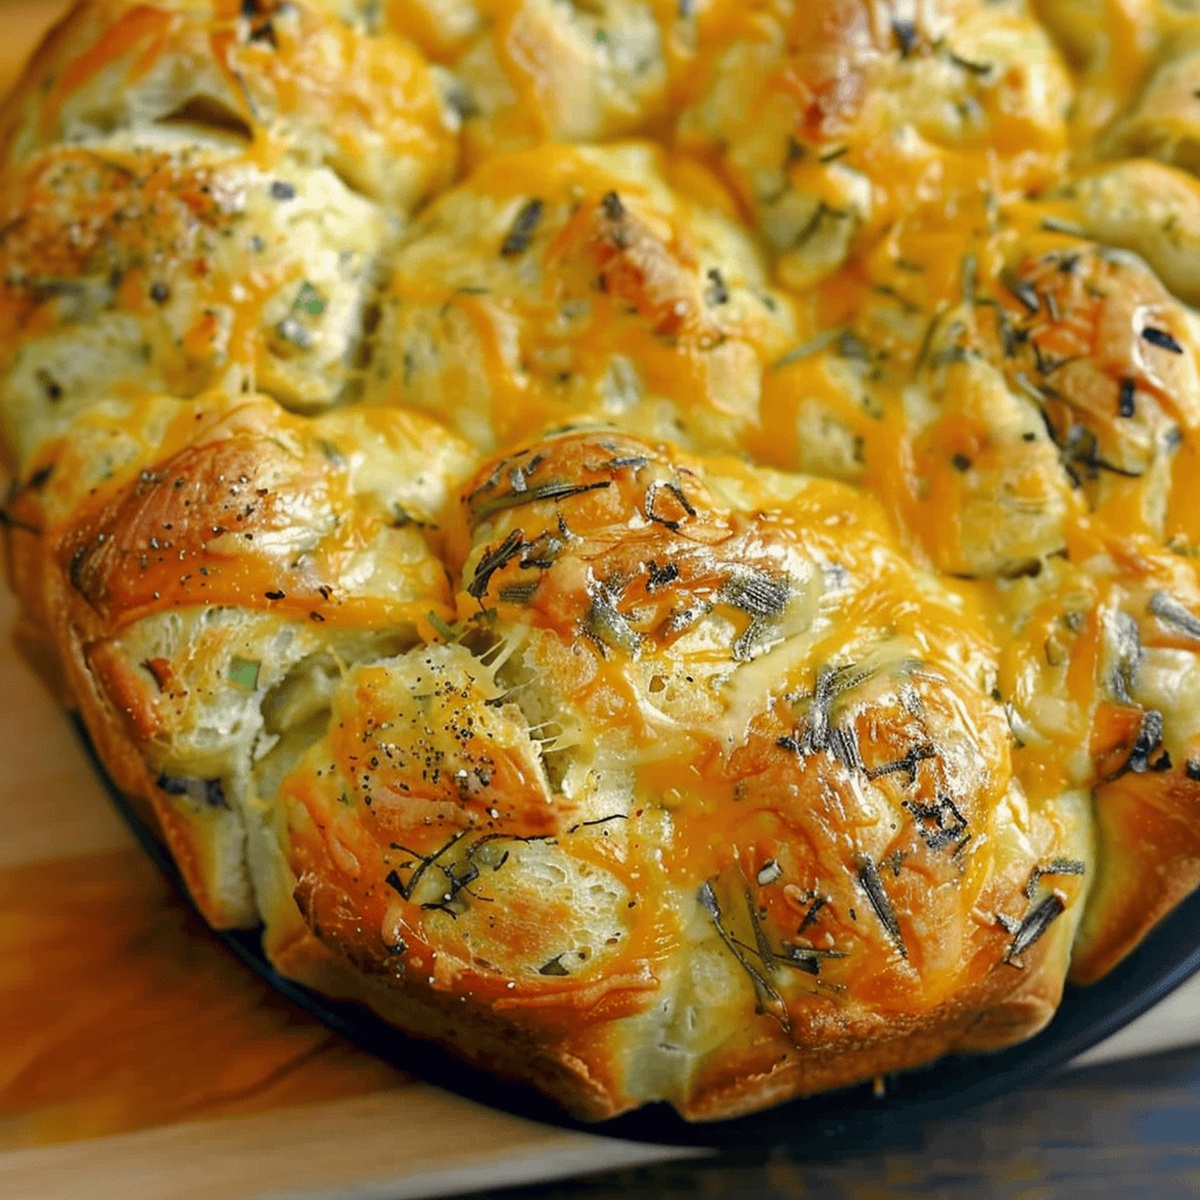
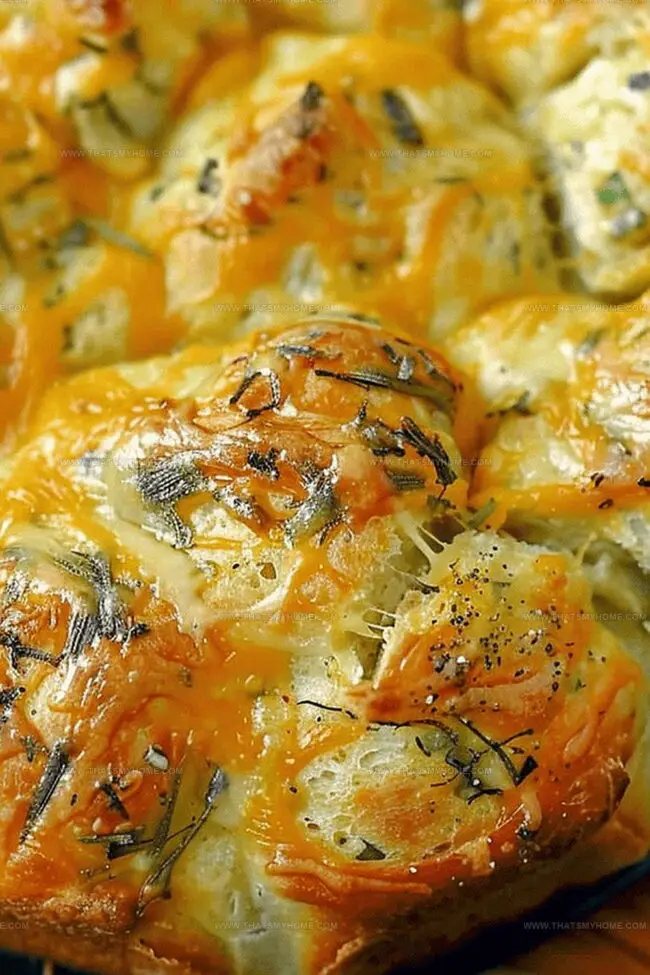
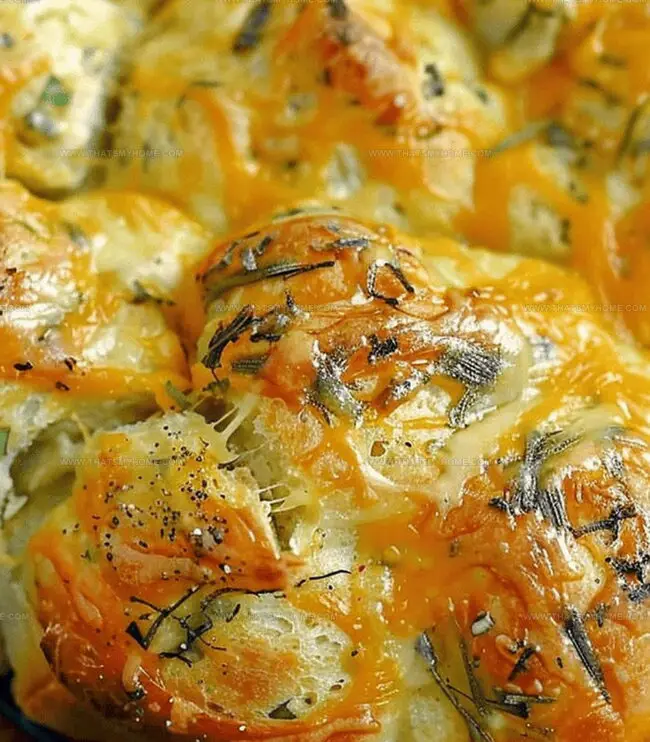
Homemade cheddar pull-apart bread delivers irresistible cheesy layers perfect for gathering friends around the table. Sharp cheddar and buttery dough create a crowd-pleasing centerpiece you can savor slice by slice.
Ingredients
Scale
1.5 cups (360 ml) sharp cheddar cheese, shredded
1 cup (240 ml) Gouda cheese, shredded
¼ cup (60 ml) Parmesan cheese, grated
15 Rhodes rolls (frozen unbaked roll dough)
4 tbsps (59 ml) butter, melted
1 jalapeno, seeded and finely minced
1 tsp dried oregano
1 tsp dried basil
½ tsp garlic powder
Instructions
Preparation: Gently thaw Rhodes rolls for 30 minutes, carefully slice each roll in half.
Flavor Infusion: Create a zesty butter blend by mixing melted butter with half the jalapeno peppers, oregano, basil, garlic powder, and a trio of shredded cheeses (cheddar, Gouda, Parmesan).
Coating: Thoroughly dredge roll halves in the seasoned butter-cheese mixture, ensuring complete and even coverage.
Assembly: Generously spray a 9-inch spring-form pan with non-stick cooking spray, arranging the coated roll pieces inside with strategic placement.
Proofing: Shield the pan with plastic wrap and allow dough to rise in a warm, undisturbed environment until volume doubles (2-3.5 hours depending on ambient conditions).
Oven Preparation: Preheat oven to 350°F, positioning an aluminum foil sheet underneath the pan to catch potential drippings.
Final Topping: Sprinkle remaining cheddar, Gouda, and chopped jalapeno evenly across the roll surface.
Baking: Cook for 25-30 minutes until cheese turns golden-brown and rolls are completely baked through.
Resting: Remove from oven and let cool 5-10 minutes to allow cheese to set and prevent potential burns when serving.
Notes
Optimize Thawing: Allow rolls to thaw at room temperature for exactly 30 minutes to ensure perfect texture and even rising.
Cheese Blend Mastery: Mix multiple cheese varieties for complex, rich flavor depth that elevates the bread’s taste profile.
Proofing Precision: Watch dough rise in a warm, draft-free spot; rising time varies between 2-3.5 hours based on kitchen conditions.
Temperature Control: Use aluminum foil underneath to catch butter drips and prevent messy oven cleanup while ensuring even baking.
The French Culinary Institute (now part of the International Culinary Center)
Program: Classic Culinary Arts
Focus: An intensive curriculum rooted in classical French techniques, artisanal bread production, and contemporary culinary methods.
Michael Rivera is a seasoned chef and culinary instructor based in San Francisco, CA. Trained in Classic Culinary Arts at The French Culinary Institute, he refined his skills in Michelin-starred kitchens, mastering classic French techniques and artisanal bread baking.
Passionate about making gourmet methods accessible, Michael co-founded thatsmyhome.com to share his expertise through interactive online lessons and innovative, plant-based recipes. He loves blending traditional techniques with modern ideas, encouraging home cooks to enjoy the art of cooking in a relaxed, fun environment.

Michael Rivera
Co-Founder & Culinary Instructor
Expertise
Education
The French Culinary Institute (now part of the International Culinary Center)
Michael Rivera is a seasoned chef and culinary instructor based in San Francisco, CA. Trained in Classic Culinary Arts at The French Culinary Institute, he refined his skills in Michelin-starred kitchens, mastering classic French techniques and artisanal bread baking.
Passionate about making gourmet methods accessible, Michael co-founded thatsmyhome.com to share his expertise through interactive online lessons and innovative, plant-based recipes. He loves blending traditional techniques with modern ideas, encouraging home cooks to enjoy the art of cooking in a relaxed, fun environment.