Sensational Buster Bar Ice Cream Cake Recipe: Sweet Summer Joy
Summers sizzle with delightful desserts that cool you down, and this buster bar ice cream cake recipe hits every sweet spot.
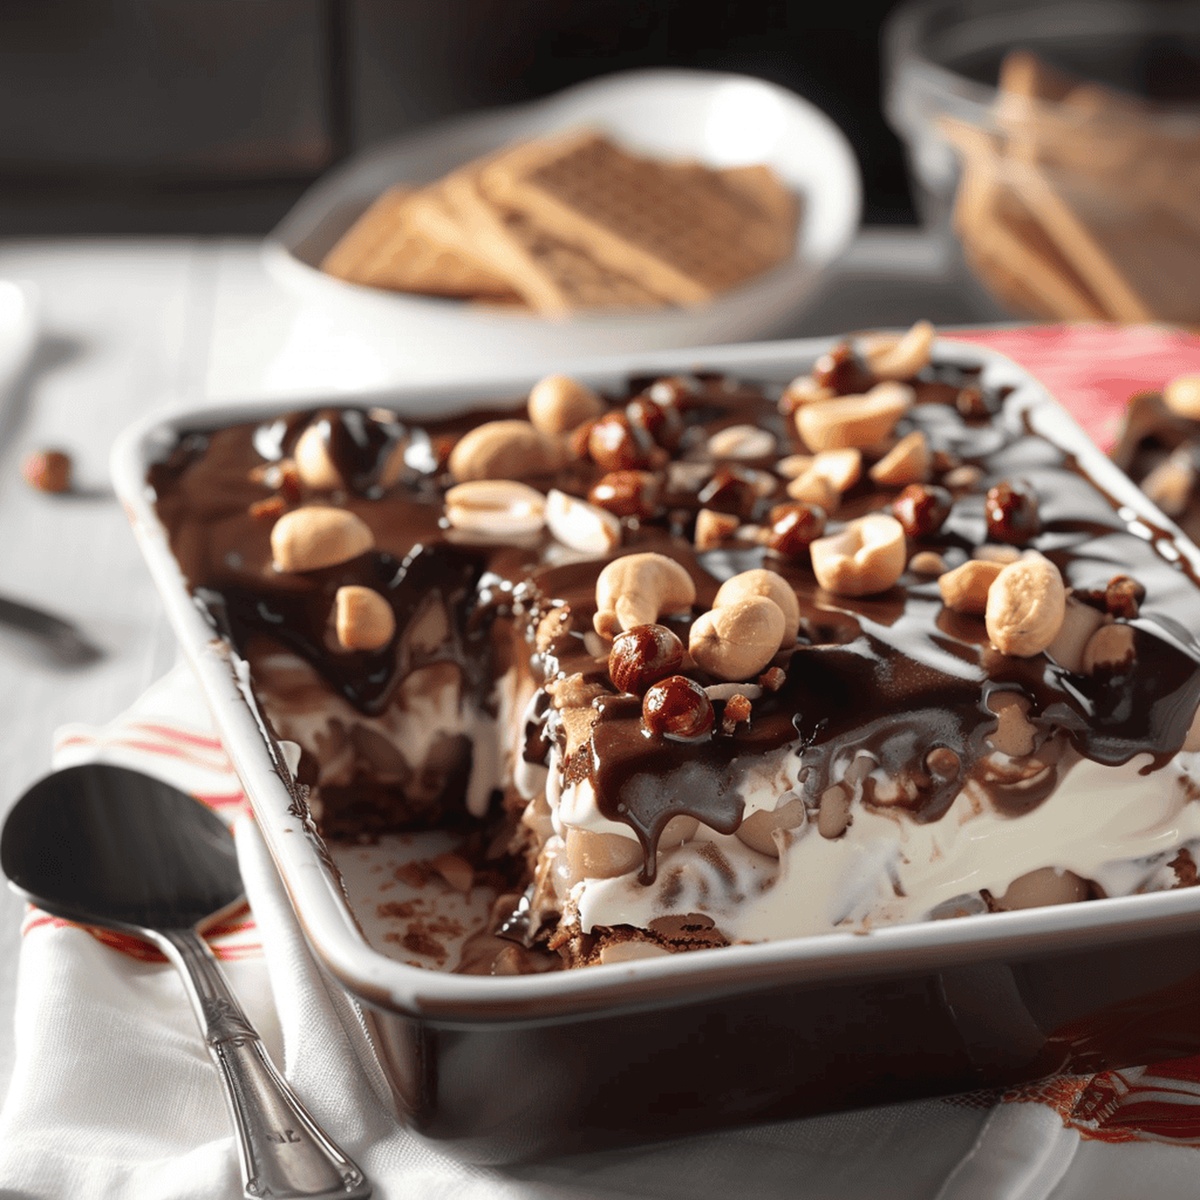
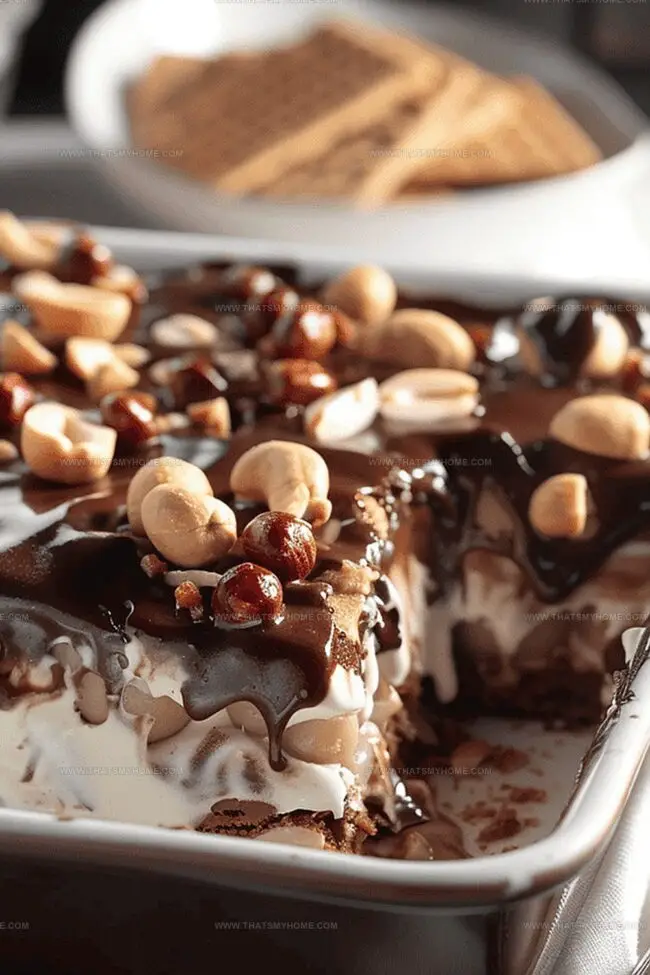
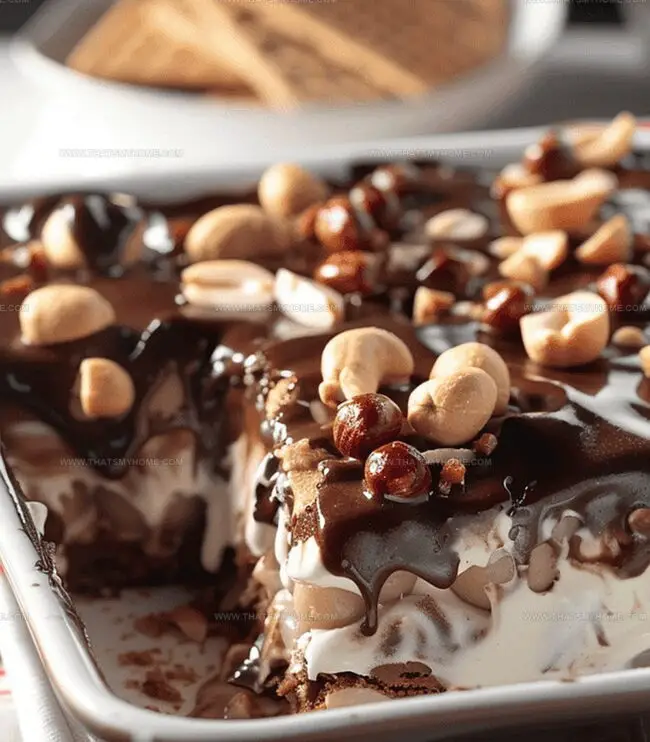
Layers of creamy vanilla ice cream blended with rich chocolate and crunchy peanuts create an irresistible treat.
Nostalgic flavors dance across your palate with each decadent bite.
Nobody can resist the combination of smooth ice cream and chocolate magic.
The dessert comes together easily, requiring minimal baking skills and maximum enjoyment.
Peanut lovers and chocolate enthusiasts will absolutely adore this simple yet spectacular frozen delight.
Get ready to make a dessert that steals the show at any gathering.
Quick Recipe Overview
What’s in Buster Bar Ice Cream Cake
For Crust:For Ice Cream Base:For Toppings and Sauces:Tools to Assemble a Buster Bar Ice Cream Cake
Step-by-Step Instructions for Buster Ice Cream Cake
Create a smooth base by arranging chocolate graham crackers across the bottom of a large rectangular dish, carefully fitting pieces to cover completely.
Gently spread a generous blanket of softened vanilla ice cream over the graham cracker foundation, ensuring a smooth and even surface.
Drizzle rich hot fudge sauce across the ice cream, then sprinkle a generous handful of roasted red skin peanuts to add delightful crunch and flavor.
Add another smooth layer of creamy vanilla ice cream, pressing down to create a perfect surface that captures the underlying flavors.
Scatter remaining peanuts across the top and create a beautiful chocolate drizzle using Magic Shell coating to lock in all the delicious textures.
Place the dessert in the freezer for several hours until completely firm, then slice into individual bars for a cool and decadent treat.
Tips for Creamy Layers in Ice Cream Cake
Serving Ideas for Buster Bar-Inspired Desserts
Storing Buster Bar Ice Cream Cake Properly
Print
Heavenly Buster Bar Ice Cream Cake Recipe
- Total Time: 15 mins
- Yield: 13 1x
Description
Homemade buster bar ice cream cake delivers nostalgic dessert memories with creamy layers of chocolate and vanilla. Peanut butter and chocolate fans will savor this cool, indulgent treat that satisfies classic sweet cravings.
Ingredients
- 1 gallon (3.8 L) vanilla ice cream
- 10 whole chocolate graham crackers
- 1 ½ cups (225 g) red skin peanuts
- 14 oz (397 g) hot fudge sauce
- 7.5 oz (213 g) Magic Shell chocolate coating
Instructions
- Foundation Layer: Arrange chocolate graham crackers in a seamless pattern across the bottom of a 9×13 inch baking dish, breaking pieces to eliminate any gaps.
- First Ice Cream Application: Spread softened vanilla ice cream evenly over graham cracker base, creating a smooth, uniform layer approximately 1/2 inch thick.
- Fudge and Nut Infusion: Drizzle warm hot fudge sauce across the ice cream surface, then generously scatter roasted red skin peanuts to create a delectable intermediate layer.
- Final Ice Cream Coverage: Gently deposit remaining softened vanilla ice cream over the fudge and peanut layer, ensuring a level and consistent surface.
- Decorative Topping: Sprinkle remaining peanuts across the top layer, then liberally coat with Magic Shell chocolate, allowing it to create a glossy, binding finish.
- Freezing and Setting: Place the assembled dessert in the freezer for a minimum of 3 hours or preferably overnight to achieve optimal firmness and cohesion.
- Serving Preparation: Remove from freezer and slice into individual rectangular portions using a knife warmed under hot water to ensure clean, precise cuts.
Notes
- Soften Ice Cream Strategically: Let vanilla ice cream sit at room temperature for 10-15 minutes to reach perfect spreadable consistency without melting completely.
- Prepare Baking Dish Carefully: Line bottom with chocolate graham crackers, breaking pieces to create full coverage without leaving any gaps for a smooth base.
- Freeze for Perfect Setting: Chill the dessert for at least 3 hours or preferably overnight to ensure firm, clean-cut bars with ideal texture.
- Slice with Professional Technique: Warm knife under hot water before cutting to achieve clean, precise rectangular servings without cracking the frozen layers.
- Prep Time: 15 minutes
- Cook Time: 0 minutes
- Category: Desserts, Snacks
- Method: None
- Cuisine: American
Nutrition
- Serving Size: 13
- Calories: 380
- Sugar: 30 g
- Sodium: 210 mg
- Fat: 20 g
- Saturated Fat: 10 g
- Unsaturated Fat: 8 g
- Trans Fat: 0 g
- Carbohydrates: 43 g
- Fiber: 2 g
- Protein: 7 g
- Cholesterol: 30 mg
Michael Rivera
Co-Founder & Culinary Instructor
Expertise
Education
The French Culinary Institute (now part of the International Culinary Center)
Michael Rivera is a seasoned chef and culinary instructor based in San Francisco, CA. Trained in Classic Culinary Arts at The French Culinary Institute, he refined his skills in Michelin-starred kitchens, mastering classic French techniques and artisanal bread baking.
Passionate about making gourmet methods accessible, Michael co-founded thatsmyhome.com to share his expertise through interactive online lessons and innovative, plant-based recipes. He loves blending traditional techniques with modern ideas, encouraging home cooks to enjoy the art of cooking in a relaxed, fun environment.