Adorable Mini Peanut Butter Cheesecakes Recipe: Tiny Treats
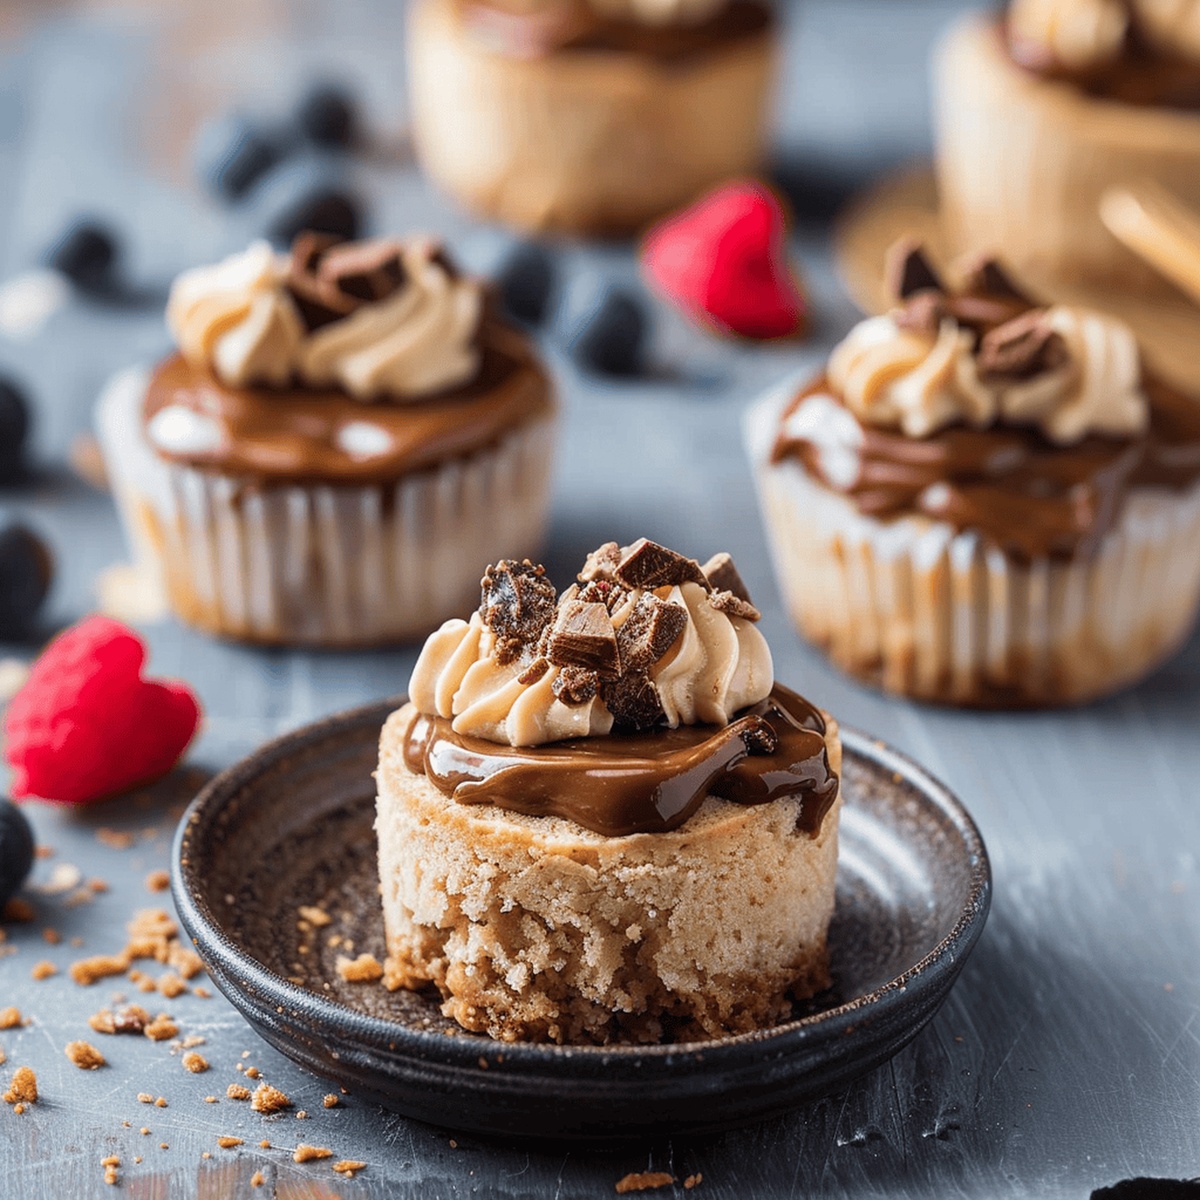
Decadent mini peanut butter cheesecakes offer a luxurious twist on traditional desserts that melt in your mouth.
These bite-sized delights pack an incredible punch of creamy richness and nutty flavor.
Rich cream cheese blends perfectly with smooth peanut butter, creating an irresistible treat.
Every mini cheesecake delivers a perfect balance of sweet and tangy notes that dance across your palate.
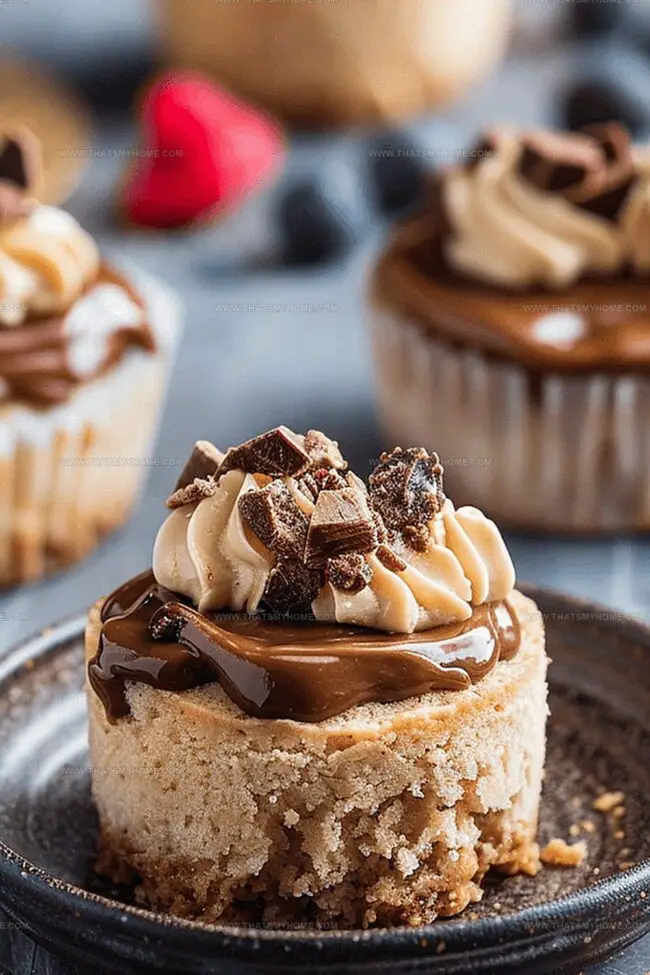
The velvety texture combined with a buttery graham cracker crust makes these little desserts impossible to resist.
Each delicate morsel promises a moment of pure indulgence that will leave you wanting more.
Grab your ingredients and get ready to impress everyone with these delectable mini desserts that are sure to become a new favorite.
Quick Recipe Overview
What’s in a Batch of Mini Peanut Butter Cheesecakes
For Crust:For Cheesecake Filling:For Chocolate Topping:Tools to Help Make Mini Peanut Butter Cheesecakes
Easy Instructions for Making Mini Cheesecakes
Grab your muffin pan and line it with cute paper cups. Crush graham crackers into sandy crumbs and mix with melted butter. Press the mixture firmly into each cup, creating a solid base that will hold your dreamy cheesecake.
Whip cream cheese, peanut butter, and sugar until silky smooth. Gently fold in eggs and vanilla, creating a luscious batter that promises pure indulgence. Fill each muffin cup to the brim with this heavenly mixture.
Slide the pan into a warm oven and let the cheesecakes transform. Watch for a slight jiggle in the center, signaling they’re perfectly done. Let them cool and settle into delicious perfection.
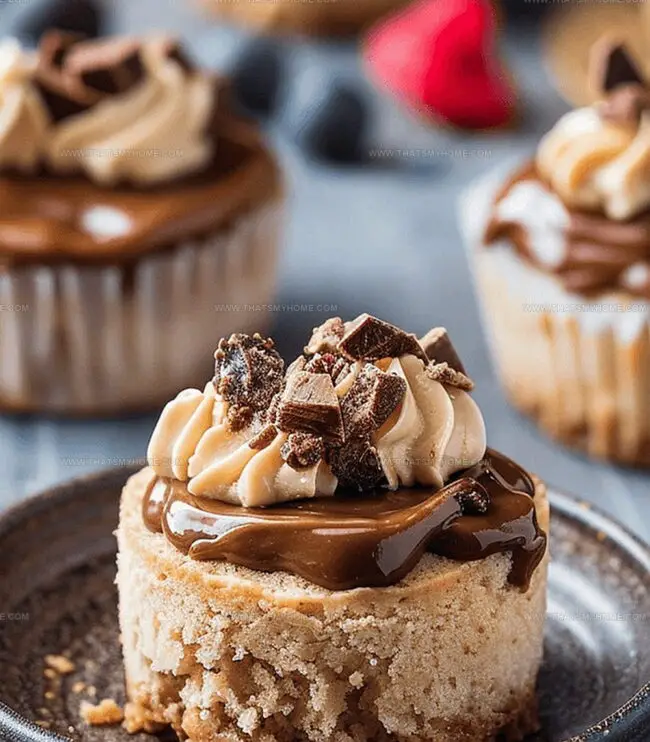
Create a luxurious ganache by melting chocolate chips with warm cream. Let the mixture cool and become glossy. Drizzle generously over each mini cheesecake, adding a decadent chocolate crown.
Refrigerate the cheesecakes for a few hours, allowing them to set and develop rich, creamy texture. When ready, these mini delights will be a knockout dessert that everyone will adore.
Peanut Butter Cheesecake Tips You’ll Appreciate
How to Serve Mini Cheesecakes at Any Event
Keeping Mini Peanut Butter Cheesecakes Fresh
Print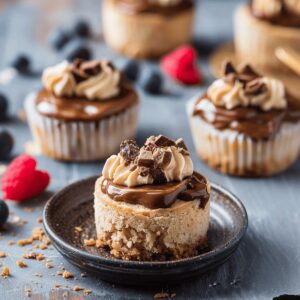
Heavenly Mini Peanut Butter Cheesecakes Recipe
- Total Time: 42 minutes
- Yield: 13 1x
Description
Rich mini peanut butter cheesecakes blend creamy textures with nutty chocolate undertones. Compact desserts invite quick indulgence while satisfying sweet cravings with minimal kitchen effort.
Ingredients
- 2 packages (16 oz / 454 g) full-fat cream cheese, softened to room temperature
- ½ cup (128 g) creamy peanut butter
- ½ cup (100 g) granulated sugar
- 2 large eggs
- 1 cup (240 mL) graham cracker crumbs
- 4 tbsps (56 g) unsalted butter, melted
- ½ cup (85 g) semi-sweet chocolate chips
- ¼ cup (60 mL) heavy whipped cream
- 1 tsp vanilla extract
Instructions
- Crust Preparation: Pulverize graham crackers and meld with melted butter until texture resembles damp sand, then press firmly into muffin pan liners to form a sturdy foundation.
- Baking Base: Toast crust in preheated 350°F oven for 5 minutes, allowing complete cooling to stabilize structure.
- Cheesecake Mixture: Whip cream cheese, peanut butter, and sugar using electric mixer until silky smooth, then gently fold in vanilla and eggs, maintaining delicate consistency without over-mixing.
- Filling and Initial Baking: Distribute cheesecake batter evenly across prepared cups, filling to rim, and bake 15-17 minutes until center displays subtle trembling, indicating perfect custard-like texture.
- Cooling and Setting: Remove from oven and allow mini cheesecakes to reach room temperature, then refrigerate minimum 4 hours for complete solidification.
- Chocolate Ganache: Simmer heavy cream near boiling point, pour over chocolate chips, let rest momentarily, then stir until achieving glossy, uniform chocolate glaze.
- Final Presentation: Once chilled, crown each miniature cheesecake with cooled ganache and sprinkle chocolate shavings for elegant finishing touch.
Notes
- Prevent Cracking: Press graham cracker crust firmly to create a solid base and avoid overmixing cheesecake batter to prevent surface cracks during baking.
- Temperature Control: Allow cream cheese to reach room temperature before mixing to ensure smooth, lump-free batter and consistent texture.
- Precise Baking: Watch cheesecakes carefully during baking; a slightly wobbly center indicates perfect doneness and prevents dry, overcooked results.
- Chilling Technique: Refrigerate mini cheesecakes for at least 4 hours to develop rich flavor and achieve a firm, creamy consistency that holds its shape when served.
- Prep Time: 20 minutes
- Cook Time: 22 minutes
- Category: Desserts, Snacks
- Method: Baking
- Cuisine: American
Nutrition
- Serving Size: 13
- Calories: 303
- Sugar: 18 g
- Sodium: 253 mg
- Fat: 22 g
- Saturated Fat: 10 g
- Unsaturated Fat: 11 g
- Trans Fat: 0 g
- Carbohydrates: 24 g
- Fiber: 1 g
- Protein: 5 g
- Cholesterol: 62 mg
Michael Rivera
Co-Founder & Culinary Instructor
Expertise
Education
The French Culinary Institute (now part of the International Culinary Center)
Michael Rivera is a seasoned chef and culinary instructor based in San Francisco, CA. Trained in Classic Culinary Arts at The French Culinary Institute, he refined his skills in Michelin-starred kitchens, mastering classic French techniques and artisanal bread baking.
Passionate about making gourmet methods accessible, Michael co-founded thatsmyhome.com to share his expertise through interactive online lessons and innovative, plant-based recipes. He loves blending traditional techniques with modern ideas, encouraging home cooks to enjoy the art of cooking in a relaxed, fun environment.