The Perfect Homemade Caramel Corn Recipe for Sweet Snackers
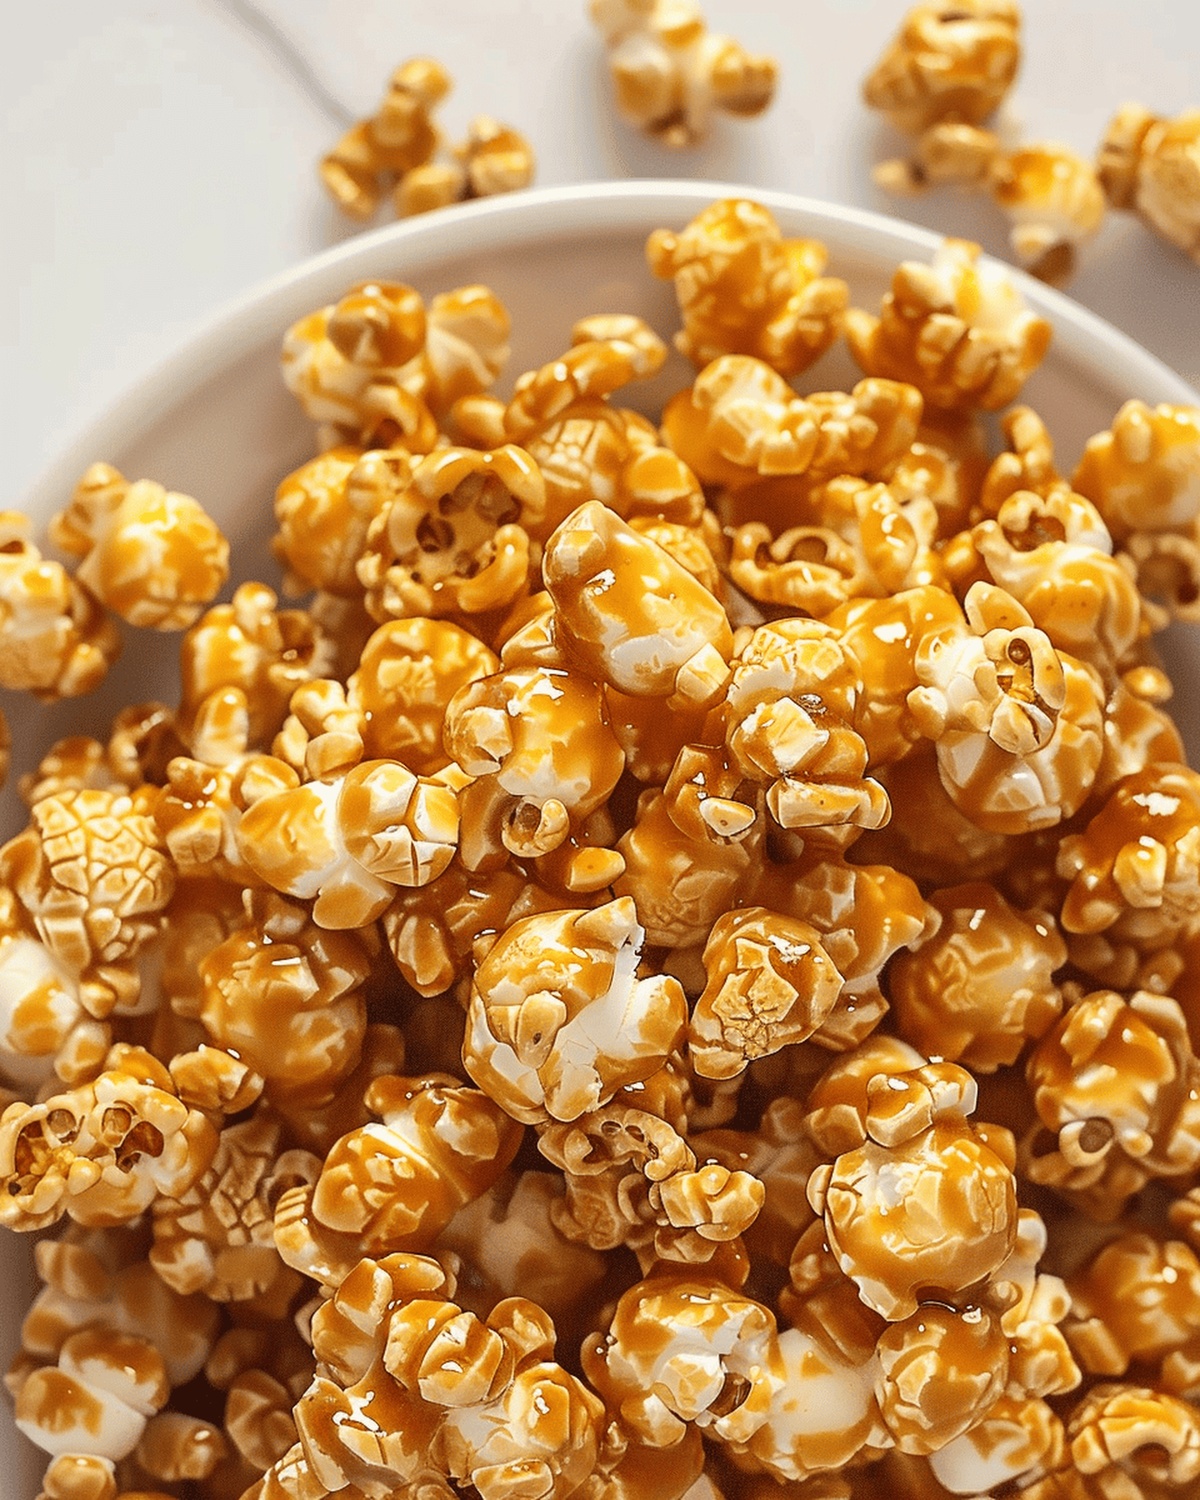
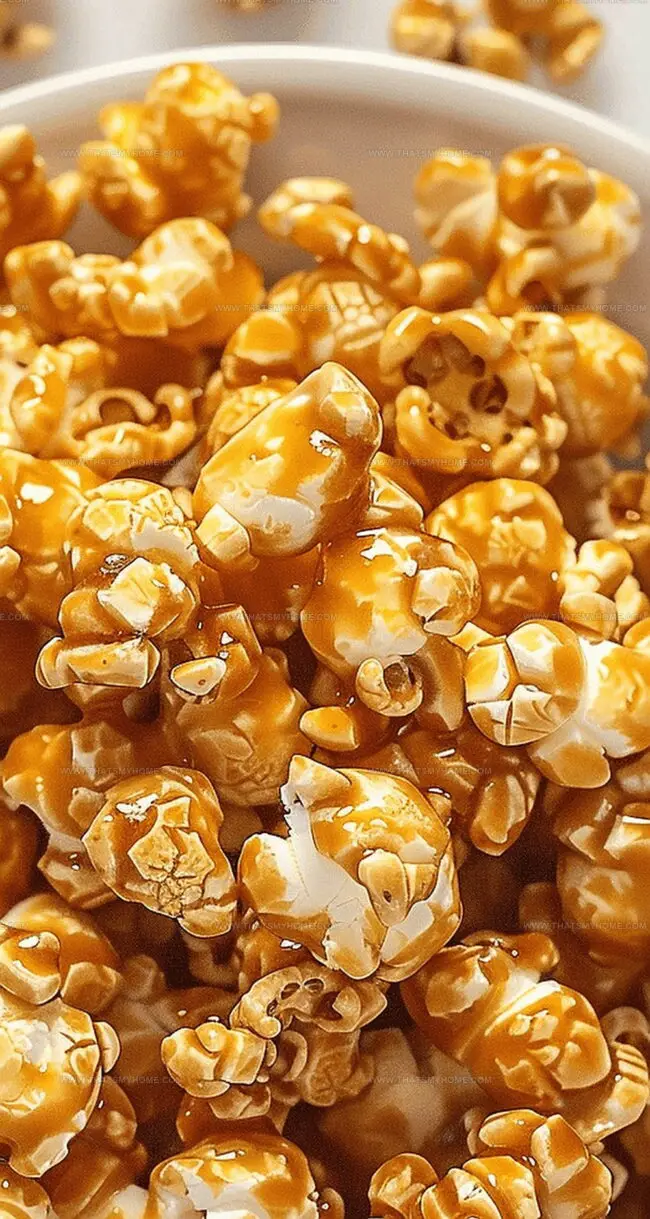
Sweet and sticky caramel corn crafts ordinary kernels into an extraordinary snack that captivates taste buds with its golden, crispy allure.
This delightful treat blends sugary richness with a satisfying crunch that tingles every sensory receptor.
homemade versions elevate the experience far beyond store-bought alternatives, offering a personalized touch of culinary magic.
The glossy caramel coating creates an irresistible blend of sweet and salty flavors that dance across your palate.
Each batch promises a delectable adventure in texture and taste, challenging traditional snack expectations.
Professional and amateur cooks alike can master this simple yet impressive recipe with minimal ingredients and maximum excitement.
Why Homemade Caramel Corn Is a Sweet Snack Classic
The Must-Haves for Perfectly Gooey Caramel Corn
How to Whip Up Sweet and Crunchy Bites

Step 1: Prepare Vegetables
Chop the following vegetables into small pieces:Heat a large stock pot over medium heat and add the chopped vegetables. Cook until the vegetables become soft and fragrant, which takes about 5 minutes.
Step 2: Create a Roux
Sprinkle flour into the pot with the softened vegetables. Stir thoroughly to combine and create a thick mixture. Continue cooking the roux for 5 minutes, stirring constantly until it turns a light brown color and releases a nutty aroma.
Step 3: Add Liquid and Main Ingredients
Pour of stock into the pot, whisking vigorously to create a smooth base. Add the following ingredients:Stir the mixture and allow it to simmer gently.
Step 4: Season and Finish Cooking
Stir in the following ingredients:Bring the mixture to a boil, then reduce the heat. Let it simmer for 20 minutes, or until the potatoes become tender and soft.
Step 5: Serve and Enjoy
Transfer the dish to serving bowls. Add optional garnishes if desired. Serve hot and enjoy the rich, comforting flavors.
Tips for Caramel That Sticks Just Right
Keeping That Crunch — Storage Tips for Caramel Corn
Best Munchies to Pair with Caramel Corn
Flavor Twists to Elevate Your Caramel Corn
Print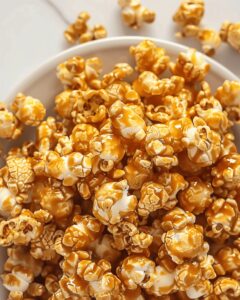
Homemade Caramel Corn Recipe
- Total Time: 1 hour 10 minutes
- Yield: 8 1x
Description
Caramel corn brings nostalgic sweetness from childhood memories. Buttery, crunchy kernels glazed with rich caramel create an irresistible snack you cannot stop eating.
Ingredients
Main Ingredients:
- ½ cup unpopped popcorn
- ½ cup butter
- 1 cup brown sugar (packed)
Syrup and Oil:
- ¼ cup light corn syrup
- 2 tablespoons canola oil
- 2 teaspoons molasses
Seasoning and Optional Add-ins:
- ½ teaspoon sea salt
- ¼ teaspoon baking soda
- ½ teaspoon vanilla bean paste
- 1 cup roasted peanuts (optional)
Instructions
- Preheat the oven to 250°F (120°C) and prepare a large baking sheet by lining it with parchment paper or a silicone baking mat.
- In a large, heavy-bottomed saucepan, combine granulated sugar, unsalted butter, light corn syrup, and a pinch of salt. Heat the mixture over medium-high heat, stirring constantly to prevent burning.
- Continue cooking the caramel mixture until it reaches a deep golden amber color and registers 250°F (120°C) on a candy thermometer, which typically takes about 10 to 12 minutes.
- Remove the caramel from heat and quickly stir in baking soda and vanilla extract. The mixture will foam and become lighter in color, creating a smooth, glossy texture.
- Immediately pour the hot caramel over freshly popped popcorn in a large mixing bowl, using a spatula to gently fold and coat the popcorn evenly.
- Spread the caramel-coated popcorn onto the prepared baking sheet in a single, even layer, ensuring each kernel is separated to prevent clumping.
- Bake in the preheated oven for 45 to 50 minutes, stirring the popcorn every 15 minutes to promote even caramelization and crispiness.
- Remove from the oven and allow the caramel corn to cool completely on the baking sheet. The caramel will harden and become crisp as it cools.
- Break the caramel corn into bite-sized clusters and store in an airtight container at room temperature for up to 5 days.
Notes
- Crafted with love, this homemade caramel corn transforms ordinary kernels into a sweet, crunchy delight that’ll make your taste buds dance.
- Perfectly balanced coating guarantees each popcorn piece gets drenched in rich, golden caramel goodness without becoming soggy.
- Store leftovers in an airtight container to maintain maximum crispness and prevent moisture from turning your treat into a sad, chewy mess.
- Choose fresh, high-quality popcorn kernels for the best texture and most satisfying crunch that’ll keep everyone coming back for more.
- Customize your batch by adding nuts like almonds or pecans for extra flavor and a delightful textural contrast that elevates the classic recipe.
- Prep Time: 10 minutes
- Cook Time: 1 hour
- Category: Snacks
- Method: Baking
- Cuisine: American
Nutrition
- Serving Size: 8
- Calories: 250 kcal
- Sugar: 22g
- Sodium: 150mg
- Fat: 12g
- Saturated Fat: 7g
- Carbohydrates: 32g
- Fiber: 2g
- Protein: 3g
- Cholesterol: 20mg
Mary Ellen
Founder, Pastry Chef & Recipe Developer
Expertise
Education
Savannah Technical College
Mary Ellen is the heart and soul of thatsmyhome.com. As the founder, pastry chef, and recipe developer, she refined her skills at Savannah Technical College with an Associate of Applied Science in Culinary Baking & Pastry Arts.
Mary blends classic techniques with modern twists to make artisanal breads, beautifully crafted pastries, and desserts full of unique flavor. Her passion is evident in every recipe, and she enjoys sharing her expertise through hands-on pastry workshops and insightful articles in local culinary magazines.