Heavy Cream: Whips into airy, silky consistency and adds decadent smoothness.
Sugar: Balances flavors and introduces perfect sweetness level.
Cocoa Powder: Enhances chocolate depth and creates sophisticated flavor profile.
Vanilla Extract: Rounds out flavors and adds warm, subtle aromatic complexity.
For Garnish:
Additional Kit Kat Bars: Optional topping for extra chocolate crunch and visual appeal.
Tools for This Candy-Loaded Cheesecake
Springform Pan (8-inch): Essential for creating clean, removable cheesecake edges.
Food Processor or Rolling Pin: Perfect for crushing Oreo cookies into fine crumbs.
Large Mixing Bowl: Needed for blending cream cheese and other filling ingredients smoothly.
Electric Mixer or Whisk: Crucial for whipping cream cheese to a velvety consistency.
Spatula: Helps scrape bowl sides and ensure even mixing.
Measuring Cups and Spoons: Ensures precise ingredient quantities.
Sharp Knife: Useful for cutting Kit Kat bars to fit pan edges.
No-Bake Cheesecake Instructions, Kit Kat Style
Crunchy Foundation Base structural element combining crushed chocolate cookies and melted butter. Press mixture firmly into springform pan creating a solid, compact layer.
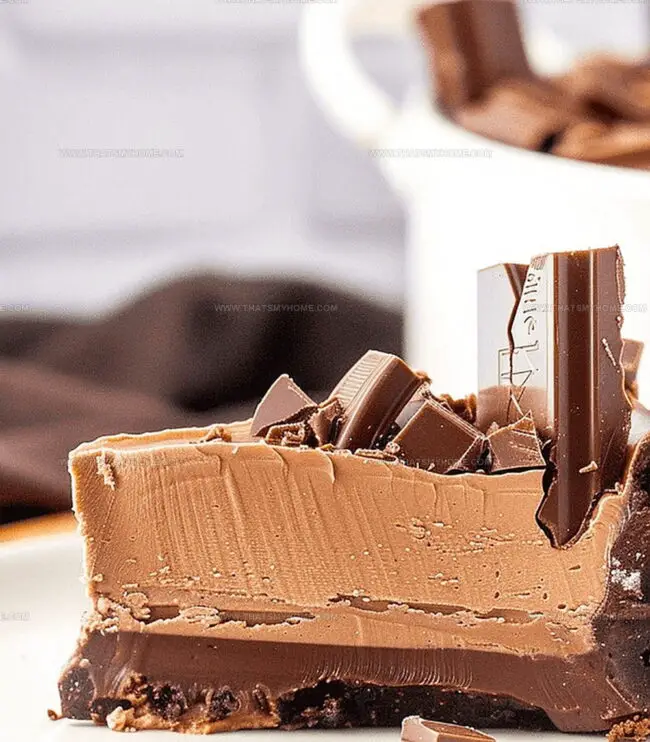
Chocolate Cookie Border Carefully line pan edges with Kit Kat bars, creating delightful decorative walls that will enhance visual appeal and flavor profile.
Creamy Filling Magic Blend cream cheese until silky smooth, incorporating rich cream, sweet sugar, decadent cocoa, and aromatic vanilla. Whisk ingredients thoroughly ensuring complete integration and luxurious texture.
Freezing Transformation Gently transfer filling over cookie base, then place into freezer allowing dessert to set and develop intense flavors. Wait patiently for 2-3 hours until perfectly firm.
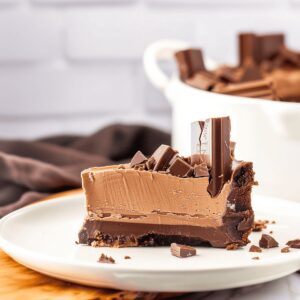
Serving Elegance Remove cheesecake from freezer, allowing slight thawing to enhance creamy consistency. Slice carefully, revealing beautiful layers and chocolate accents.
Variations, Layers & Flavor Ideas
Choose different cookie bases like graham crackers or chocolate wafers for unique flavor profiles.
Swap cocoa powder with melted dark chocolate or add chocolate liqueur to intensify the rich chocolate notes.
Use different Kit Kat flavors like matcha, white chocolate, or caramel to create exciting taste variations.
Top with chocolate shavings, drizzle melted chocolate, or sprinkle crushed Kit Kat pieces for a stunning presentation that impresses guests.
Keep the cheesecake in an airtight container for up to 2 weeks, making it perfect for advance party preparation or spontaneous dessert cravings.
Serving This Indulgent Cheesecake
Garnish with Chocolate Drizzle: Melt dark or milk chocolate and drizzle elegantly over the cheesecake surface for a luxurious finishing touch.
Create Whipped Cream Clouds: Top each slice with soft, billowy whipped cream rosettes that add a light and airy contrast to the rich cheesecake.
Sprinkle Chocolate Crumbs: Crush extra Kit Kat bars and scatter the crumbs around the edges or on top for added texture and chocolate intensity.
Pair with Chilled Beverage: Serve alongside a cold glass of milk, coffee, or hot chocolate to complement the dessert’s sweet and creamy profile.
Chill & Store Kit Kat Cheesecake
Refrigerate Wisely: Store the cheesecake in an airtight container to maintain its creamy texture and prevent absorption of other food odors. Keeps perfectly fresh for up to 5 days in the refrigerator.
Freeze for Later: Wrap the entire cheesecake tightly in plastic wrap and aluminum foil for long-term storage. Freezing extends its life up to 2 months without compromising taste or texture.
Slice and Separate: Place wax paper between individual slices when freezing to prevent sticking. This trick allows you to thaw exactly the amount you want to enjoy.
Serve at Optimal Temperature: Remove the cheesecake from the refrigerator 15-20 minutes before serving. This short waiting period helps soften the texture and enhances the rich, creamy flavor profile.
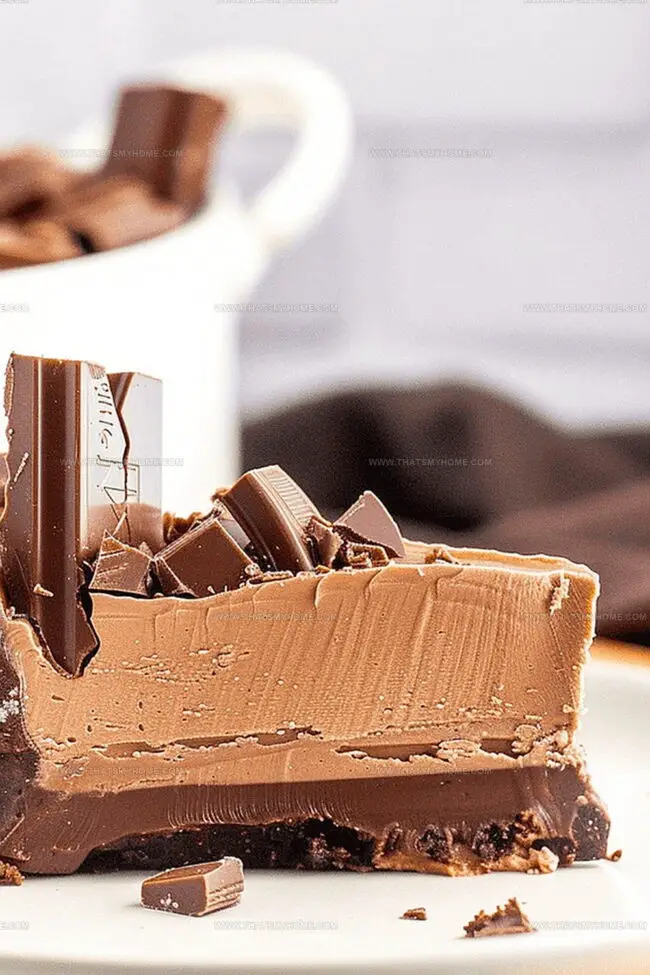
Irresistible no-bake kit kat cheesecake combines creamy texture with chocolate-covered wafer crunch. Chocolate lovers will delight in this simple dessert that promises quick indulgence without oven time.
Ingredients
Scale
3 extra-large Kit Kat bars
16 oz (454 g) cream cheese, room temperature
¾ cup (180 mL) heavy whipping cream
¾ cup (150 g) white granulated sugar
⅓ cup (40 g) cocoa powder
1 tsp (5 mL) vanilla extract
Instructions
Crust Preparation: Pulverize Oreo cookies into fine crumbs using a food processor or rolling pin. Mix thoroughly with melted unsalted butter until the mixture resembles compact, wet sand.
Pan Assembly: Press the crumb mixture evenly into an 8-inch springform pan’s base. Strategically position Kit Kat bars vertically around the inner edge, creating an elegant chocolate border.
Cheesecake Filling: Whip room-temperature cream cheese with an electric mixer until light and airy. Gradually incorporate heavy cream, granulated sugar, unsweetened cocoa powder, and vanilla extract, blending until the mixture becomes completely smooth and uniform.
Layering: Gently pour the chocolate cheesecake mixture over the Oreo base, maintaining the Kit Kat border’s pristine arrangement. Ensure an even, consistent surface.
Freezing and Setting: Place the assembled cheesecake in the freezer for 2-3 hours until the filling becomes completely firm and set.
Serving Preparation: Remove from freezer 10-15 minutes before serving to allow slight thawing. This brief resting period enhances the cheesecake’s creamy texture and facilitates easier slicing.
Final Presentation: Slice to reveal the dramatic Kit Kat border and rich chocolate cheesecake interior, ready to be enjoyed.
Notes
Crush Cookies Carefully: Use a food processor or rolling pin to create uniform, fine crumbs that resemble sand-like texture for the perfect crust foundation.
Room Temperature Matters: Ensure cream cheese is fully softened to prevent lumps and achieve a luxuriously smooth cheesecake filling.
Freezing is Key: Allow 2-3 hours of freezing time to set the cheesecake completely, creating a firm, slice-able texture that holds its shape.
Thaw Strategically: Let the cheesecake rest 10-15 minutes before serving to soften slightly, making cutting easier and enhancing the creamy mouthfeel.
The French Culinary Institute (now part of the International Culinary Center)
Program: Classic Culinary Arts
Focus: An intensive curriculum rooted in classical French techniques, artisanal bread production, and contemporary culinary methods.
Michael Rivera is a seasoned chef and culinary instructor based in San Francisco, CA. Trained in Classic Culinary Arts at The French Culinary Institute, he refined his skills in Michelin-starred kitchens, mastering classic French techniques and artisanal bread baking.
Passionate about making gourmet methods accessible, Michael co-founded thatsmyhome.com to share his expertise through interactive online lessons and innovative, plant-based recipes. He loves blending traditional techniques with modern ideas, encouraging home cooks to enjoy the art of cooking in a relaxed, fun environment.

Michael Rivera
Co-Founder & Culinary Instructor
Expertise
Education
The French Culinary Institute (now part of the International Culinary Center)
Michael Rivera is a seasoned chef and culinary instructor based in San Francisco, CA. Trained in Classic Culinary Arts at The French Culinary Institute, he refined his skills in Michelin-starred kitchens, mastering classic French techniques and artisanal bread baking.
Passionate about making gourmet methods accessible, Michael co-founded thatsmyhome.com to share his expertise through interactive online lessons and innovative, plant-based recipes. He loves blending traditional techniques with modern ideas, encouraging home cooks to enjoy the art of cooking in a relaxed, fun environment.