Adorable Paw Print Peanut Butter Blossom Cookies Recipe
Paw print peanut butter blossom cookies deliver a whimsical twist on a classic treat that sparks instant joy and childhood nostalgia.
These adorable sweet delights elevate traditional cookie shapes into playful animal-inspired designs that children and adults adore.
Soft, crumbly textures merge with rich, nutty flavors in each delectable bite.
Bakers with creative spirits can easily craft these charming confections using basic pantry ingredients and simple techniques.
Delightful decorative elements turn ordinary cookies into memorable moments of culinary artistry.
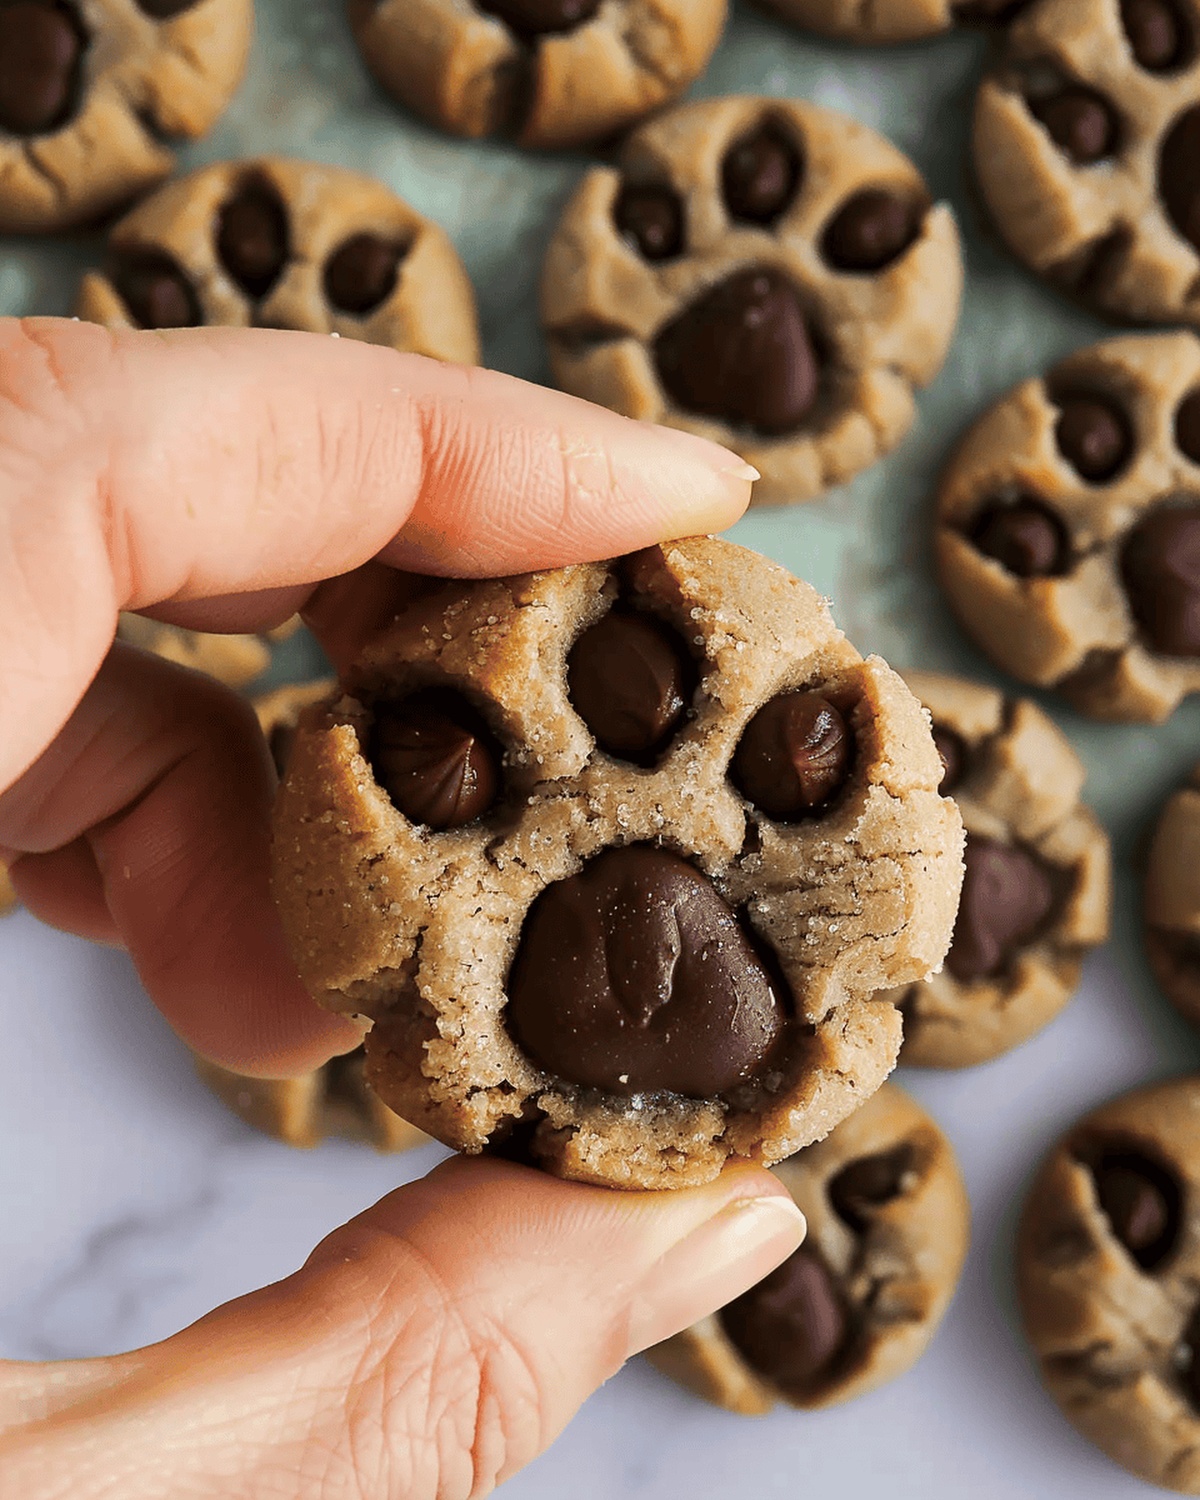
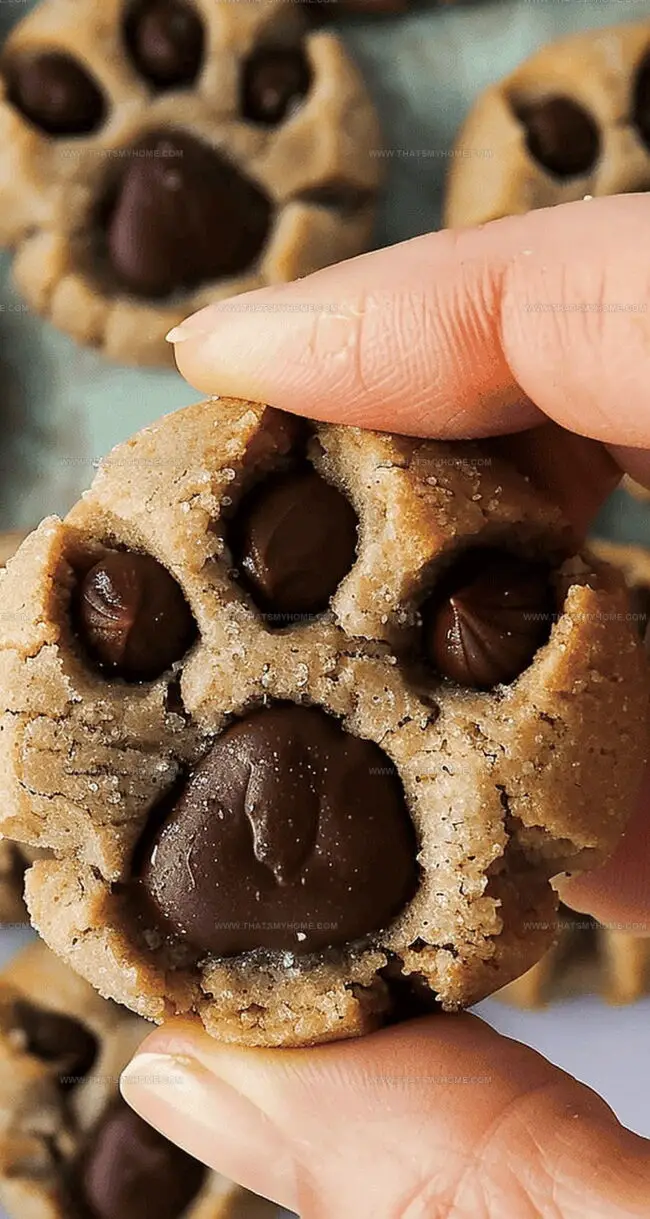
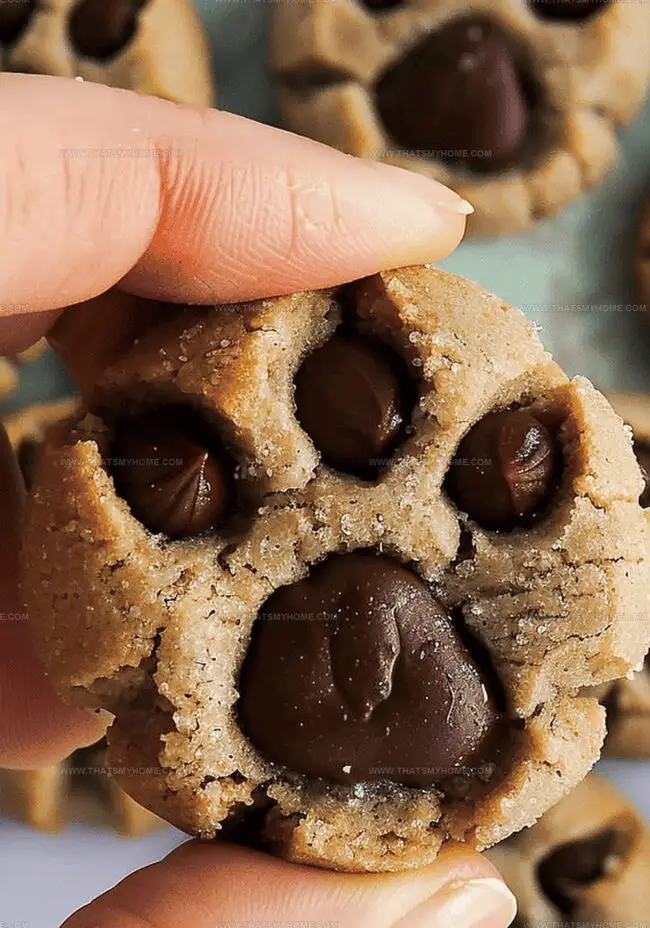
Chocolate centers nestled atop buttery bases create irresistible visual and gustatory appeal.
Your baking adventure promises to delight family and friends with these cute, memorable treats.
Why Paw Print Peanut Butter Blossom Cookies Are So Cute and Tasty
What You’ll Need to Make Paw Print Peanut Butter Cookies
Cookie Base Ingredients:Dry Ingredients:Decoration Ingredients:How to Make Peanut Butter Blossom Cookies with Style
Step 1: Prepare Oven
Preheat oven to 350°F. Position the rack in the center of the oven for even baking.
Step 2: Blend Creamy Base
In a large mixing bowl, combine:Cream ingredients until smooth and fluffy using an electric mixer on medium speed.
Step 3: Incorporate Liquid Ingredients
Add to the creamy mixture:Mix until ingredients are fully blended and color is consistent.
Step 4: Mix Dry Components
In a separate bowl, whisk together:Gradually fold dry ingredients into wet mixture, stirring until just combined. Avoid overmixing.
Step 5: Shape Cookie Dough
Scoop rounded tablespoons of dough onto ungreased baking sheet. Leave 2 inches between each cookie. Optional: Roll dough balls in additional sugar for extra crunch and sweetness.
Step 6: Bake Cookies
Bake for 7-9 minutes until cookies appear puffy and centers look set. Edges should be slightly golden.
Step 7: Create Paw Print Design
Immediately after removing from oven:Step 8: Cool and Store
Transfer cookies to wire cooling rack. Allow chocolate to set completely before stacking or storing in airtight container.
Tips for Perfect Shape and Flavor
How to Store These Fun Blossom Cookies
Pairing Ideas for Peanut Butter Cookies
Creative Add-Ons for Paw Print Blossom Cookies
Print
Paw Print Peanut Butter Blossom Cookies Recipe
- Total Time: 24 minutes
- Yield: 24 1x
Description
Playful paw print peanut butter blossoms bring whimsy to classic cookie charm. Chocolate Hershey’s Kisses nestled in rich peanut butter dough create adorable treats children and adults will cherish.
Ingredients
Main Ingredients:
- 1 cup creamy peanut butter
- 1 cup granulated sugar
- 2 cups all-purpose flour
- ½ cup butter, softened
- ½ cup light brown sugar, packed
- 2 large eggs
Leavening and Seasoning Ingredients:
- 2 teaspoons baking soda
- ½ teaspoon salt
- ½ teaspoon vanilla extract
Chocolate Decorations:
- 48 melting chocolate disks
- 144 chocolate chips
Instructions
- Warm the oven to 350°F (175°C), ensuring the rack is positioned in the center.
- In a spacious mixing vessel, thoroughly amalgamate softened butter, creamy peanut butter, granulated sugar, and brown sugar until the mixture transforms into a silky, homogeneous consistency.
- Incorporate whole eggs and pure vanilla extract, blending until the ingredients integrate seamlessly.
- Separately, whisk together all-purpose flour, baking soda, and kosher salt in a smaller bowl, creating a uniform dry mixture.
- Gradually fold the dry ingredients into the wet mixture, stirring gently until just combined to maintain a tender cookie texture.
- Shape the dough into uniform spheres using a tablespoon measure, approximately each, rolling between palms to create smooth orbs.
- Optional: Delicately roll each dough ball in additional granulated sugar for a sparkling exterior.
- Arrange cookie spheres on a parchment-lined baking sheet, spacing them 2 inches apart to allow proper spreading.
- Bake for 8-10 minutes until edges turn golden and centers appear slightly puffy but set.
- Immediately after removing from the oven, gently press one chocolate disk into the cookie’s center.
- Strategically position 3-4 chocolate chips around the disk to craft a whimsical paw print design.
- Transfer cookies to a wire cooling rack, allowing them to reach room temperature and permitting chocolate to solidify completely before storing.
Notes
- These playful paw print cookies combine the classic peanut butter blossom with a cute animal-themed twist.
- Rolling dough balls in sugar creates a delightful crackly exterior that adds extra sweetness and texture.
- Work quickly when adding chocolate pieces to form paw prints, as the cookies need to be warm enough to allow chocolate to melt slightly.
- Soft, puffy centers are key – remove cookies from oven when edges are just set but middles still look slightly underbaked.
- Store cookies in an airtight container at room temperature for up to 5 days, separating layers with parchment paper to prevent sticking.
- Melting chocolate disks work best for creating smooth paw print centers compared to traditional chocolate kisses.
- Prep Time: 15 minutes
- Cook Time: 9 minutes
- Category: Desserts, Snacks
- Method: Baking
- Cuisine: American
Nutrition
- Serving Size: 24
- Calories: 210 kcal
- Sugar: 14 g
- Sodium: 140 mg
- Fat: 12 g
- Saturated Fat: 5 g
- Unsaturated Fat: 6 g
- Trans Fat: 0 g
- Carbohydrates: 22 g
- Fiber: 1 g
- Protein: 4 g
- Cholesterol: 30 mg
Mary Ellen
Founder, Pastry Chef & Recipe Developer
Expertise
Education
Savannah Technical College
Mary Ellen is the heart and soul of thatsmyhome.com. As the founder, pastry chef, and recipe developer, she refined her skills at Savannah Technical College with an Associate of Applied Science in Culinary Baking & Pastry Arts.
Mary blends classic techniques with modern twists to make artisanal breads, beautifully crafted pastries, and desserts full of unique flavor. Her passion is evident in every recipe, and she enjoys sharing her expertise through hands-on pastry workshops and insightful articles in local culinary magazines.