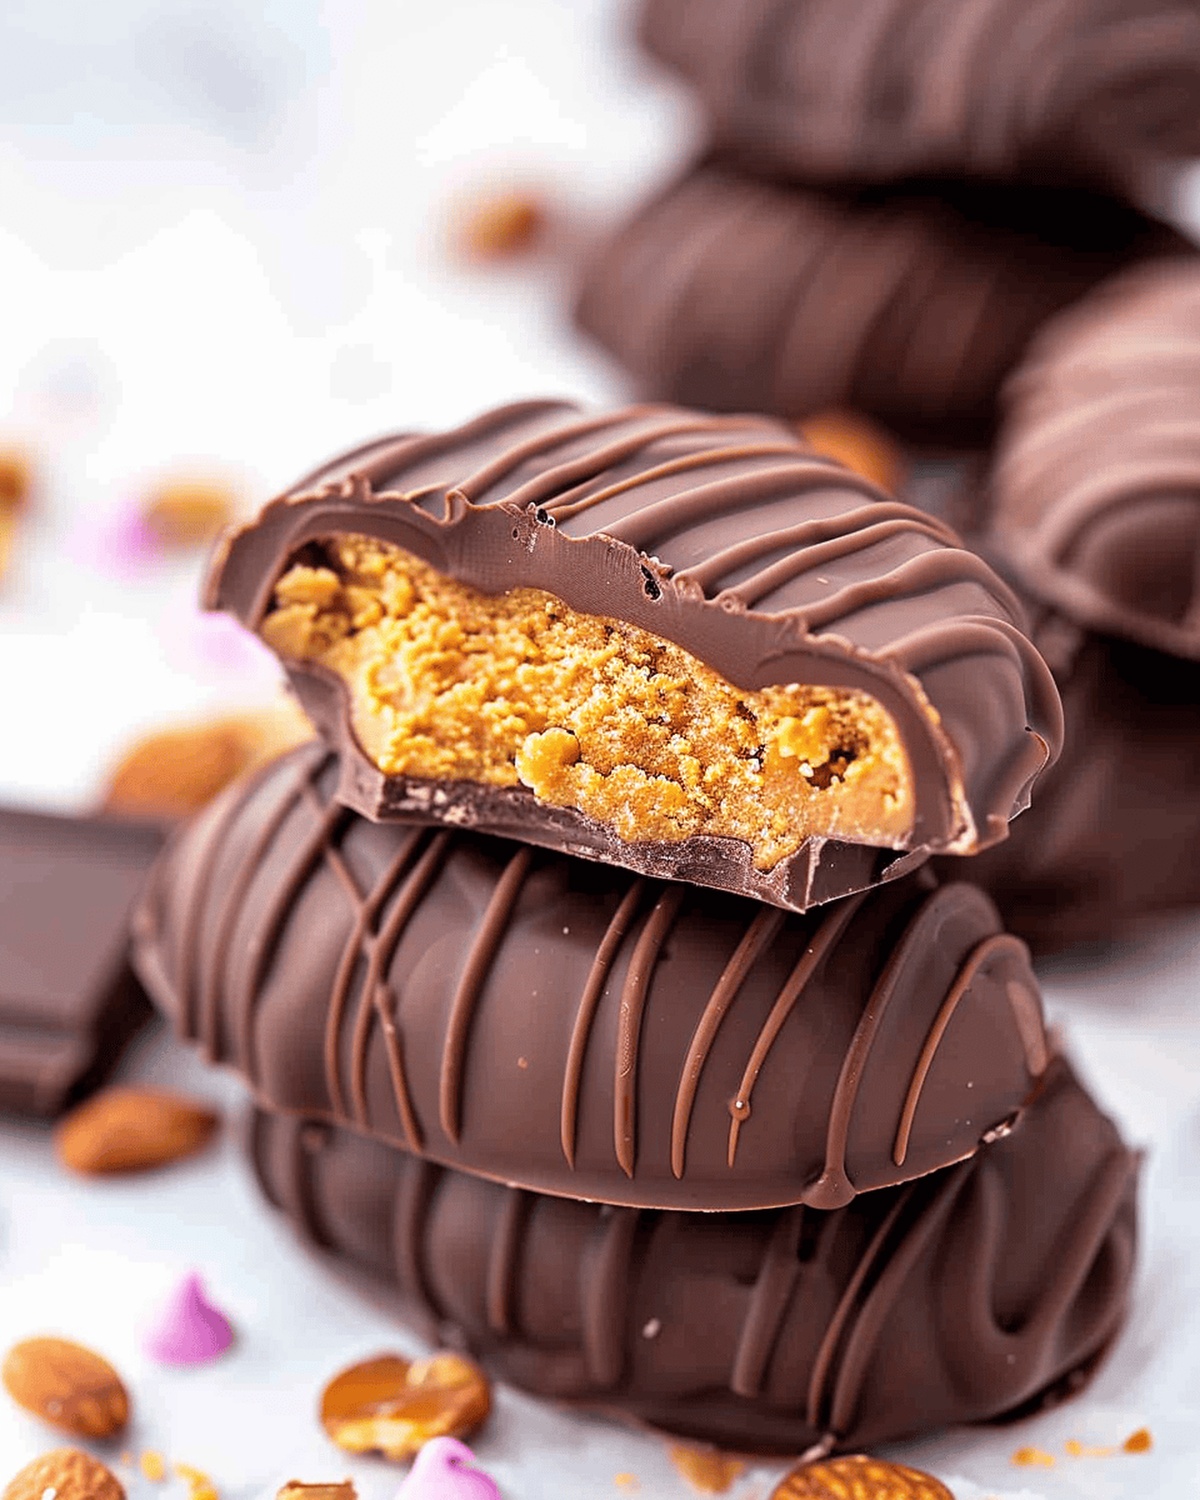
Easy Homemade Peanut Butter Chocolate Recipe – Sweet Bliss in Minutes
Peanut butter chocolate promises a decadent marriage of two beloved ingredients that dance together in perfect harmony.
Sweet and salty notes create an unexpected flavor symphony that tingles taste buds with excitement.
Smooth textures meld into a luxurious experience that transcends ordinary dessert expectations.
Culinary enthusiasts adore this classic combination for its rich, indulgent profile that speaks to comfort and nostalgia.
Homemade versions elevate the traditional treat with personal touches and creative flair.
Crafting these delectable confections requires minimal skill but delivers maximum satisfaction.
Prepare to revolutionize ordinary ingredients into an extraordinary sensory adventure.
Decadent Peanut Butter Chocolate Bliss

Key Ingredients for Peanut Butter Chocolate
Base Ingredients:Chocolate Coating and Decoration:Additional Ingredients:How to Make Peanut Butter Chocolate Treats
Step 1: Prepare Creamy Peanut Butter Mixture
In a mixing bowl, blend:Mix until the mixture becomes smooth and well combined.
Step 2: Add Chocolate Chip Texture
Gently fold mini chocolate chips into the peanut butter mixture for a delightful crunch.
Step 3: Shape the Egg Treats
Sprinkle flour on your work surface and roll out the dough to your desired thickness. Use an egg-shaped cookie cutter to create adorable egg shapes.
Step 4: Chill the Egg Shapes
Arrange the shaped eggs on a baking sheet and place them in the freezer for 1 hour to firm up completely.
Step 5: Melt Chocolate Coating
Warm milk chocolate chips using a double boiler or microwave-safe bowl, stirring until perfectly smooth and glossy.
Step 6: Dip and Coat Eggs
Remove frozen eggs from the freezer. Use a fork to carefully dip each egg into the melted chocolate, ensuring full coverage.
Step 7: Cool and Set
Place chocolate-covered eggs on parchment or wax paper. Refrigerate to help the chocolate set quickly and firmly.
Step 8: Optional Decorative Touch
For extra flair, use colored candy melts in a sandwich bag with snipped corners to create decorative designs on the chocolate eggs.
Tips for the Best Peanut Butter Chocolate
Storing and Reheating Peanut Butter Chocolate
Ideal Pairings for Peanut Butter Chocolate
Creative Variations of Peanut Butter Chocolate
Print
Peanut Butter Chocolate Recipe
- Total Time: 1 hour 10 minutes
- Yield: 12 1x
Description
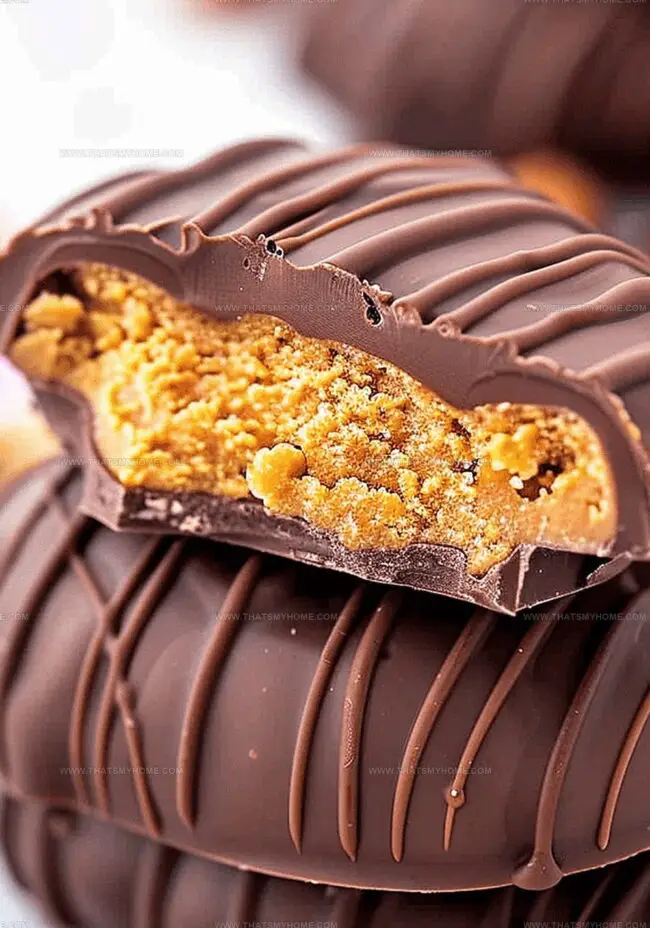
Peanut butter chocolate delights combine rich cocoa with creamy peanut spread in a heavenly dessert. Chocolate lovers savor the classic combination of nutty and sweet flavors that melt smoothly on your palate.
Ingredients
Main Ingredients:
- 1.5 cups creamy peanut butter
- 3 cups powdered sugar
- 1 cup mini chocolate chips
- 12 ounces (340 grams) milk chocolate chips
Coating and Decoration:
- 0.25 cup (60 milliliters) unsalted butter, melted
- 2 tablespoons (30 milliliters) milk
Decorative Elements:
- Blue candy melts
- Yellow candy melts
- Pink candy melts
Instructions
- Thoroughly blend powdered sugar, creamy peanut butter, melted unsalted butter (113 grams), and whole milk (30 milliliters or ) in a medium mixing bowl until achieving a uniform, silky consistency.
- Gently incorporate miniature chocolate chips into the mixture, distributing them evenly throughout the peanut butter base.
- Sprinkle a clean work surface with a light dusting of all-purpose flour, preventing the dough from sticking.
- Using a rolling pin, carefully flatten the dough to approximately 1/4 inch (6 millimeters) thickness, ensuring an even surface.
- Select an egg-shaped cookie cutter and precisely cut out delicate egg-shaped confections, transferring each carefully to a parchment-lined baking sheet.
- Place the sheet of raw egg-shaped treats into the freezer for precisely 60 minutes, allowing them to solidify completely.
- Melt milk chocolate chips using a double boiler method or in a microwave-safe bowl, stirring frequently to maintain a smooth, glossy texture.
- Retrieve the frozen peanut butter eggs and carefully dip each one into the melted chocolate using a fork, ensuring complete and even coverage.
- Gently place the chocolate-enrobed eggs onto fresh parchment paper, allowing excess chocolate to drip off.
- Refrigerate the chocolate-covered eggs for 15-20 minutes until the chocolate shell has fully set and hardened.
- Optional: For decorative flair, use colored candy melts in a piping bag with a small snipped corner to create intricate designs or patterns on the chocolate surface.
Notes
- Freezing helps create a sturdy base for smooth chocolate coating, preventing crumbling during dipping process.
- Mini chocolate chips provide delightful surprise bursts of richness within each creamy peanut butter center.
- Precise dipping technique ensures complete chocolate coverage, giving eggs professional bakery-style appearance.
- Candy melt decorations transform simple treats into festive, colorful confections perfect for special occasions.
- Chilling eggs before coating allows for cleaner, more even chocolate shell that hardens quickly when touched.
- Prep Time: 10 minutes
- Cook Time: 60 minutes
- Category: Snacks, Desserts
- Method: Blending
- Cuisine: American
Nutrition
- Serving Size: 12
- Calories: 370 kcal
- Sugar: 30 g
- Sodium: 90 mg
- Fat: 21 g
- Saturated Fat: 10 g
- Unsaturated Fat: 8 g
- Trans Fat: 0 g
- Carbohydrates: 40 g
- Fiber: 1 g
- Protein: 6 g
- Cholesterol: 15 mg
Mary Ellen
Founder, Pastry Chef & Recipe Developer
Expertise
Education
Savannah Technical College
Mary Ellen is the heart and soul of thatsmyhome.com. As the founder, pastry chef, and recipe developer, she refined her skills at Savannah Technical College with an Associate of Applied Science in Culinary Baking & Pastry Arts.
Mary blends classic techniques with modern twists to make artisanal breads, beautifully crafted pastries, and desserts full of unique flavor. Her passion is evident in every recipe, and she enjoys sharing her expertise through hands-on pastry workshops and insightful articles in local culinary magazines.