Cozy Homemade Bread Bowls Recipe: Simple Joy from Scratch
Warm, crusty bread bowls have a magical way of turning an ordinary soup into an extraordinary dining experience.
These homemade bread bowls are surprisingly simple to create with just a few basic ingredients.
The aroma of freshly baked dough will fill your kitchen with comfort and warmth.
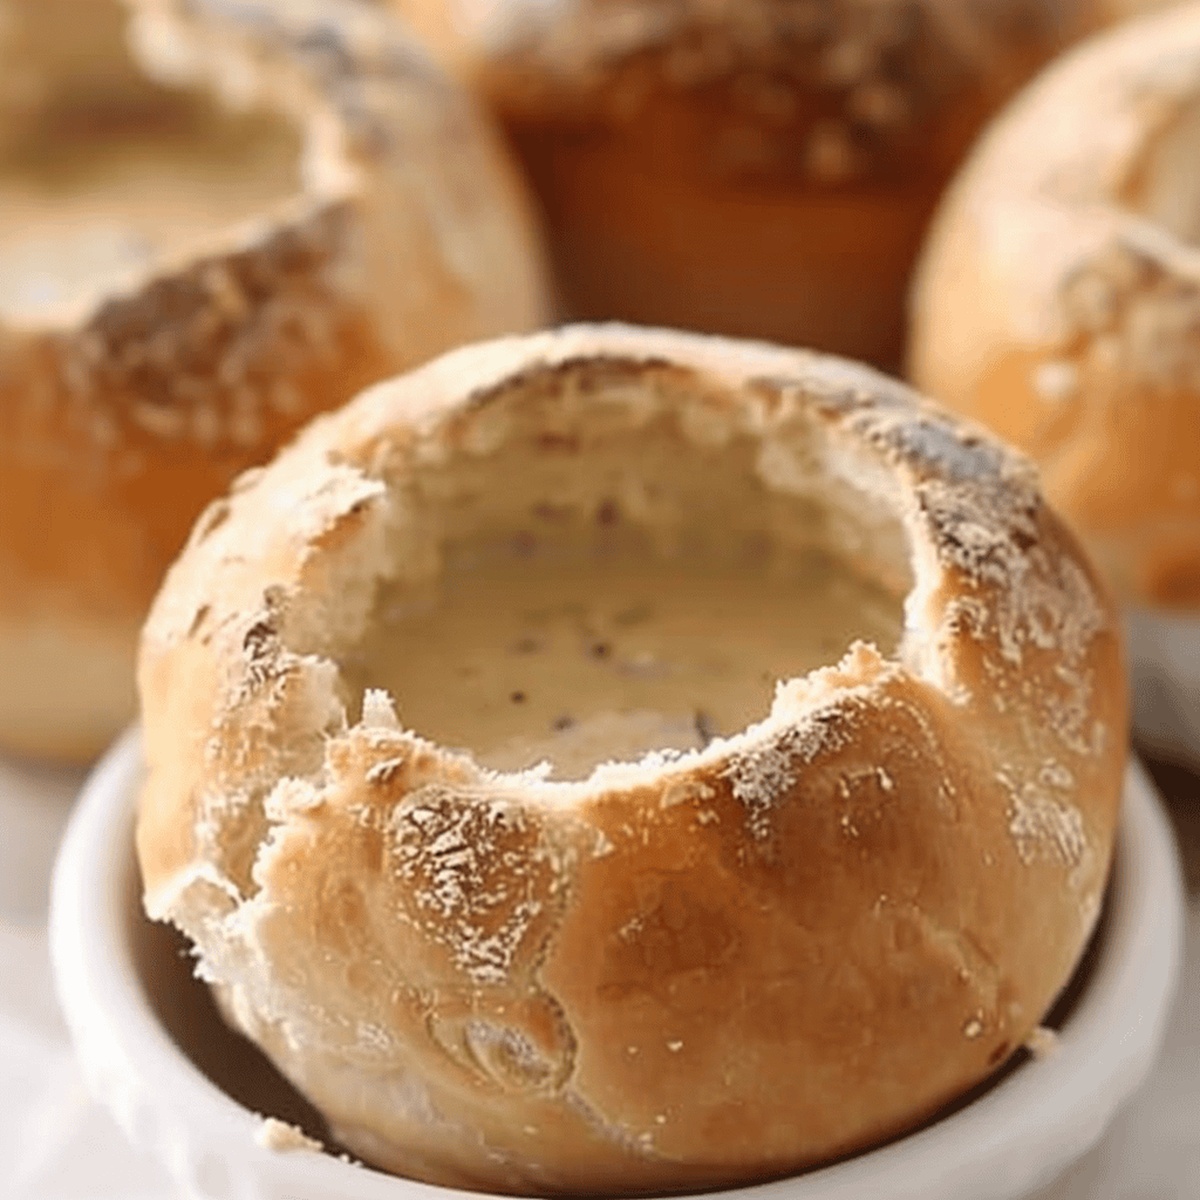
bread bowls provide the perfect edible vessel for hearty soups, creamy chowders, and rich stews.
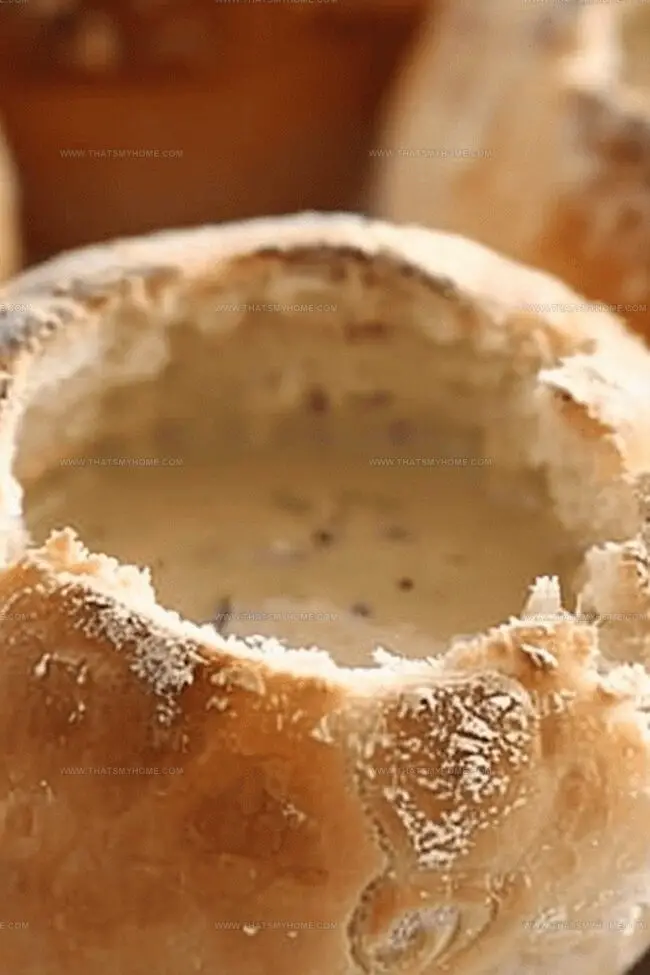
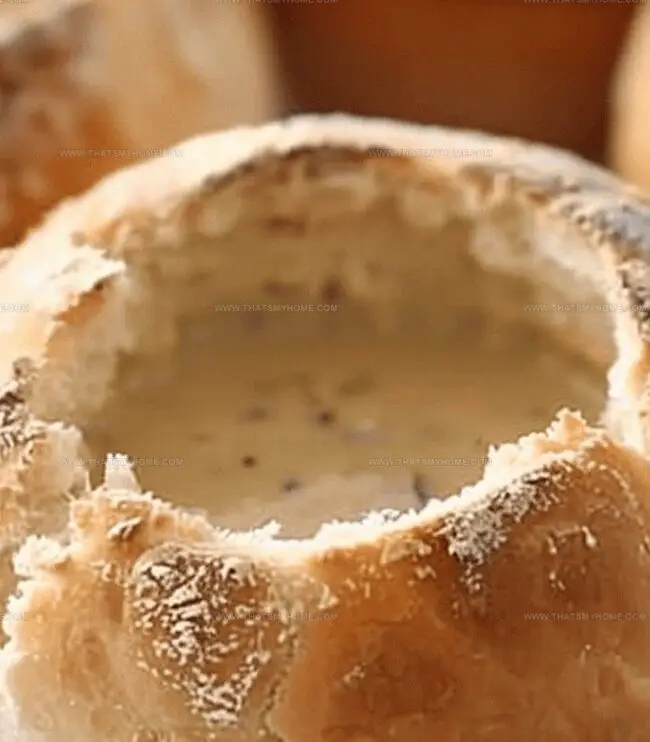
Each golden-brown bowl offers a delightful crisp exterior that gives way to a soft, pillowy interior.
You’ll love how these bread bowls can instantly upgrade your meal from mundane to memorable.
Get ready to impress everyone at the table with this deliciously versatile bread bowl recipe.
Quick Recipe Overview
Ingredients List for Homemade Bread Bowls
For Bread Base:For Preparation Support:For Serving Preparation:Tools for Baking Bread Bowls from Scratch
Baking Instructions for Homemade Bread Bowls
Mix water, oil, sugar, salt, yeast, and initial flour in a mixing bowl until a soft, cohesive mixture forms.
Slowly incorporate remaining flour until the dough becomes smooth and slightly sticky, creating the perfect bread texture.
Allow dough to rest and expand in a warm space, transforming from a dense mass into a pillowy, voluminous mixture.
Divide dough into six round portions, creating individual bread vessels with gentle handling and care.
Let shaped dough balls grow and develop, becoming puffy and promising delicious bread bowls.
Roast bread bowls in a hot oven until they turn a golden, appetizing color with a crisp exterior.
Create an opening at the top of each bread bowl, hollow out the interior, and prepare for filling with warm, comforting soup.
Tips for Hollowing & Crisping Bread Bowls
Serving Ideas for Bread Bowls
Storage & Reuse Tips for Bread Bowls
Print
Rustic Bread Bowls Recipe
- Total Time: 30 minutes
- Yield: 5 1x
Description
Hearty homemade bread bowls promise comfort with their crusty exterior and pillowy interiors. Rustic and simple, these edible vessels welcome creamy soups and savory stews, inviting you to savor each delicious bite.
Ingredients
- 4 cups (960 ml) bread flour (plus more as needed)
- 1½ cups (360 ml) water (warm)
- ¾ tbsp rapid rise yeast
- 2 tbsps sugar
- 2 tbsps oil
- 1 tsp salt
Instructions
- Dough Preparation: Blend warm water, vegetable oil, sugar, salt, active dry yeast, and all-purpose flour in a mixing bowl, creating a uniform initial mixture.
- Flour Integration: Gradually add remaining flour until the dough cleanly separates from the bowl’s sides while maintaining a slightly sticky consistency.
- Kneading Phase: Vigorously work the dough for 6-8 minutes, developing an elastic texture that readily springs back when pressed.
- First Proofing: Rest the dough in a greased bowl, covered, within a warm, sheltered environment until volume doubles, approximately 60-75 minutes.
- Shaping Process: Gently deflate the risen dough, divide into six equal portions, and shape each into a symmetrical, smooth-surfaced round by tucking and rotating edges.
- Secondary Proofing: Arrange dough balls on a lined baking sheet, spaced apart, and score an x-pattern across each top to control expansion during baking.
- Final Proofing and Baking: Allow a second rise for 30-45 minutes, then bake at 400°F (204°C) for 14-16 minutes, rotating midway to ensure uniform golden-brown coloration.
- Cooling and Serving: Transfer bread bowls to a wire rack for complete cooling, then carefully slice a circular lid and hollow out the interior, creating an edible vessel for soups or stews.
Notes
- Yeast Temperature Matters: Ensure water is precisely 110°F to activate yeast without killing it, critical for proper dough rising and texture.
- Kneading Technique Crucial: Develop gluten by kneading exactly 6-8 minutes, creating elastic dough that provides structural integrity for bread bowls.
- Rising Environment Key: Select a consistently warm, draft-free spot for optimal dough expansion, promoting even rise and better bread structure.
- Scoring Technique Essential: Make shallow x-cuts to control bread’s expansion, preventing uneven rising and ensuring beautiful, symmetrical bread bowls.
- Prep Time: 15 minutes
- Cook Time: 15 minutes
- Category: Lunch, Dinner, Appetizer
- Method: Baking
- Cuisine: American
Nutrition
- Serving Size: 5
- Calories: 280
- Sugar: 1.2 g
- Sodium: 150 mg
- Fat: 4 g
- Saturated Fat: 0.5 g
- Unsaturated Fat: 3.5 g
- Trans Fat: 0 g
- Carbohydrates: 54 g
- Fiber: 2 g
- Protein: 8 g
- Cholesterol: 0 mg
Michael Rivera
Co-Founder & Culinary Instructor
Expertise
Education
The French Culinary Institute (now part of the International Culinary Center)
Michael Rivera is a seasoned chef and culinary instructor based in San Francisco, CA. Trained in Classic Culinary Arts at The French Culinary Institute, he refined his skills in Michelin-starred kitchens, mastering classic French techniques and artisanal bread baking.
Passionate about making gourmet methods accessible, Michael co-founded thatsmyhome.com to share his expertise through interactive online lessons and innovative, plant-based recipes. He loves blending traditional techniques with modern ideas, encouraging home cooks to enjoy the art of cooking in a relaxed, fun environment.