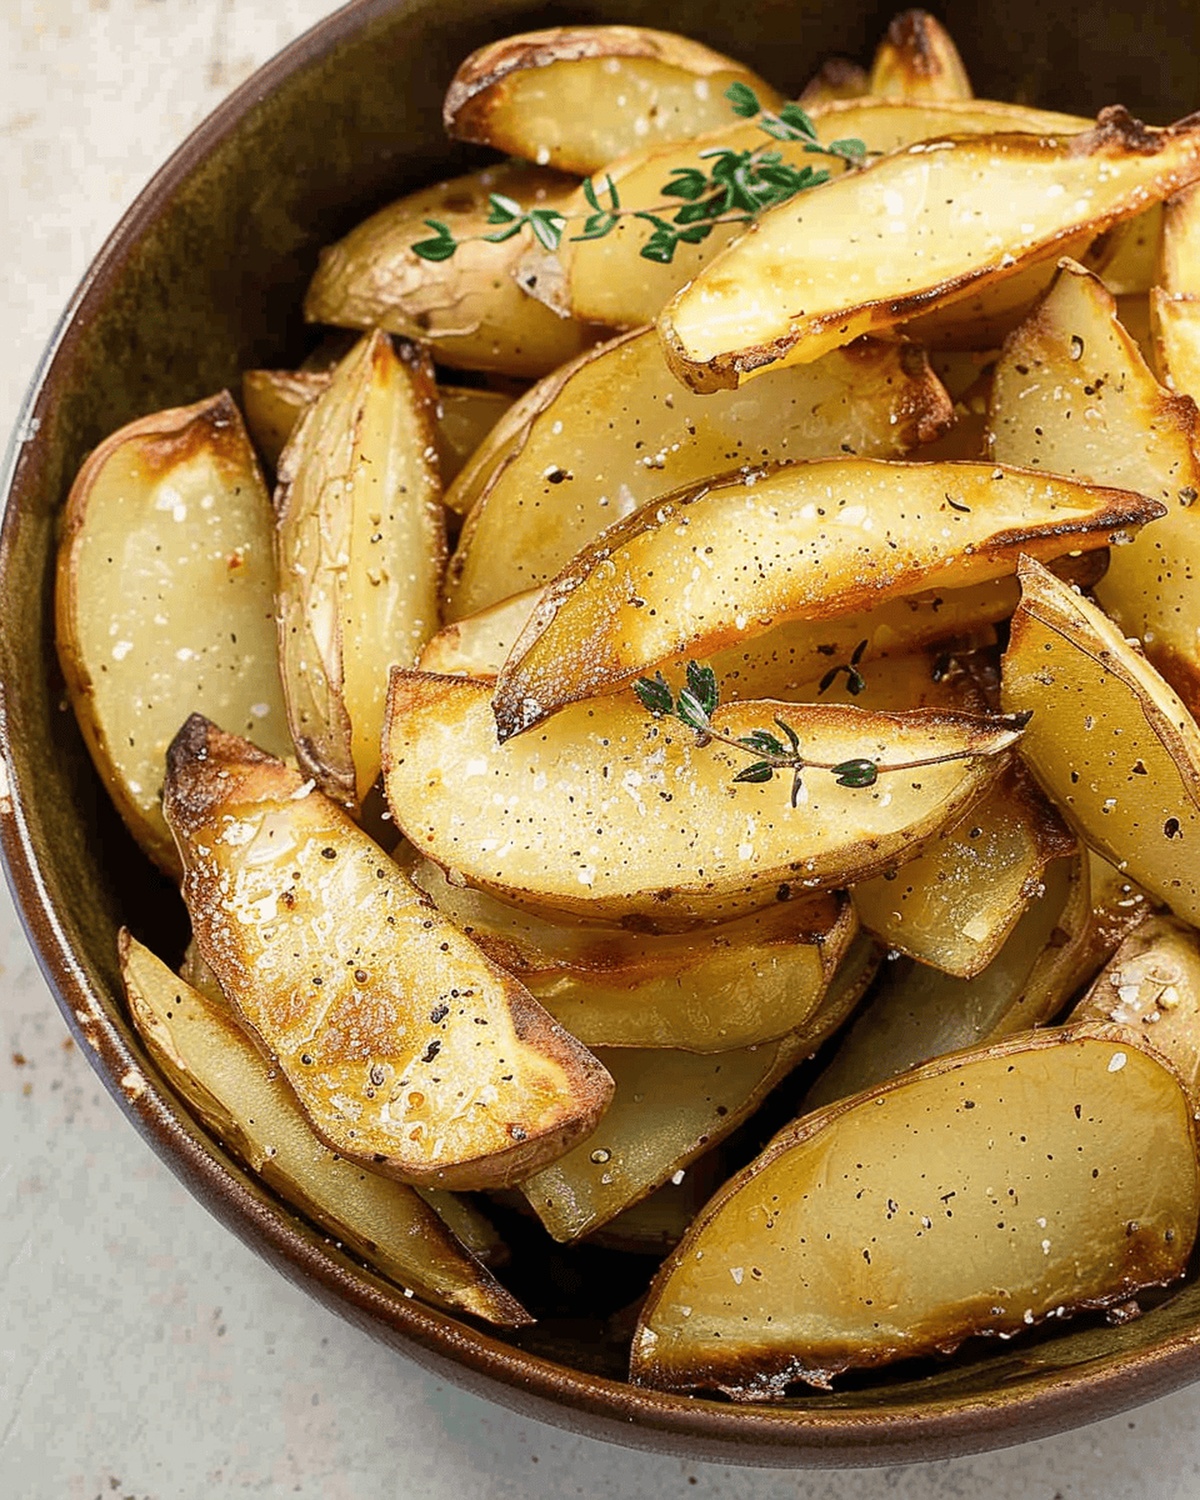
Zesty Salt and Vinegar Fingerling Potatoes Recipe for Snack Time
Salt and vinegar fingerling potatoes upgrade ordinary side dishes into culinary magic with their bold, tangy twist.
Crispy potato edges crackle with intense flavor that dances between sharp and savory sensations.
These small, slender tubers absorb vinegar acidic punch while developing a golden, crunchy exterior that beckons hungry diners.
Minimal ingredients create maximum impact in this simple yet sophisticated preparation that elevates humble potatoes to gourmet status.
Bright, zesty notes complement the natural earthiness of these petite potatoes, creating a harmony of taste that surprises and delights.
The technique balances acidity and richness, making each bite a memorable experience that challenges traditional potato preparations.
You’ll find this recipe becomes an instant favorite at dinner tables, sparking conversations and converting even the most skeptical potato enthusiasts.
Why Salt and Vinegar Fingerling Potatoes Are Bursting with Flavor
What You’ll Need for Salt and Vinegar Fingerling Potatoes
Potatoes and Vinegar:Cooking Oils and Seasonings:Optional Garnish:How to Roast Salt and Vinegar Fingerling Potatoes Just Right
Step 1: Prepare Vinegar Bath
Grab a small pot and toss in fingerling potato slices, vinegar, and salt. If vinegar doesn’t completely cover potatoes by 1/4 inch, add cold water to ensure full coverage.
Step 2: Simmer Potatoes
Crank up the heat to boil, then lower to a gentle simmer. Cook potatoes until they’re super tender when pierced with a fork, around 8 minutes.
Step 3: Cool Down
Let potatoes relax in the liquid for 30 minutes, soaking up all those tangy flavors.
Step 4: Dry Potatoes
Drain potatoes completely and pat them dry using paper towels. Get them nice and moisture-free.
Step 5: Set Up Broiler
Position oven rack about 6 inches from heat source and preheat broiler.
Step 6: Season Potatoes
Spread potato slices on a sheet pan. Drizzle with olive oil and sprinkle with remaining salt. Add ingredients:Toss potatoes to ensure even coating.
Step 7: First Broil
Arrange potatoes in a single layer. Broil until top turns a light golden brown, about 7 minutes.
Step 8: Final Broil
Flip potatoes and broil opposite side until beautifully browned, approximately 5 minutes more.
Step 9: Serve
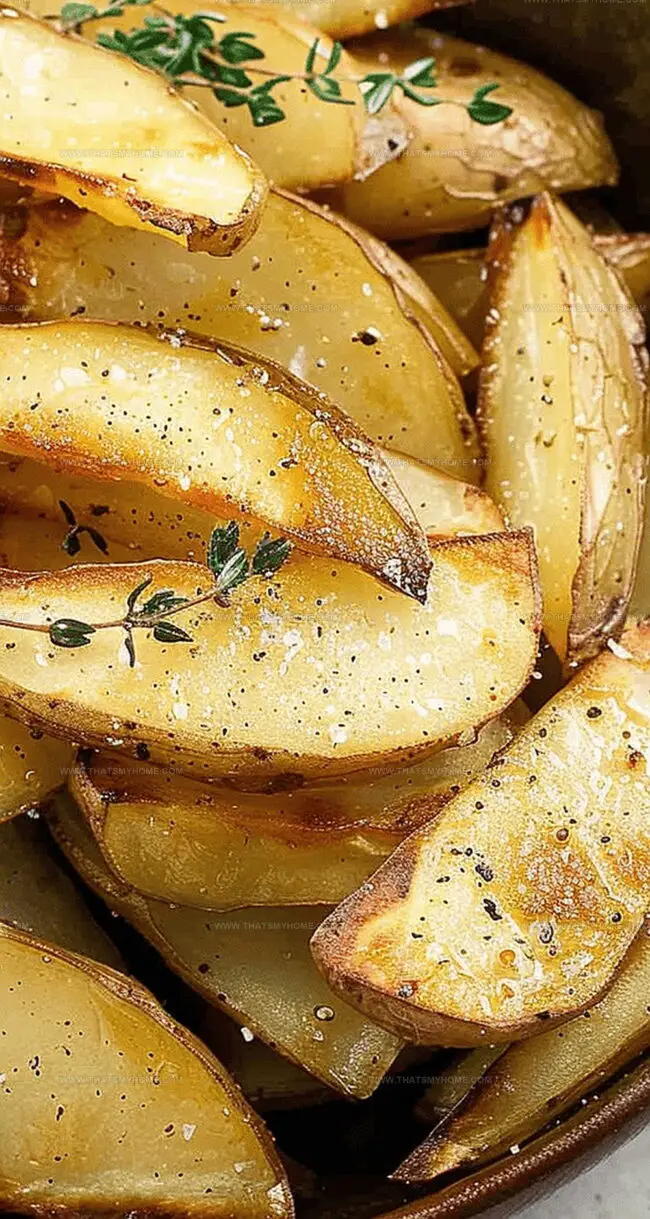
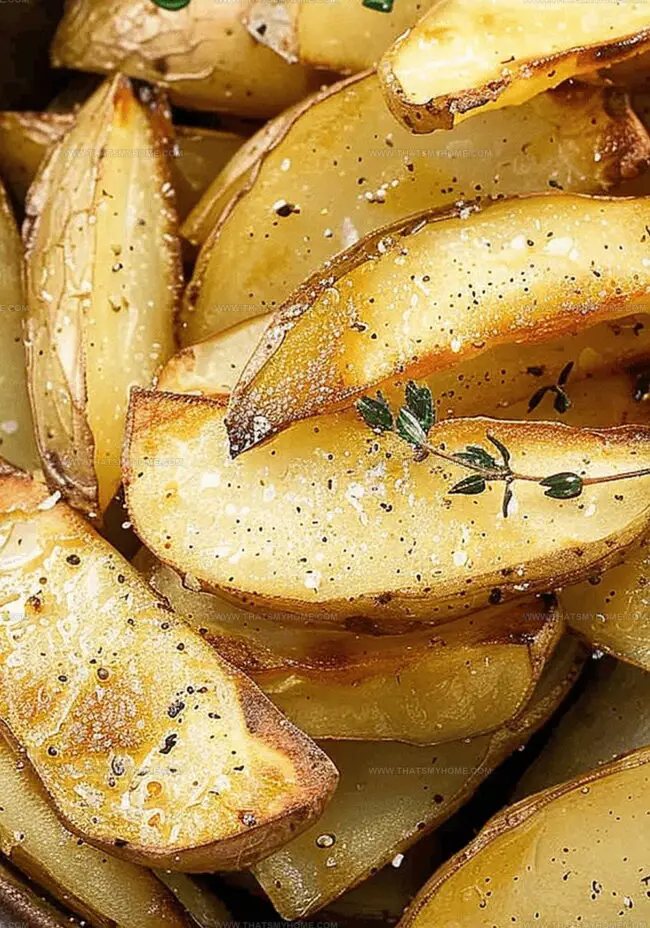
Transfer crispy, tangy potatoes to a serving plate and enjoy immediately!
Tips for Crispy Skin and Bold Vinegar Bite
Storing and Reheating Salt and Vinegar Fingerling Potatoes Easily
Great Dishes to Pair with Salt and Vinegar Fingerling Potatoes
Flavorful Twists for Your Salt and Vinegar Fingerling Potatoes
Print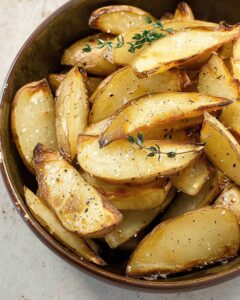
Salt And Vinegar Fingerling Potatoes Recipe
- Total Time: 25 minutes
- Yield: 4 1x
Description
Salt and vinegar fingerling potatoes bring zesty comfort from Irish countryside kitchens. Crispy potato edges kissed with tangy vinegar create an irresistible side dish that makes home cooks shine at any meal.
Ingredients
Main Ingredients:
- 1 pound (454 grams) fingerling potatoes, sliced lengthwise to ¼-inch thickness
- 2 cups distilled white vinegar
- 2 tablespoons olive oil
Seasoning:
- 1 tablespoon plus 1 teaspoon kosher salt
- ¼ teaspoon freshly ground black pepper
Instructions
- Combine fingerling potato slices with vinegar and of salt in a small pot, ensuring the liquid covers potatoes by at least 0.25 inches (6.35 millimeters). Add cold water if necessary.
- Gently bring the mixture to a rolling boil, then reduce heat to low, allowing potatoes to simmer until they reach a tender consistency when pierced with a fork, approximately 8 minutes.
- Remove pot from heat and let potatoes steep in the vinegar liquid for precisely 30 minutes, allowing them to absorb maximum flavor.
- Thoroughly drain potatoes using a colander, then carefully blot excess moisture using clean paper towels until completely dry.
- Position oven rack approximately 6 inches (15.24 centimeters) beneath broiler element and preheat to high temperature.
- Transfer potato slices onto a rimmed baking sheet, drizzling generously with olive oil, sprinkling remaining of salt, and seasoning with freshly ground black pepper.
- Gently toss potatoes to ensure even coating of seasonings and oil.
- Arrange potato slices in a single, uncrowded layer to promote even browning.
- Broil first side until edges turn golden and crisp, approximately 7 minutes.
- Carefully flip potatoes using tongs and broil opposite side until uniformly browned, around 5 additional minutes.
Notes
- Vinegar Tenderizing Technique: Simmering potatoes in vinegar before broiling helps break down their exterior, creating an incredibly crispy and flavorful crust.
- Liquid Depth Matters: Ensure vinegar covers potato slices by at least 1/4 inch for optimal seasoning and even cooking.
- Cooling Step is Crucial: Letting potatoes rest in the vinegar liquid for 30 minutes allows deeper flavor penetration and better texture.
- Drying is Essential: Thoroughly pat potatoes dry before broiling to achieve maximum crispiness and prevent steaming.
- Broiling Positioning: Place rack about 6 inches from heat source to ensure even browning without burning.
- Single Layer Technique: Spread potatoes in a single layer during broiling to guarantee each slice gets golden and crisp edges.
- Prep Time: 10 minutes
- Cook Time: 15 minutes
- Category: Lunch, Dinner, Snacks
- Method: Broiling
- Cuisine: American
Nutrition
- Serving Size: 4
- Calories: 160 kcal
- Sugar: 1 g
- Sodium: 590 mg
- Fat: 7 g
- Saturated Fat: 1 g
- Unsaturated Fat: 6 g
- Trans Fat: 0 g
- Carbohydrates: 22 g
- Fiber: 2 g
- Protein: 2 g
- Cholesterol: 0 mg
Mary Ellen
Founder, Pastry Chef & Recipe Developer
Expertise
Education
Savannah Technical College
Mary Ellen is the heart and soul of thatsmyhome.com. As the founder, pastry chef, and recipe developer, she refined her skills at Savannah Technical College with an Associate of Applied Science in Culinary Baking & Pastry Arts.
Mary blends classic techniques with modern twists to make artisanal breads, beautifully crafted pastries, and desserts full of unique flavor. Her passion is evident in every recipe, and she enjoys sharing her expertise through hands-on pastry workshops and insightful articles in local culinary magazines.