Dreamy Chocolate Cream Pie Bars Recipe: Sweet Bliss in Squares
Dive into a world of pure dessert bliss with these decadent chocolate cream pie bars that melt in your mouth and spark instant joy.
Rich, velvety chocolate layers promise an indulgent escape from ordinary sweets.
Each bite delivers a symphony of creamy textures and deep cocoa flavors that dance across your palate.
The silky filling nestled between a buttery graham cracker crust creates a harmony of contrasts that dessert lovers adore.
Smooth chocolate ganache crowns these luxurious bars, adding an elegant touch to an already irresistible treat.
These bars aren’t just a dessert – they’re an experience that promises to delight every chocolate enthusiast.
One taste will have you falling head over heels for this irresistible confection.
Quick Recipe Overview
Chocolate Cream Pie Bars Ingredient List
For Chocolate Cookie Crust:For Chocolate Cream Filling:For Whipped Cream Topping:Baking Tools for Creamy Chocolate Pie Bars
Directions for Making Cream Pie Bars with Layers
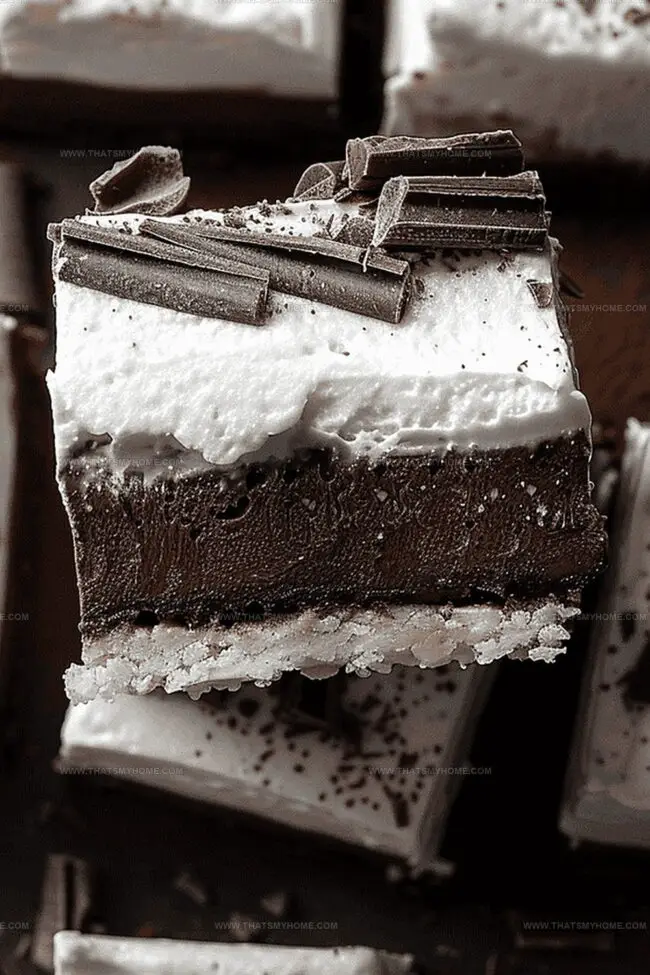
A rich, crunchy foundation made from crushed chocolate sandwich cookies transformed into a delectable crust that provides a perfect texture contrast to the creamy filling.
A luxurious blend of melted chocolate, cream cheese, and whipped cream creates an indulgent, smooth filling that melts in your mouth with intense chocolate flavor.
A light and airy cloud-like cream layer crowns the bars, adding a delicate touch of sweetness and elegance to the dessert.
Patience is key as the bars rest in the refrigerator, allowing the layers to set and harmonize into a perfectly structured, slice-worthy treat.
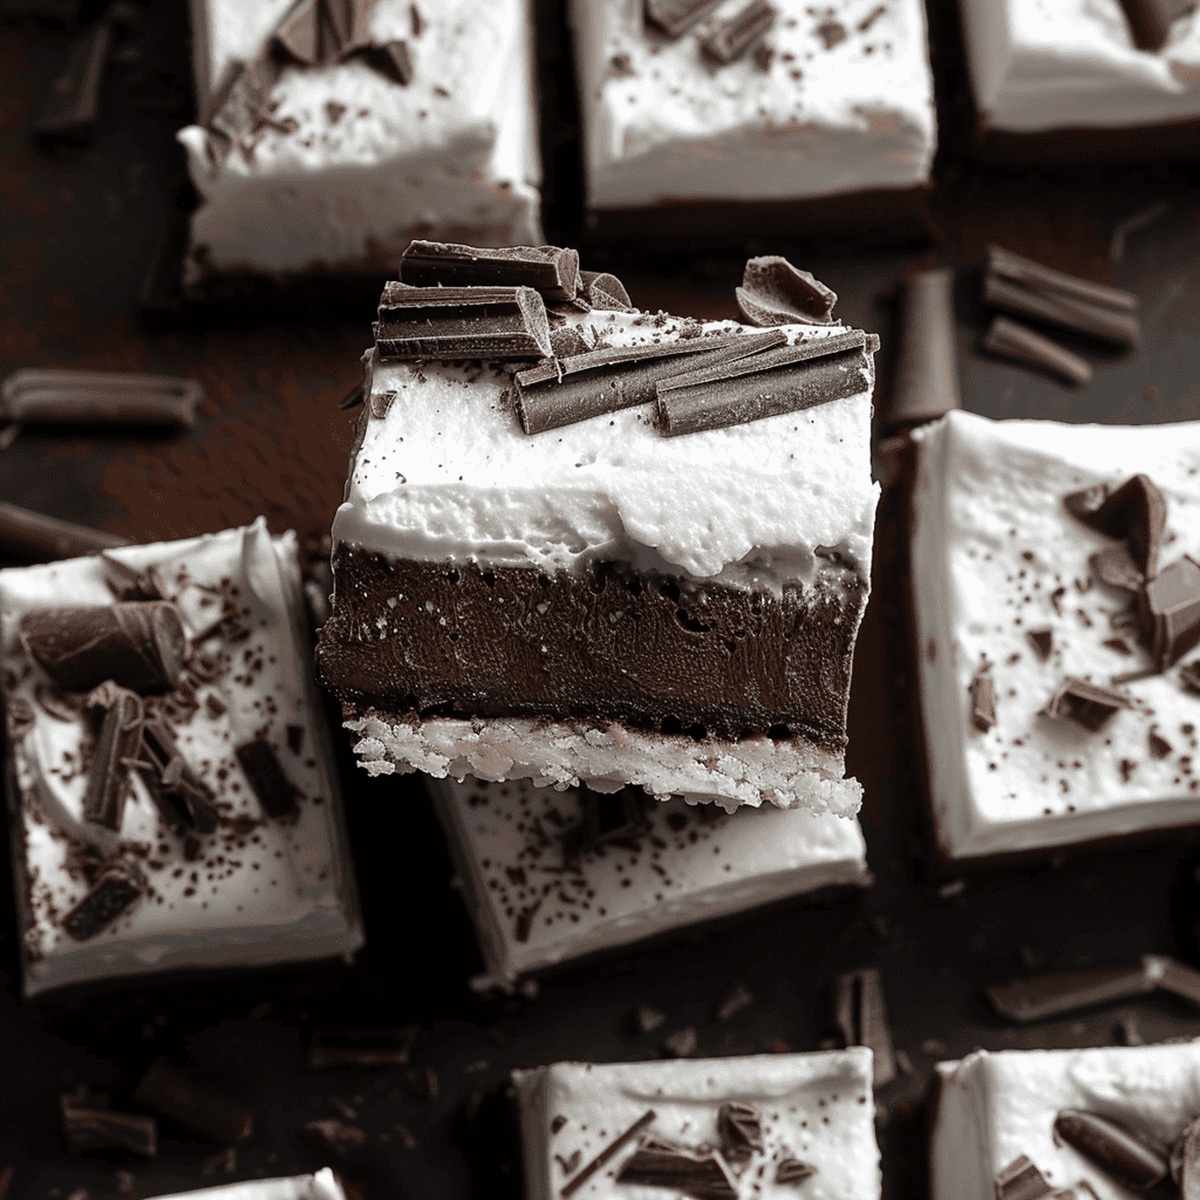
Carefully cut the chilled bars into precise squares, revealing the beautiful layers and creating an Instagram-worthy dessert that promises pure chocolate bliss.
Tips for Custard Consistency and Cookie Crust
How to Serve These Chilled Chocolate Bars
Best Ways to Store and Slice Pie Bars
Print
Silky Chocolate Cream Pie Bars Recipe
- Total Time: 35 minutes
- Yield: 9 1x
Description
Indulgent chocolate cream pie bars combine rich chocolate ganache with a buttery graham cracker crust. Silky layers deliver pure dessert bliss that will delight chocolate enthusiasts and bring instant comfort to anyone craving a sweet treat.
Ingredients
- 2 cups oreo cookie crumbs
- 5 oz (142 g) semi-sweet chocolate chips
- 6 oz (170 g) full fat cream cheese
- 1 cup heavy whipping cream (for filling)
- 1 cup heavy whipping cream (for topping)
- 5 tbsps unsalted butter (for crust)
- 4 tbsps (57 g) unsalted butter (for filling)
- 1 ½ cups (180 g) powdered sugar (for filling)
- 2 tbsps powdered sugar (for filling cream)
- 2 tbsps powdered sugar (for topping)
- ⅓ cup (35 g) unsweetened cocoa powder
- 2 teaspoons vanilla
- ½ teaspoon vanilla
- ½ teaspoon salt
- Shaved chocolate for topping (optional)
Instructions
- Crust Preparation: Pulverize Oreo cookies into fine crumbs, blend with melted butter, and press firmly into parchment-lined 8×8 inch pan, creating a rich chocolate base.
- Crust Baking: Roast the crust in a preheated 350°F (175°C) oven for 10 minutes, then cool completely to establish a sturdy foundation.
- Chocolate Melting: Construct a double boiler to gently melt chocolate and butter, stirring until achieving a silky, glossy texture, then allow to cool slightly.
- Cream Cheese Mixture: Whip cream cheese with powdered sugar, cocoa powder, vanilla extract, and salt until smooth and homogeneous.
- Filling Composition: Integrate melted chocolate into cream cheese mixture, then delicately fold in whipped cream to maintain an airy, luxurious consistency.
- Initial Chilling: Spread the chocolate cream filling evenly over cooled crust and refrigerate for 3-4 hours or overnight to set completely.
- Topping Creation: Whip fresh cream with powdered sugar and vanilla until forming glossy peaks, then spread uniformly across set filling.
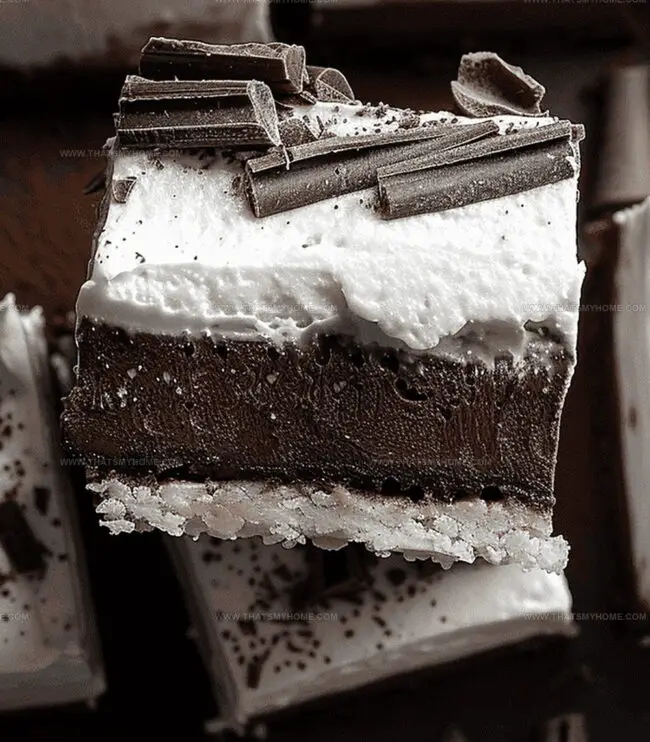
- Final Garnishing: Adorn with delicate chocolate shavings, chill for an additional 30 minutes, and slice into precise squares for an elegant dessert presentation.
Notes
- Crust Consistency Check: Press Oreo crumbs firmly and evenly to prevent crumbly or uneven base that might compromise the bar’s structural integrity.
- Chocolate Melting Technique: Use low, gentle heat when melting chocolate to prevent burning or seizing, which can ruin the smooth texture.
- Folding Method Matters: Incorporate whipped cream and melted chocolate gently to maintain the light, airy texture and prevent deflating the mixture.
- Chilling is Crucial: Allow sufficient refrigeration time for complete setting and flavor development, ensuring the bars hold their shape and taste perfect.
- Prep Time: 25 minutes
- Cook Time: 10 minutes
- Category: Desserts, Snacks
- Method: Baking
- Cuisine: American
Nutrition
- Serving Size: 9
- Calories: 460
- Sugar: 30 g
- Sodium: 200 mg
- Fat: 36 g
- Saturated Fat: 22 g
- Unsaturated Fat: 12 g
- Trans Fat: 0 g
- Carbohydrates: 38 g
- Fiber: 2 g
- Protein: 4 g
- Cholesterol: 90 mg
Michael Rivera
Co-Founder & Culinary Instructor
Expertise
Education
The French Culinary Institute (now part of the International Culinary Center)
Michael Rivera is a seasoned chef and culinary instructor based in San Francisco, CA. Trained in Classic Culinary Arts at The French Culinary Institute, he refined his skills in Michelin-starred kitchens, mastering classic French techniques and artisanal bread baking.
Passionate about making gourmet methods accessible, Michael co-founded thatsmyhome.com to share his expertise through interactive online lessons and innovative, plant-based recipes. He loves blending traditional techniques with modern ideas, encouraging home cooks to enjoy the art of cooking in a relaxed, fun environment.