Every home baker dreams of crafting the most perfect chocolate pudding recipe that melts in your mouth and sparks joy at first bite.
Rich, velvety chocolate pudding has always been a classic dessert that brings pure comfort.
The secret lies in selecting high-quality cocoa and understanding precise temperature control during preparation.
Stirring slowly and patiently creates a silky smooth texture that distinguishes an exceptional pudding from an ordinary one.
Creamy and decadent, this dessert promises to satisfy even the most discerning chocolate lovers.
Each spoonful delivers an indulgent experience that transcends simple sweet cravings.
Dive into this delightful recipe and unlock the magic of homemade chocolate bliss.
Quick Recipe Overview
Prep Time: 15 minutes
Cook Time: 25 minutes
Total Time: 40 minutes
Calories: 202 kcal
Servings: 9
Perfect Chocolate Pudding Ingredients
For Raspberry Layer:
Gelatin: Magical setting agent that gives the raspberry layer its elegant wobble, choose unflavored for pure raspberry essence.
Boiling Water: Dissolves gelatin perfectly, ensures smooth texture without lumps.
Cold Water: Helps cool and stabilize the gelatin mixture, creating ideal consistency.
Whipped Cream: Adds luxurious richness and creates a silky, airy texture.
Raspberries: Brings vibrant color and fresh, tangy flavor to the dessert.
For Chocolate Layer:
Half and Half Milk: Provides creamy base with perfect fat content for smooth pudding.
Gelatin: Creates stable structure and ensures perfect setting of chocolate layer.
Cold Water: Helps activate and distribute gelatin evenly.
Chocolate: Select high-quality dark or semi-sweet for deep, intense flavor profile.
Sugar: Balances chocolate’s bitterness and enhances overall sweetness.
For Garnish:
Fresh Raspberries: Adds bright pop of color and fresh fruity accent.
Mint Leaves: Provides elegant herbal note and visual contrast.
Tools for Making Chocolate Pudding Perfectly
Muffin Tin: Supports wine glasses at an angle during preparation.
Wine Glasses: Serves as elegant dessert containers for layered pudding.
Small-Medium Bowl: Used for mixing raspberry gelatin and water.
Small-Medium Saucepan: Helps prepare chocolate layer with milk and gelatin.
Whisk: Blends ingredients smoothly and eliminates lumps.
Measuring Cups: Ensures precise liquid and ingredient measurements.
Spoon: Helps mix and check chocolate mixture consistency.
Spatula: Assists in pouring and scraping mixtures evenly.
Steps to Make Perfect Chocolate Pudding
Muffin Tin Preparation Kitchen workspace setup with angled wine glasses nestled in muffin tin cups creates a perfect dessert staging area.
Raspberry Gelatin Mixture Boiling water transforms powdery gelatin into a smooth liquid base, then cold water introduces refreshing temperature balance.
Creamy Integration Whipped cream blends seamlessly into partially set raspberry foundation, creating luxurious texture and depth of flavor.
Initial Chilling Strategic refrigeration allows raspberry layer to solidify into elegant, wiggly consistency perfect for layered dessert.
Chocolate Dream Gelatin meets dairy in gentle marriage, creating silky smooth foundation for rich chocolate layer.
Chocolate Transformation Low and slow heating technique transforms ingredients into glossy, spoon-coating delicacy with intense chocolate essence.
Layer Construction Carefully pour chocolate mixture over set raspberry layer, creating stunning visual contrast and flavor complexity.
Final Chill Refrigeration completes dessert architecture, allowing layers to harmonize and develop deep, complementary flavors.
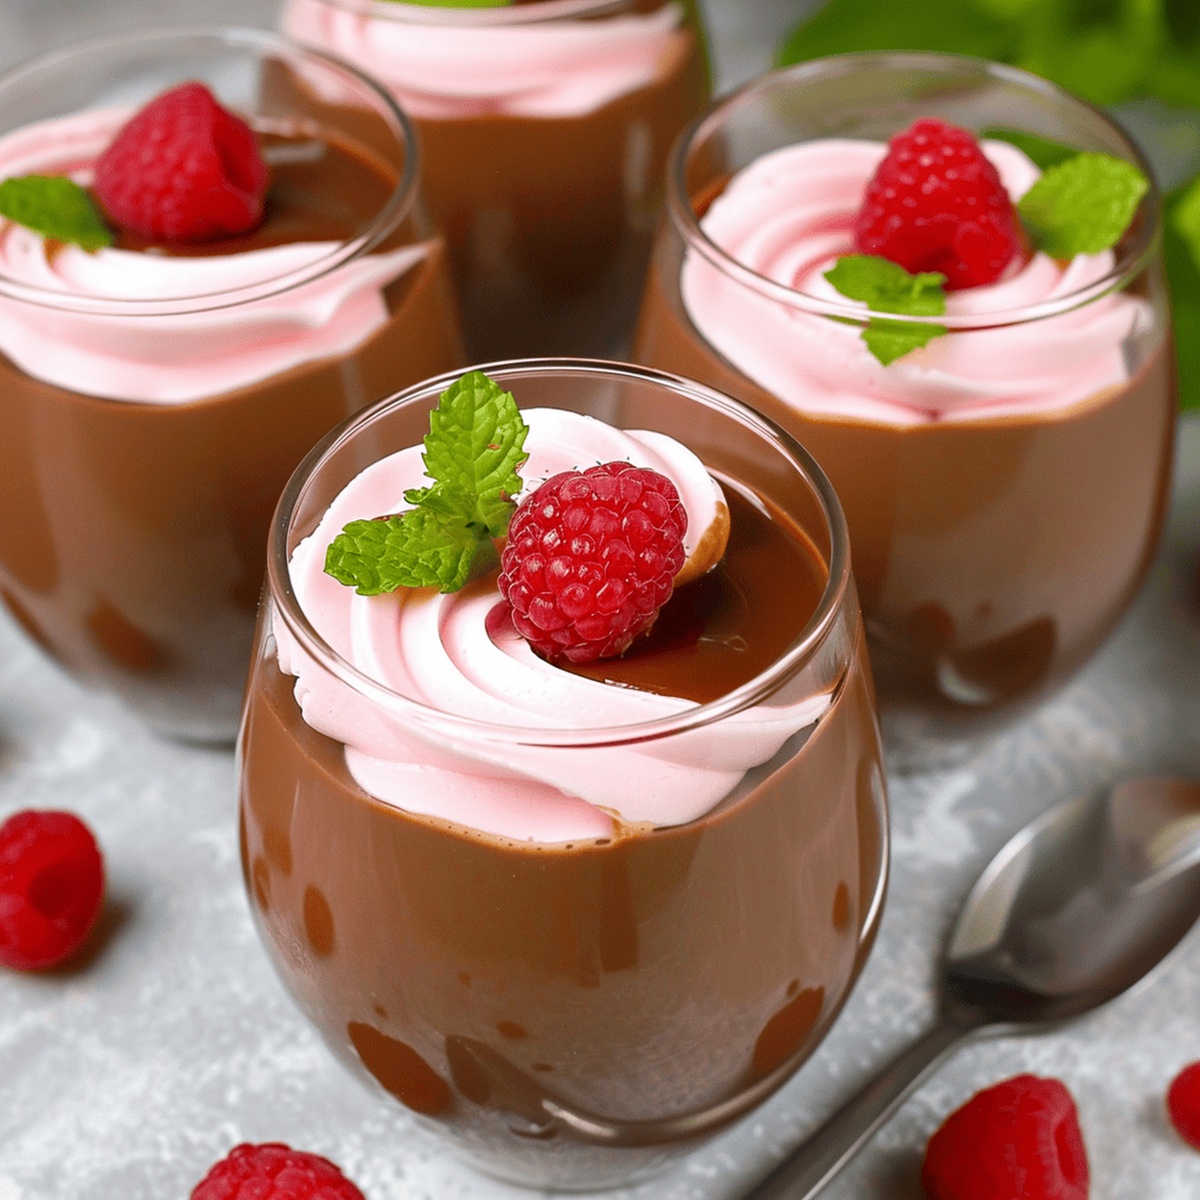
Elegant Presentation Optional raspberry and mint garnish adds fresh, vibrant finishing touch to sophisticated dessert.
Ways to Enhance Perfect Chocolate Pudding
Dissolve gelatin slowly and carefully to prevent lumps, ensuring a smooth, silky texture in both layers.
Use room temperature or chilled settings to help gelatin set perfectly without losing its delicate structure.
Pour chocolate layer gently over raspberry layer to create clean, distinct color separation.
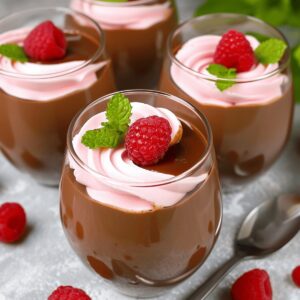
Choose clear wine glasses to showcase beautiful color gradients and layers of the dessert.
Replace raspberries with strawberries or blackberries for a different fruity dimension.
Use dark, milk, or white chocolate to create unique flavor profiles matching personal preferences.
Fold in crushed nuts or chocolate shavings between layers for added crunch and complexity.
Substitute half and half with coconut milk for a rich alternative that maintains creamy consistency.
Top with fresh mint leaves, chocolate curls, or edible flowers for elegant visual appeal.
Prepare dessert one day in advance, allowing flavors to meld and set perfectly.
How to Serve Chocolate Pudding Impressively
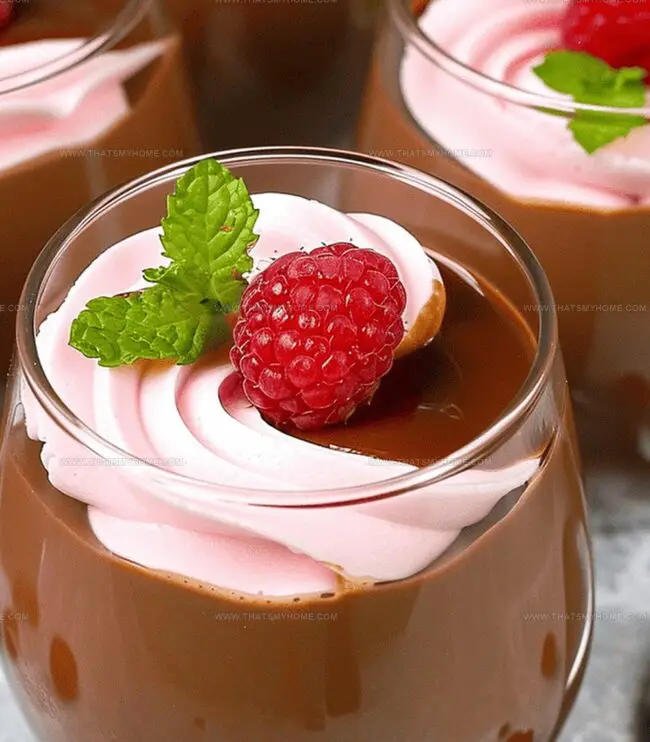
Elegant Dessert Presentation: Serve these layered puddings in clear wine glasses to showcase the beautiful raspberry and chocolate layers, creating a visually stunning dessert experience.
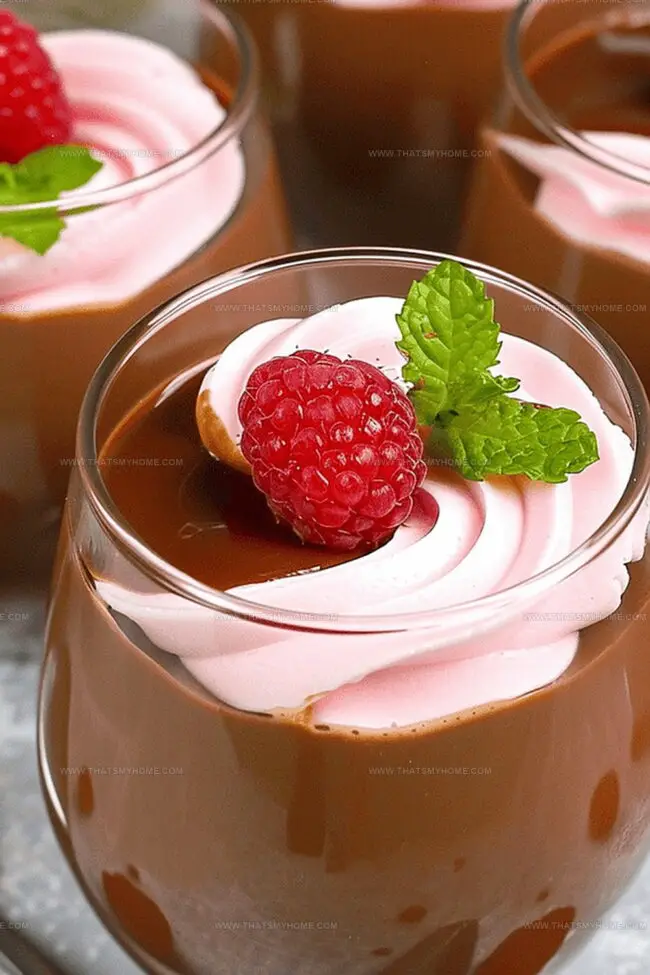
Flavor-Boosting Garnish: Top each glass with fresh raspberries and a delicate mint leaf to add a pop of color, freshness, and an extra burst of fruity flavor that complements the rich chocolate.
Chilled Dessert Delight: Keep the puddings refrigerated until just before serving to maintain their perfect texture and ensure a cool, refreshing treat that’s ideal for warm days or as a sophisticated ending to a meal.
Make-Ahead Magic: Prepare these puddings a day in advance, allowing the layers to set completely, which makes them a stress-free dessert option for dinner parties or special gatherings.
Storing Chocolate Pudding Without Losing Texture
Refrigerate Quickly: Store the chocolate pudding dessert in the refrigerator immediately after preparing. Keep glasses covered with plastic wrap to maintain freshness and prevent absorption of other food odors.
Chill and Consume: Best enjoyed within 2-3 days of preparation. The delicate layers remain most vibrant and texturally appealing when consumed fresh, so plan to serve soon after making.
Smart Portioning: Individual wine glasses make perfect single-serve containers. This design allows easy storage and prevents accidental disruption of the beautiful layered structure during refrigeration.
Freeze with Caution: While not recommended, you can freeze the dessert for up to 1 month. Thaw in the refrigerator overnight, understanding that the texture might slightly change after freezing. Whipped cream and gelatin layers could separate during the defrosting process.
Rich and silky chocolate pudding promises pure dessert bliss with minimal ingredients. Creamy cocoa comfort delivers satisfaction, inviting you to savor each luxurious spoonful.
Ingredients
Scale
3 ounces (85 grams) raspberry jello
2 packets unflavored gelatin
½ cup unsweetened chocolate, chopped or chocolate chips
⅔ cup granulated sugar
1 ½ cups whipped cream or cool whip
½ cup half and half milk
2 cups cold water
1 cup boiling water
½ cup cold water
Instructions
Preparation: Stabilize wine glasses diagonally within a muffin tin to prevent tipping during the chilling process.
Raspberry Layer Genesis: Dissolve gelatin with boiling water, integrating completely. Blend with cold water and allow to partially set at room temperature or in the refrigerator until reaching a thick, semi-solid consistency.
Cream Integration: Fold whipped cream into the semi-set gelatin mixture until uniformly distributed, creating a smooth raspberry base.
First Chilling Phase: Pour raspberry mixture into wine glasses and refrigerate for 2 hours to ensure complete solidification.
Chocolate Layer Preparation: Sprinkle gelatin over half and half milk in a saucepan. Whisk in cold water, then incorporate chocolate and sugar, cooking over medium-low heat while continuously stirring until the mixture coats a spoon smoothly.
Cooling Chocolate Mixture: Remove chocolate from heat and allow to cool completely to room temperature, preventing premature setting.
Layer Assembly: Extract raspberry-set glasses from refrigerator and carefully pour cooled chocolate mixture over the raspberry layer, ensuring complete coverage.
Final Chilling: Return glasses to refrigerator and chill for an additional hour to set the chocolate layer firmly.
Presentation: Garnish with fresh raspberries and mint leaves just before serving, creating an elegant and visually appealing dessert.
Notes
Stabilize Glasses: Use a muffin tin to prevent wobbling and ensure precise pouring of layers without spills or accidents.
Gelatin Technique: Let gelatin partially set before folding in cream to achieve a smooth, creamy texture without lumps or separation.
Temperature Control: Cool chocolate mixture completely to room temperature before layering to prevent melting or disrupting the raspberry layer.
Layering Precision: Pour chocolate mixture slowly and carefully over raspberry layer to create clean, distinct color separation without mixing.
The French Culinary Institute (now part of the International Culinary Center)
Program: Classic Culinary Arts
Focus: An intensive curriculum rooted in classical French techniques, artisanal bread production, and contemporary culinary methods.
Michael Rivera is a seasoned chef and culinary instructor based in San Francisco, CA. Trained in Classic Culinary Arts at The French Culinary Institute, he refined his skills in Michelin-starred kitchens, mastering classic French techniques and artisanal bread baking.
Passionate about making gourmet methods accessible, Michael co-founded thatsmyhome.com to share his expertise through interactive online lessons and innovative, plant-based recipes. He loves blending traditional techniques with modern ideas, encouraging home cooks to enjoy the art of cooking in a relaxed, fun environment.
Michael Rivera
Co-Founder & Culinary Instructor
Expertise
Education
The French Culinary Institute (now part of the International Culinary Center)
Michael Rivera is a seasoned chef and culinary instructor based in San Francisco, CA. Trained in Classic Culinary Arts at The French Culinary Institute, he refined his skills in Michelin-starred kitchens, mastering classic French techniques and artisanal bread baking.
Passionate about making gourmet methods accessible, Michael co-founded thatsmyhome.com to share his expertise through interactive online lessons and innovative, plant-based recipes. He loves blending traditional techniques with modern ideas, encouraging home cooks to enjoy the art of cooking in a relaxed, fun environment.