Fluffy Pumpkin Cheesecake Cups Recipe – A Fall Favorite
Autumn’s crisp breeze carries the warm, inviting aroma of a delectable simple pumpkin cheesecake cups recipe that promises pure comfort.
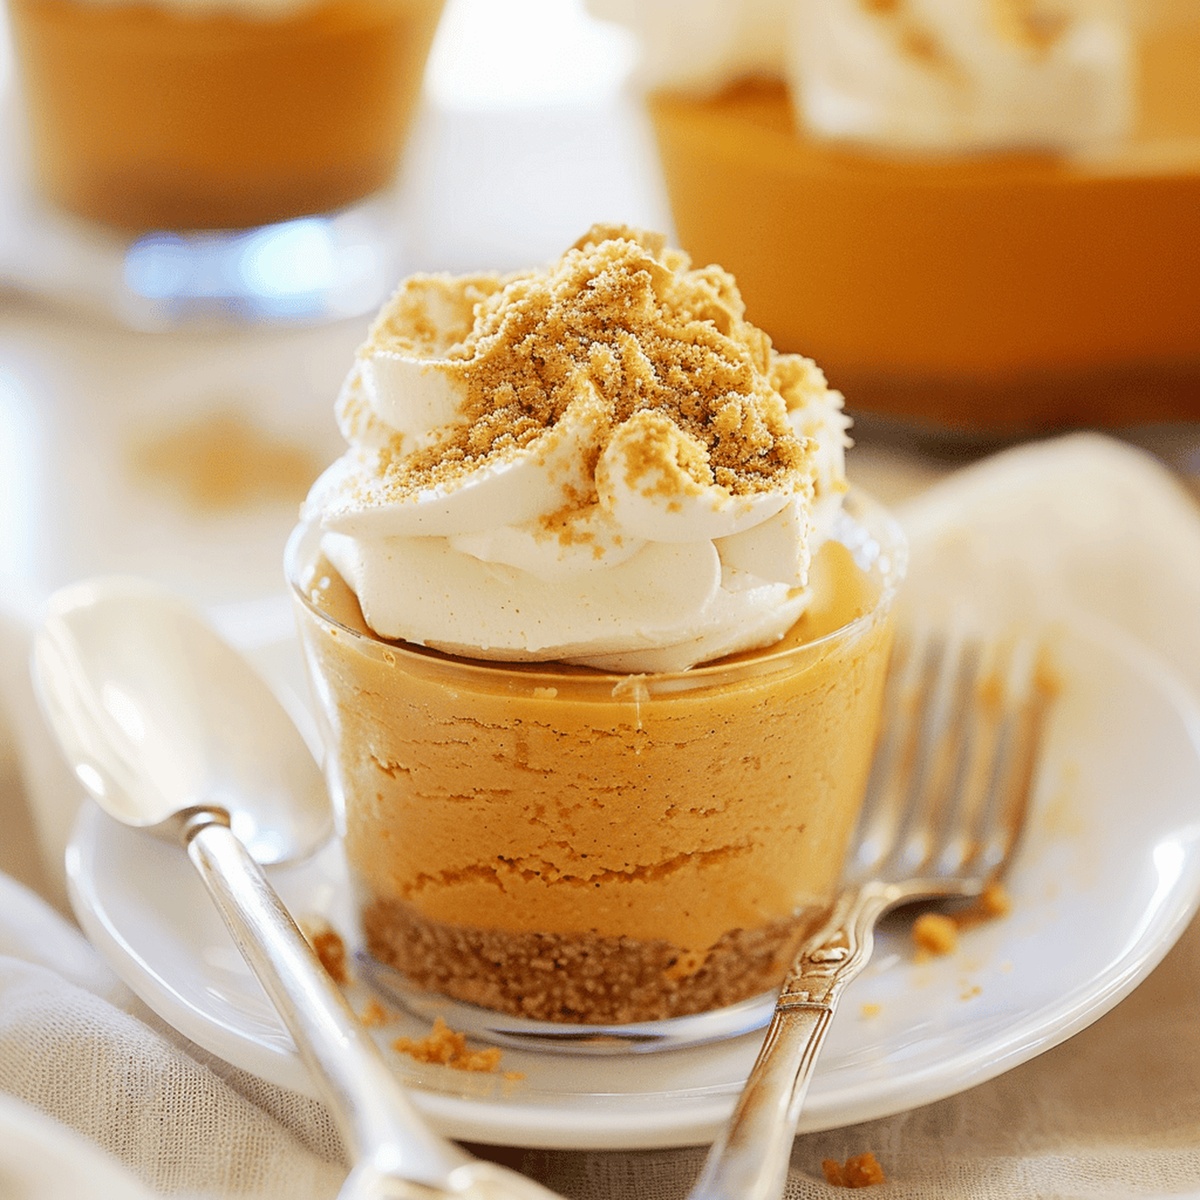
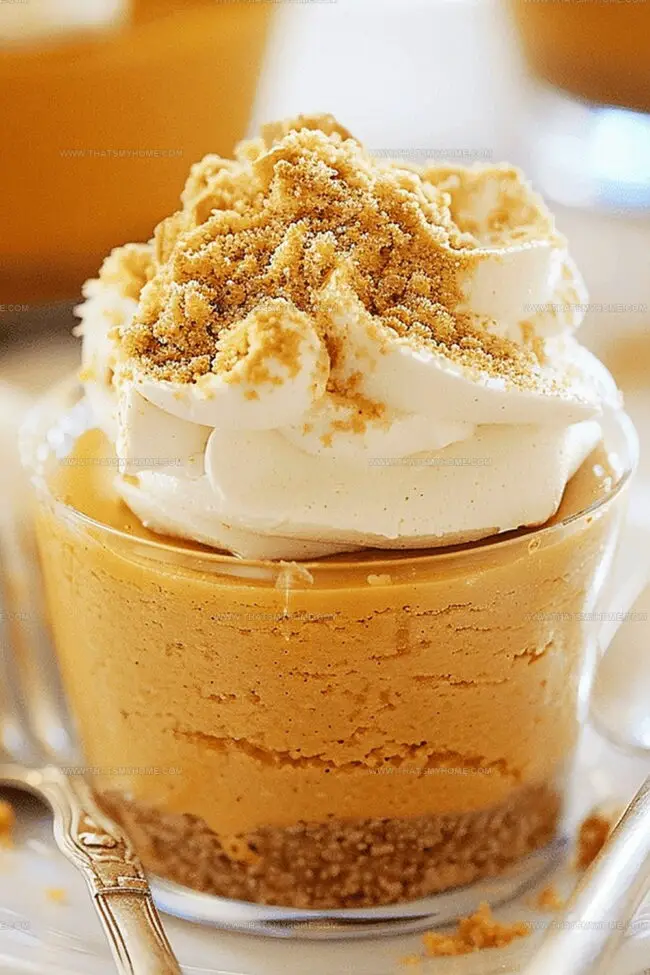
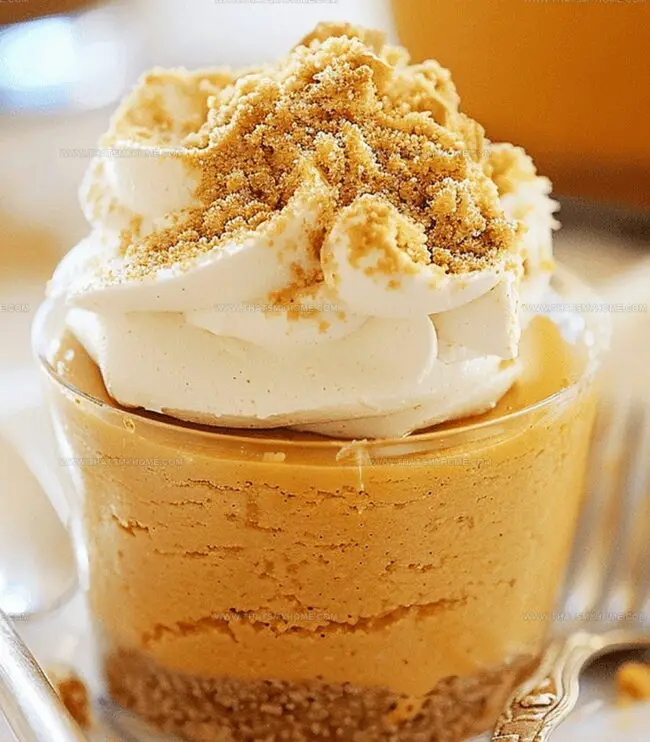
Silky smooth and perfectly portioned, these mini desserts capture the essence of seasonal indulgence.
Each delicate cup bursts with rich, creamy texture and classic fall spices that dance on your palate.
The graham cracker base adds a delightful crunch that complements the velvety pumpkin filling.
Crafted with minimal ingredients and maximum flavor, these individual treats are perfect for gatherings or quiet moments of sweet relaxation.
No complicated techniques or extensive baking skills required – just pure, straightforward deliciousness.
Grab your mixing bowl and let’s turn simple ingredients into an irresistible autumn dessert that’ll have everyone asking for seconds.
Quick Recipe Overview
Ingredients for Simple Pumpkin Cheesecake Cups
For Crust Base:For Creamy Filling:For Topping:Tools to Create Cheesecake Cups Easily
Directions for Assembling Pumpkin Cheesecake Cups
Crush graham crackers into delicate, sandy bits using a food processor, blending in sweet butter and sugars until the mixture feels like soft beach sand.
Whip cream cheese until it transforms into a light, cloud-like texture. Fold in rich pumpkin puree, warming spices, and silky pudding mix, creating a luxurious autumn-inspired filling.
Gently incorporate frozen whipped cream into the pumpkin mixture, creating a dreamy, pillowy consistency that feels like a sweet autumn breeze.
Carefully spoon the velvety pumpkin cream over the crumbly graham base in individual serving cups. Chill the desserts until they’re perfectly set and ready to enchant your taste buds.
Before serving, crown each cup with a delicate swirl of extra whipped cream, offering a beautiful finish that hints at the deliciousness waiting below.
Clever Tips to Customize Pumpkin Cheesecake Cups
Creative Serving Ideas for Cheesecake Cups
Keeping Cheesecake Cups Fresh and Tasty
Print
Silky Pumpkin Cheesecake Cups Recipe
- Total Time: 2 hours
- Yield: 7 1x
Description
Delightful pumpkin cheesecake cups blend creamy richness with autumn spices in a handheld dessert. Quick and easy preparation makes these mini treats perfect for seasonal gatherings when you want something sweet and memorable.
Ingredients
- 14 ounces (400 grams) sweetened condensed milk
- 15 ounces (425 grams) pumpkin puree
- 8 ounces (230 grams) cream cheese, softened to room temperature
- 12 ounces (350 grams) frozen whipped topping, plus extra for garnish if desired
- 1 oz (25 grams) sugar-free cheesecake-flavored instant pudding mix
- 3 tsps pumpkin pie spice
Instructions
- Crumb Foundation: Pulverize graham crackers in a food processor to create a fine, uniform base, then blend with melted butter and sugars until the mixture coheres perfectly.
- Crust Preparation: Press the crumb mixture into individual serving cups, ensuring a compact and even layer, then refrigerate to set while preparing the filling.
- Filling Creation: Whip cream cheese in a stand mixer until supremely smooth, then incorporate pumpkin puree, pumpkin pie spice, and instant pudding mix, thoroughly blending to eliminate any lumps.
- Texture Development: Introduce sweetened condensed milk and gently fold in frozen whipped topping, transforming the mixture into a light, airy mousse with a silky consistency.
- Chilling and Setting: Refrigerate the filling for one hour to enhance flavor integration, then carefully spoon the chilled pumpkin mixture over the graham cracker bases, filling each cup generously.
- Final Touch: Return the assembled dessert to the refrigerator until serving time, optionally garnishing with a delicate swirl of whipped topping for an elegant presentation.
Notes
- Crumb Base Tip: Pulse graham crackers precisely to avoid large chunks, ensuring a uniform, smooth foundation for your dessert.
- Filling Consistency Check: Whip cream cheese thoroughly to eliminate lumps, creating a silky-smooth base that blends seamlessly with other ingredients.
- Chilling Strategy: Allow both crumb base and filling to rest in the refrigerator, helping flavors meld and texture firm up for a more refined dessert experience.
- Garnish with Finesse: Add whipped topping just before serving to maintain freshness and prevent soggy texture, elevating the visual and taste appeal.
- Prep Time: 2 hours
- Cook Time: 0 minutes
- Category: Desserts, Snacks
- Method: Blending
- Cuisine: American
Nutrition
- Serving Size: 7
- Calories: 298
- Sugar: 27 g
- Sodium: 160 mg
- Fat: 18 g
- Saturated Fat: 10 g
- Unsaturated Fat: 8 g
- Trans Fat: 0 g
- Carbohydrates: 32 g
- Fiber: 1 g
- Protein: 5 g
- Cholesterol: 47 mg
Michael Rivera
Co-Founder & Culinary Instructor
Expertise
Education
The French Culinary Institute (now part of the International Culinary Center)
Michael Rivera is a seasoned chef and culinary instructor based in San Francisco, CA. Trained in Classic Culinary Arts at The French Culinary Institute, he refined his skills in Michelin-starred kitchens, mastering classic French techniques and artisanal bread baking.
Passionate about making gourmet methods accessible, Michael co-founded thatsmyhome.com to share his expertise through interactive online lessons and innovative, plant-based recipes. He loves blending traditional techniques with modern ideas, encouraging home cooks to enjoy the art of cooking in a relaxed, fun environment.