
Jolly Peppermint Chocolate Delights Recipe: Sweet Holiday Magic
Sweet aromas of peppermint chocolate delights will dance through your kitchen, filling every corner with irresistible warmth.
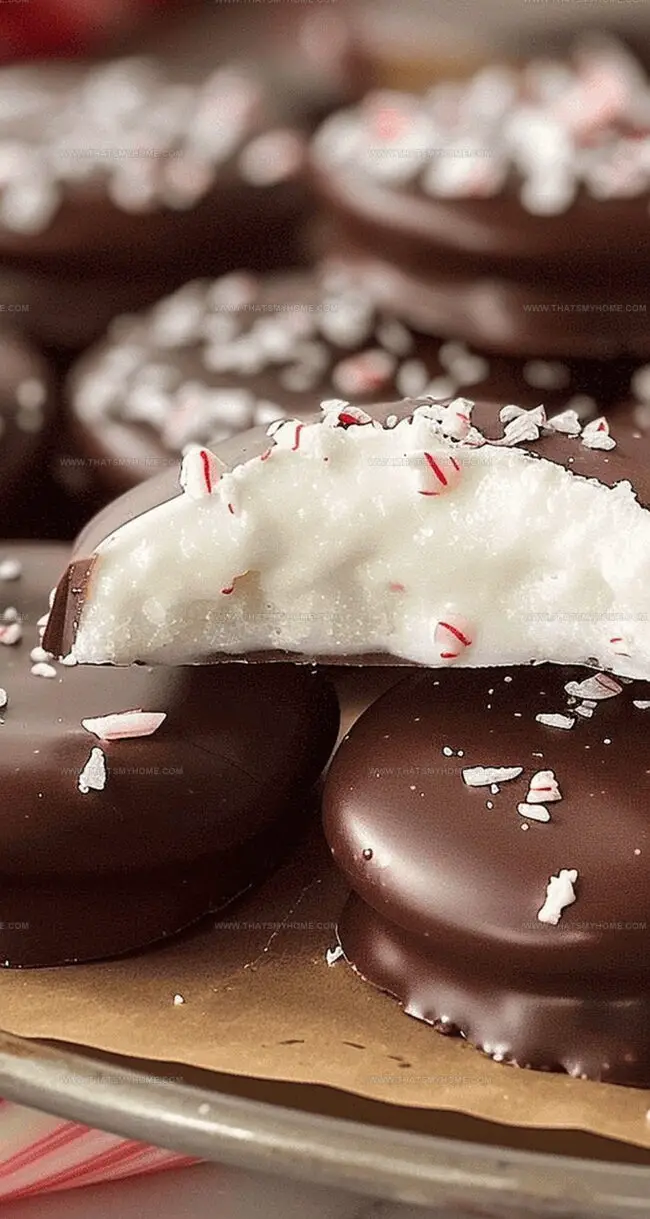
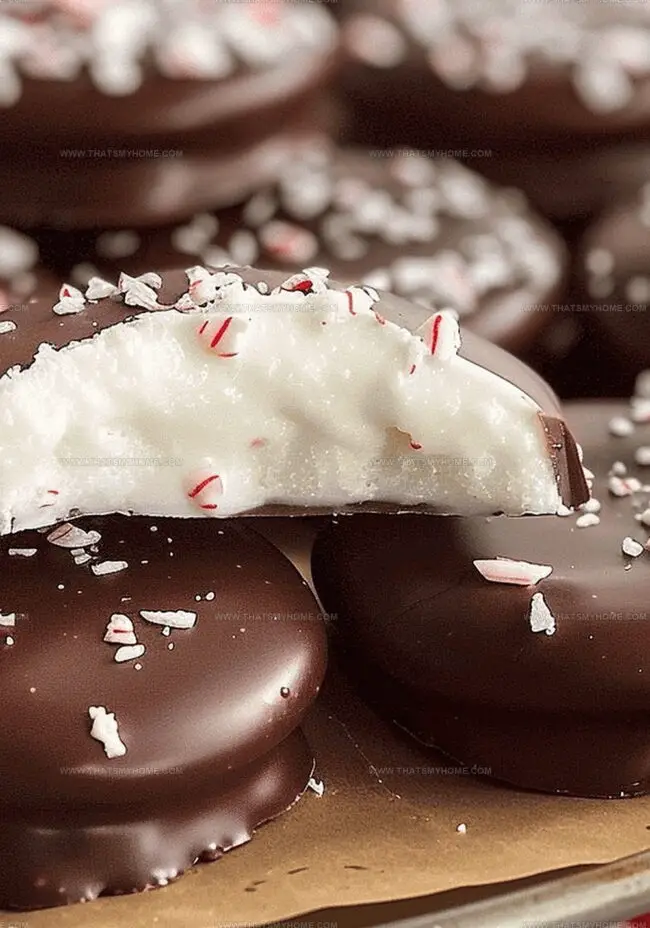
Decadent chocolate meets cool, refreshing mint in this simple yet elegant dessert.
These delightful treats combine rich cocoa with bright peppermint for a truly memorable experience.
Bakers of all skill levels can master this straightforward recipe with ease.
Each bite promises a perfect balance of deep chocolate and crisp mint flavors.
The combination guarantees to impress anyone lucky enough to sample these delectable morsels.
Grab your mixing bowl and let’s create something wonderfully delicious that will have everyone asking for seconds.
Quick Recipe Overview
Peppermint Chocolate: What You’ll Need
For Base and Binding:For Flavor and Aroma:For Coating and Finishing:For Preparation:For Optional Decoration:Kitchen Tool for Peppermint Chocolate Prep
Making Peppermint Chocolate Treats at Home
Set up a parchment-lined tray with ample freezer space for cooling your sweet treats.
Blend condensed milk with a burst of peppermint flavor in a spacious mixing bowl.
Whip in powdery sugar until the mixture becomes a smooth, manageable consistency.
Craft petite round shapes, gently pressing them into delicate flat circles on the prepared tray.
Slide the tray into the freezer, allowing the mint discs to firm up and chill.
Melt chocolate bark slowly, stirring between short heating intervals until silky and glossy.
Swiftly dunk each mint disc into the warm chocolate, letting excess drip away smoothly.
Sprinkle decorative toppings while the chocolate remains wet for maximum adhesion.
Let the chocolate-covered morsels rest until completely solidified, then enjoy your delectable creation.
Flavor Switch-Ups for Peppermint
How to Present Peppermint Chocolate Treats
Tips to Store Peppermint Chocolates with Care
Print
Velvety Peppermint Chocolate Delights Recipe
- Total Time: 1 hour 50 minutes
- Yield: 22 1x
Description
Homemade peppermint chocolate delights combine rich cocoa with cool mint for an irresistible seasonal treat. Festive chocolate cookies provide a perfect balance of sweetness and refreshing peppermint that will satisfy winter dessert cravings.
Ingredients
- 1 lb (1 pound) chocolate almond bark
- 4 cups confectioners sugar
- 1 cup sweetened condensed milk
- 1 tsp (1 teaspoon) peppermint extract
- Sprinkles (optional)
Instructions
- Preparation: Line a baking sheet with parchment paper and clear freezer space for the mint treats, ensuring a smooth workspace.
- Mixture Creation: Combine sweetened condensed milk and peppermint extract in a mixing bowl, blending thoroughly until a uniform base forms.
- Dough Formation: Gradually fold powdered sugar into the mixture using an electric mixer, kneading until a firm, non-sticky dough emerges that holds its shape.
- Shaping and Chilling: Roll the peppermint dough into uniform balls, flattening them into 1.5-inch circular discs on the prepared baking sheet. Freeze for one hour to solidify the mint bases.
- Chocolate Coating: Microwave chocolate almond bark in 30-second intervals, stirring between cycles until achieving a smooth, glossy liquid consistency for dipping.
- Dipping and Decorating: Submerge each chilled mint disc into the melted chocolate, tapping off excess coating. Immediately garnish with decorative sprinkles while the chocolate remains liquid.
- Setting: Allow the chocolate-coated treats to set at room temperature or accelerate the process by refrigerating until completely firm and crisp.
Notes
- Chill Precisely: Freeze peppermint discs exactly 60 minutes for optimal texture and easier chocolate dipping.
- Control Chocolate Melting: Use 30-second microwave intervals, stirring between each cycle to prevent burning and achieve smooth consistency.
- Tap Excess Chocolate: Gently tap or scrape dipped treats against bowl’s edge to remove extra coating, ensuring clean, professional appearance.
- Decorate Immediately: Sprinkle toppings while chocolate remains liquid to guarantee proper adhesion and attractive finish.
- Prep Time: 20 minutes
- Cook Time: 1 hour 30 minutes
- Category: Desserts, Snacks
- Method: Baking
- Cuisine: American
Nutrition
- Serving Size: 22
- Calories: 195
- Sugar: 22 g
- Sodium: 30 mg
- Fat: 9 g
- Saturated Fat: 4 g
- Unsaturated Fat: 5 g
- Trans Fat: 0 g
- Carbohydrates: 27 g
- Fiber: 0 g
- Protein: 1 g
- Cholesterol: 3 mg
Michael Rivera
Co-Founder & Culinary Instructor
Expertise
Education
The French Culinary Institute (now part of the International Culinary Center)
Michael Rivera is a seasoned chef and culinary instructor based in San Francisco, CA. Trained in Classic Culinary Arts at The French Culinary Institute, he refined his skills in Michelin-starred kitchens, mastering classic French techniques and artisanal bread baking.
Passionate about making gourmet methods accessible, Michael co-founded thatsmyhome.com to share his expertise through interactive online lessons and innovative, plant-based recipes. He loves blending traditional techniques with modern ideas, encouraging home cooks to enjoy the art of cooking in a relaxed, fun environment.