Whipped Cheese Dessert Cups Recipe

Easy Whipped Cheese Dessert Cups Recipe: Sweet Bliss in Minutes

Whipped cheese dessert cups dance between decadence and lightness, promising a silky smooth culinary adventure.

Creamy textures meld with subtle sweetness, creating an unexpected canvas of gastronomic delight.

Professional chefs and home cooks alike can craft these elegant treats with minimal effort.

Soft, pillowy volumes emerge from simple ingredients, converting ordinary moments into extraordinary experiences.

Each spoonful carries a whisper of sophistication that elevates dessert from mundane to memorable.

Sophisticated yet approachable, these cups blur the lines between comfort and gourmet indulgence.

You’ll want to master this technique for impressive yet effortless entertaining.

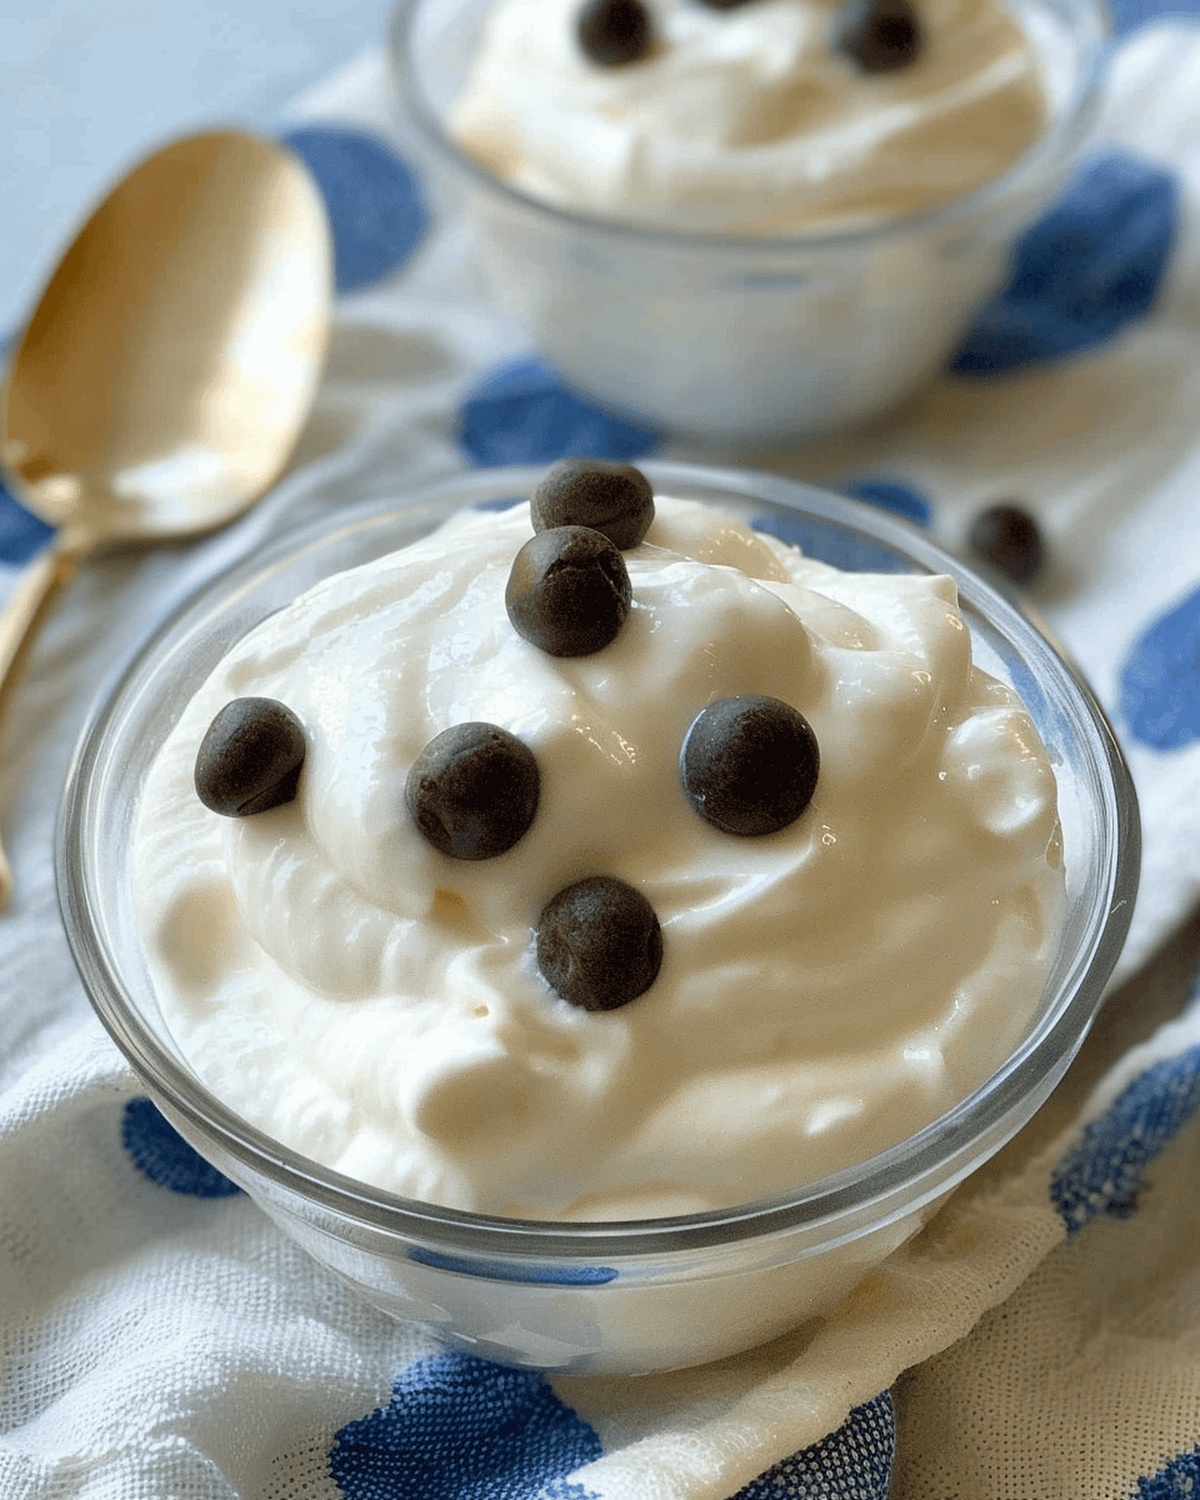
Light and Fluffy Whipped Cheese Dessert Cups

  • Whip Up Quick Delight: This recipe offers an incredibly simple dessert that transforms basic ingredients into a creamy, luxurious treat in just one minute of blending.
  • Versatile Serving Options: Enjoy this dessert chilled as a smooth pudding or frozen for a refreshing ice cream-like experience, giving you multiple ways to savor the same recipe.
  • Protein-Packed Treat: With an impressive 10g of protein per serving, this dessert provides a nutritious alternative to traditional sugary desserts, making it a smart choice for health-conscious food lovers.
  • Customize Your Craving: The recipe allows endless creativity with toppings, letting you personalize each serving to match your mood or taste preferences without complicated preparation steps.

Key Ingredients for Whipped Cheese Dessert Cups

  • Cream Cheese: A classic, tangy base that provides rich and smooth texture for the dessert.
  • Whipped Cream: Light and airy component that creates a fluffy, delicate dessert consistency.
  • Powdered Sugar: Soft sweetener that dissolves easily and adds smooth sweetness without graininess.
  • Honey: Natural sweetener with subtle floral notes that enhances overall flavor profile.
  • Vanilla Extract: Pure flavor booster that adds warmth and depth to the dessert.
  • Salt: Tiny pinch that balances and brightens the sweet flavors in the recipe.

How to Make Whipped Cheese Dessert Cups

Step 1: Collect Ingredients

Grab a small food processor and gather all the components needed for this creamy delight. Make sure everything is fresh and ready to transform into a delectable treat.

Step 2: Blend to Perfection

Pour all ingredients into the food processor. Pulse and blend for 1 minute, watching as the mixture transforms into a silky-smooth consistency. Stop when you achieve a perfectly creamy texture without any lumps.

Step 3: Chill and Choose Your Style

You’ve got two awesome serving options:
  • Refrigerate for a pudding-like dessert that's cool and refreshing
  • Freeze for a delightful ice cream-style experience that'll make your taste buds dance

Step 4: Add Delicious Toppings

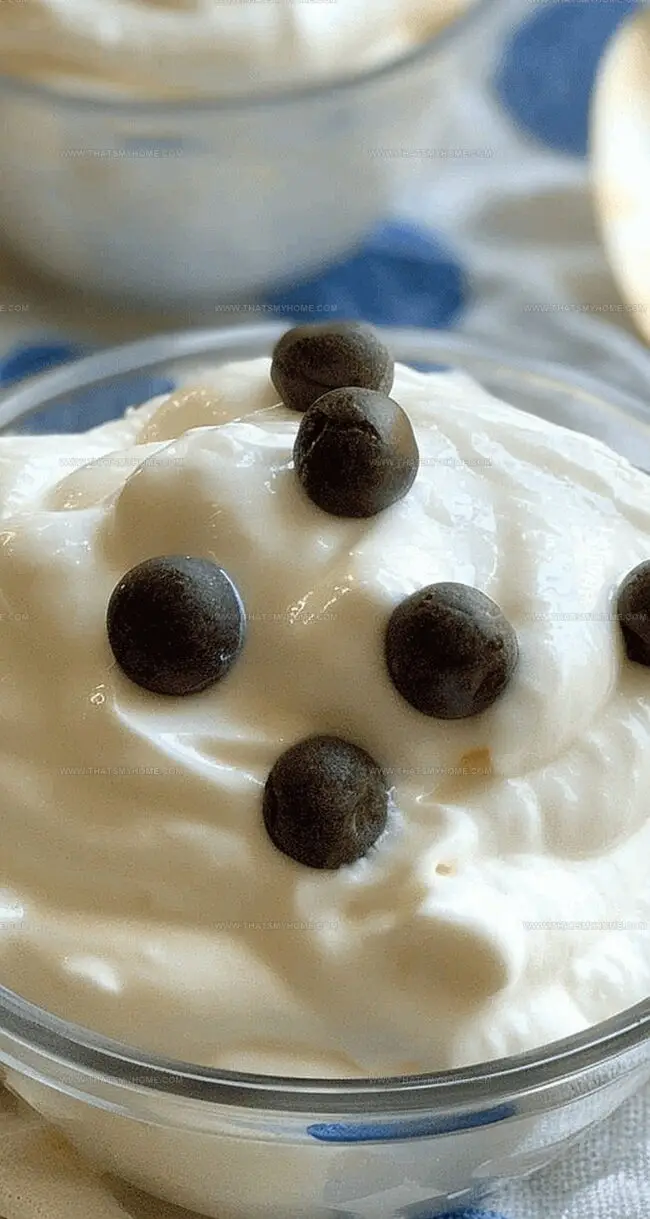
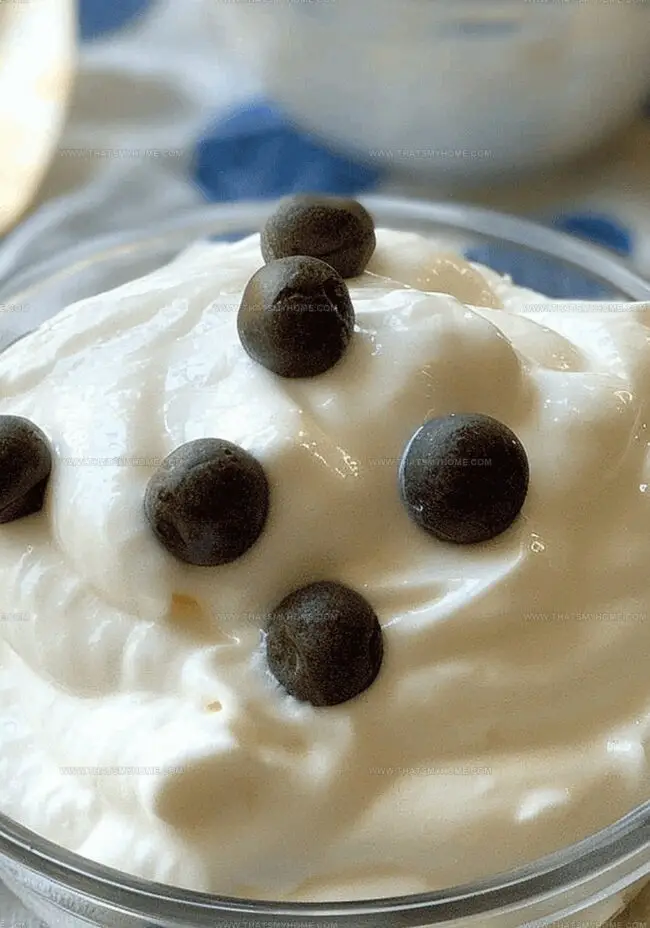
Unleash your creativity by sprinkling your favorite garnishes on top. Whether you love fresh fruits, chocolate shavings, or a drizzle of caramel, make this dessert uniquely yours.

Step 5: Enjoy Your Creamy Creation

Dive into your homemade whipped cheese dessert cup. Each spoonful promises a burst of creamy goodness that’s sure to bring a smile to your face.

Tips for Perfect Whipped Cheese Dessert Cups

  • Chill Your Processor Blade: Freeze the food processor blade for 10 minutes before blending to help create an ultra-smooth, creamy texture.
  • Perfect Consistency Check: Stop blending when the mixture looks glossy and holds soft peaks, ensuring a light and airy dessert.
  • Flavor Boost Technique: Add a splash of vanilla extract or a pinch of cinnamon to enhance the overall taste profile of the whipped cheese dessert.
  • Topping Selection Strategy: Choose contrasting textures like crunchy nuts, fresh berries, or chocolate shavings to elevate the dessert's sensory experience.
  • Make-Ahead Magic: Prepare the dessert cups up to 3 days in advance and store in an airtight container for convenient entertaining or quick dessert options.

Storing and Reheating Whipped Cheese Dessert Cups

  • Refrigeration: Store these delightful dessert cups in an airtight container for up to 5 days. Tightly seal the container to prevent any unwanted odors from seeping into your creamy treat.
  • Freezing: Carefully transfer the dessert cups to freezer-safe containers, where they'll keep beautifully for 2-3 weeks. Wrap each container with plastic wrap for extra protection against freezer burn.
  • Reheating: Thaw frozen dessert cups in the refrigerator for about 30 minutes before serving. Gently stir to restore the original smooth texture, and add fresh toppings to revive the dessert's delicious appeal.

Pairing Whipped Cheese Dessert Cups with Fruits

  • Pair with Sweet Moscato Wine: The light, fruity notes of Moscato perfectly complement the creamy texture of the whipped cheese dessert, creating a delightful balance of sweetness and richness.
  • Sprinkle Crunchy Almond Brittle: Add a layer of caramelized almond brittle on top to introduce a satisfying crunch that contrasts with the smooth dessert, elevating the overall taste experience.
  • Serve with Fresh Berries: Scatter a handful of fresh raspberries or strawberries around the dessert to bring a bright, tangy freshness that cuts through the creamy richness and adds a pop of color.
  • Match with Honey Drizzle: Drizzle a light stream of golden honey over the dessert to enhance its natural sweetness and provide a silky, luxurious finish that ties all the flavors together.

Fun Variations of Whipped Cheese Dessert Cups

  • Berry Blast Cups: Fold fresh mixed berries into the whipped cheese mixture before chilling, creating a fruity and vibrant dessert with natural sweetness.
  • Chocolate Chip Delight: Sprinkle dark chocolate chips throughout the whipped cheese base, adding rich cocoa flavor and delightful texture to the creamy dessert.
  • Caramel Crunch Cups: Drizzle homemade caramel sauce and sprinkle crushed nuts on top of the chilled whipped cheese, introducing a luxurious and crunchy element to the smooth dessert.
  • Tropical Paradise: Mix in diced mango and coconut flakes for a refreshing, exotic version that transports your taste buds to a sunny beach destination.
Print
clock clock iconcutlery cutlery iconflag flag iconfolder folder iconinstagram instagram iconpinterest pinterest iconfacebook facebook iconprint print iconsquares squares iconheart heart iconheart solid heart solid icon
Whipped Cheese Dessert Cups Recipe

Whipped Cheese Dessert Cups Recipe


5 Stars 4 Stars 3 Stars 2 Stars 1 Star

4.7 from 26 reviews

  • Total Time: 5 minutes
  • Yield: 1 1x

Description

Silky whipped cheese dessert cups showcase Mediterranean elegance with creamy mascarpone and delicate honey swirls. Guests will savor rich layers of texture blending sweet and tangy notes in each luxurious spoonful.


Ingredients

Scale

Main Ingredients:

  • ½ cup cottage cheese, drained
  • 2 teaspoons sugar

Flavor Enhancers:

  • ½ teaspoon vanilla extract

Instructions

  1. Prepare a compact food processor and assemble all the recipe ingredients within its container.
  2. Pulse and blend the mixture thoroughly for approximately 60 to 90 seconds, ensuring a silky, uniform texture without any visible lumps.
  3. Transfer the creamy mixture into individual serving cups or a single large container, depending on your presentation preference.
  4. Chill the dessert in the refrigerator for at least 30 minutes to allow the flavors to meld and the texture to set properly.
  5. When ready to serve, remove the dessert from the refrigerator and let it sit at room temperature for 5 minutes to soften slightly.
  6. Garnish with an array of delectable toppings such as fresh berries, chocolate shavings, crushed nuts, or a drizzle of honey to enhance visual appeal and flavor complexity.
  7. For a firmer, gelato-like consistency, place the dessert in the freezer for 1 to 2 hours, stirring occasionally to prevent ice crystal formation.
  8. Enjoy the whipped cheese dessert chilled, savoring its smooth, decadent texture and rich, creamy taste.

Notes

  • Chilling helps the dessert set perfectly, creating a silky-smooth texture that melts in your mouth.
  • Experiment with different toppings like crushed nuts, fresh berries, or a drizzle of honey for added excitement.
  • Freezing transforms this creamy treat into a delightful alternative to traditional ice cream.
  • Blending ensures a lump-free, velvety consistency that’s both light and indulgent.
  • Quick and easy preparation means you can satisfy your sweet tooth in minutes.
  • Prep Time: 5 minutes
  • Cook Time: 0 minutes
  • Category: Desserts, Snacks
  • Method: None
  • Cuisine: American

Nutrition

  • Serving Size: 1
  • Calories: 100 kcal
  • Sugar: 0 g
  • Sodium: 220 mg
  • Fat: 4.5 g
  • Saturated Fat: 2.5 g
  • Unsaturated Fat: 1.8 g
  • Trans Fat: 0 g
  • Carbohydrates: 6 g
  • Fiber: 0 g
  • Protein: 10 g
  • Cholesterol: 15
Mary Ellen

Mary Ellen

Founder, Pastry Chef & Recipe Developer

Expertise

  • Artisanal Bread Making
  • Exquisite Pastry Craftsmanship
  • Creative Dessert Presentation
  • Flavor Profile Development
  • Menu Concept Innovation.

Education

Savannah Technical College

  • Program: Associate of Applied Science in Culinary Baking & Pastry Arts
  • Focus: A specialized program focusing on baking and pastry fundamentals, including bread making, cake decorating, and advanced pastry techniques. Developed creative presentation skills and an understanding of ingredient functions through lab-based practice.

Mary Ellen is the heart and soul of thatsmyhome.com. As the founder, pastry chef, and recipe developer, she refined her skills at Savannah Technical College with an Associate of Applied Science in Culinary Baking & Pastry Arts. 

Mary blends classic techniques with modern twists to make artisanal breads, beautifully crafted pastries, and desserts full of unique flavor. Her passion is evident in every recipe, and she enjoys sharing her expertise through hands-on pastry workshops and insightful articles in local culinary magazines.

Leave a Reply

Your email address will not be published. Required fields are marked *

Recipe rating 5 Stars 4 Stars 3 Stars 2 Stars 1 Star