Gooey Buttery Garlic Cheese Bombs Recipe: A Bite-Sized Delight
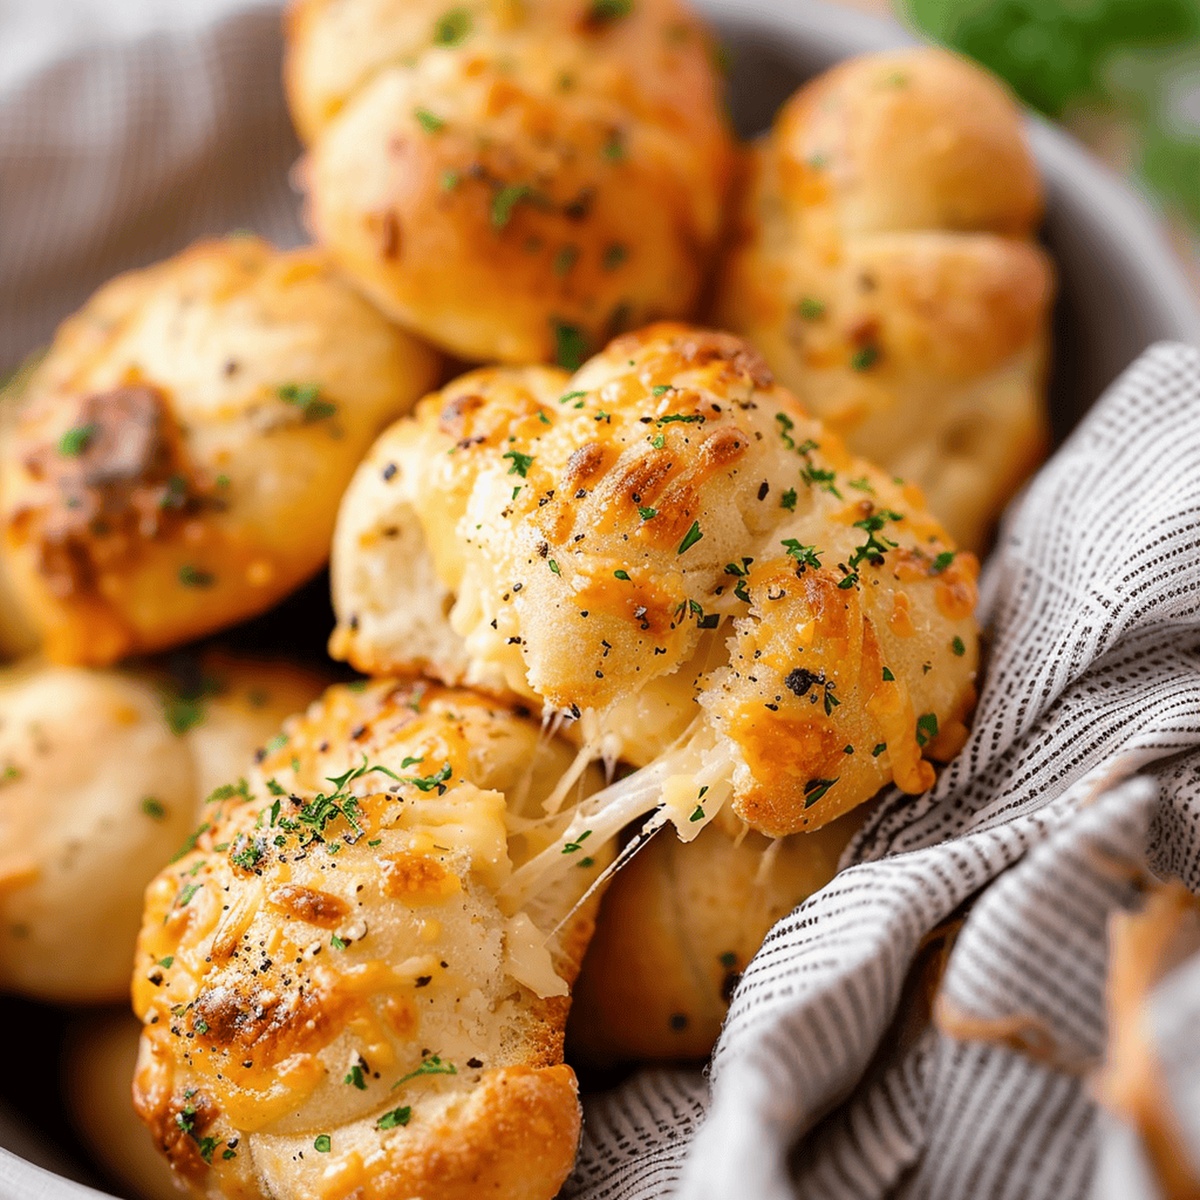
Soft, pillowy dough wrapped around melted garlic cheese bombs creates an irresistible appetizer that’ll steal the show at any gathering.
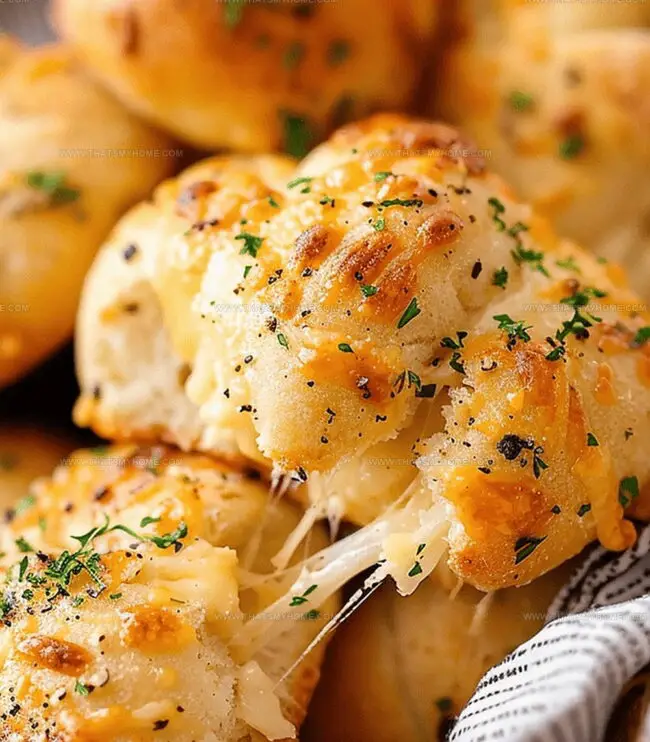
Golden-brown edges give way to a molten cheese center bursting with savory flavor.
Each bite delivers a perfect balance of crispy exterior and gooey interior.
These delectable little parcels combine simple ingredients into something truly magical.
Warm, herb-infused butter adds a luxurious touch that makes these bombs absolutely addictive.
Serve them hot and watch as everyone reaches for seconds – these cheese bombs are guaranteed to disappear quickly from the table.
Quick Recipe Overview

Buttery Garlic Cheese Bombs: Ingredient Essentials
For Base Ingredient:For Filling and Flavor Ingredients:For Binding and Finishing Ingredients:Tools to Bake Buttery Garlic Cheese Bombs
Instructions for Buttery Garlic Cheese Bombs
Warm up your kitchen by setting the oven to a cozy temperature. Grab a baking sheet and cover it with parchment paper for easy cleanup.
Create a mouthwatering blend of melted butter infused with aromatic herbs and zesty garlic. This magical mixture will be your secret weapon for irresistible taste.
Gently unroll the crescent dough, separating each triangle with care. Lavish these pastry triangles with your herb-infused butter, saving a bit for the final touch.
Nestle a chunk of cheese at the wide end of each triangle. Roll the dough carefully, tucking in the edges to create little flavor-packed parcels.
Brush the tops of your bombs with the remaining butter. Pop them into the oven and watch as they transform into golden, crispy delights in about 10-12 minutes.
Variations and Additions for Garlic Cheese Bombs
Plating and Serving Buttery Garlic Cheese Bombs
Storage Tips for Garlic Cheese Bomb
Print
Crispy Garlic Cheese Bombs Recipe
- Total Time: 22 minutes
- Yield: 9 1x
Description
Garlic cheese bombs deliver explosive flavor in a quick, golden-brown package of pastry perfection. Melted cheese and herbs create an irresistible appetizer that will leave guests craving more.
Ingredients
- 6 tablespoons (90 ml) salted butter, melted
- 2 (8 oz / 226 g) cans refrigerated crescent rolls
- 8 pieces mozzarella string cheese, halved
- 4–5 cloves garlic, grated or finely minced
- 1 ½ teaspoons (7.5 ml) Italian seasoning
- 1 teaspoon (5 ml) dried parsley
- ½ teaspoon (2.5 ml) dried basil
Instructions
- Preparation: Ignite the oven to 375°F (190°C) and shield a rimmed baking sheet with parchment paper for optimal cooking surface.
- Flavor Infusion: Craft a luxurious garlic butter blend by whisking melted butter with Italian seasoning, minced garlic, chopped parsley, and finely diced basil in a compact mixing vessel.
- Dough Transformation: Meticulously unfurl the crescent roll dough, separating into individual triangular segments with precision.
- Cheese Integration: Bisect the string cheese lengthwise and nestle each half at the broad end of each crescent triangle, then elegantly envelop the cheese by rolling and sealing the edges to prevent any molten cheese escape.
- Butter Embellishment: Lavishly coat the exterior of each rolled crescents with the reserved garlic butter mixture, ensuring comprehensive coverage for maximum flavor intensity.
- Baking Ritual: Arrange the garlic cheese bombs strategically on the prepared baking sheet, allowing minimal spacing between each piece, and slide into the preheated oven.
- Culinary Finale: Bake for 10-12 minutes until the crescents transform into a golden-brown masterpiece with perfectly melted cheese interior. Allow a brief 2-3 minute cooling period before serving to prevent potential palate-scorching moments.
Notes
- Seal Edges Securely: Pinch and fold crescent dough edges tightly to prevent cheese from leaking during baking.
- Brush Generously: Coat crescents completely with garlic butter mixture for maximum flavor and golden-brown appearance.
- Monitor Baking Time: Watch closely after 10 minutes to avoid over-browning or burning the delicate pastry.
- Serve Immediately: Enjoy while warm for the best melted cheese texture and most vibrant garlic butter taste.
- Prep Time: 10 minutes
- Cook Time: 12 minutes
- Category: Appetizer, Snacks
- Method: Baking
- Cuisine: American
Nutrition
- Serving Size: 9
- Calories: 180
- Sugar: 0 g
- Sodium: 360 mg
- Fat: 12 g
- Saturated Fat: 7 g
- Unsaturated Fat: 5 g
- Trans Fat: 0 g
- Carbohydrates: 17 g
- Fiber: 1 g
- Protein: 4 g
- Cholesterol: 30 mg
Michael Rivera
Co-Founder & Culinary Instructor
Expertise
Education
The French Culinary Institute (now part of the International Culinary Center)
Michael Rivera is a seasoned chef and culinary instructor based in San Francisco, CA. Trained in Classic Culinary Arts at The French Culinary Institute, he refined his skills in Michelin-starred kitchens, mastering classic French techniques and artisanal bread baking.
Passionate about making gourmet methods accessible, Michael co-founded thatsmyhome.com to share his expertise through interactive online lessons and innovative, plant-based recipes. He loves blending traditional techniques with modern ideas, encouraging home cooks to enjoy the art of cooking in a relaxed, fun environment.