Refreshing Minty Chocolate Ice Cream Sandwiches Recipe
Cool summer days demand a delightful chocolate and mint ice cream sandwiches recipe that transforms ordinary dessert moments into pure bliss.
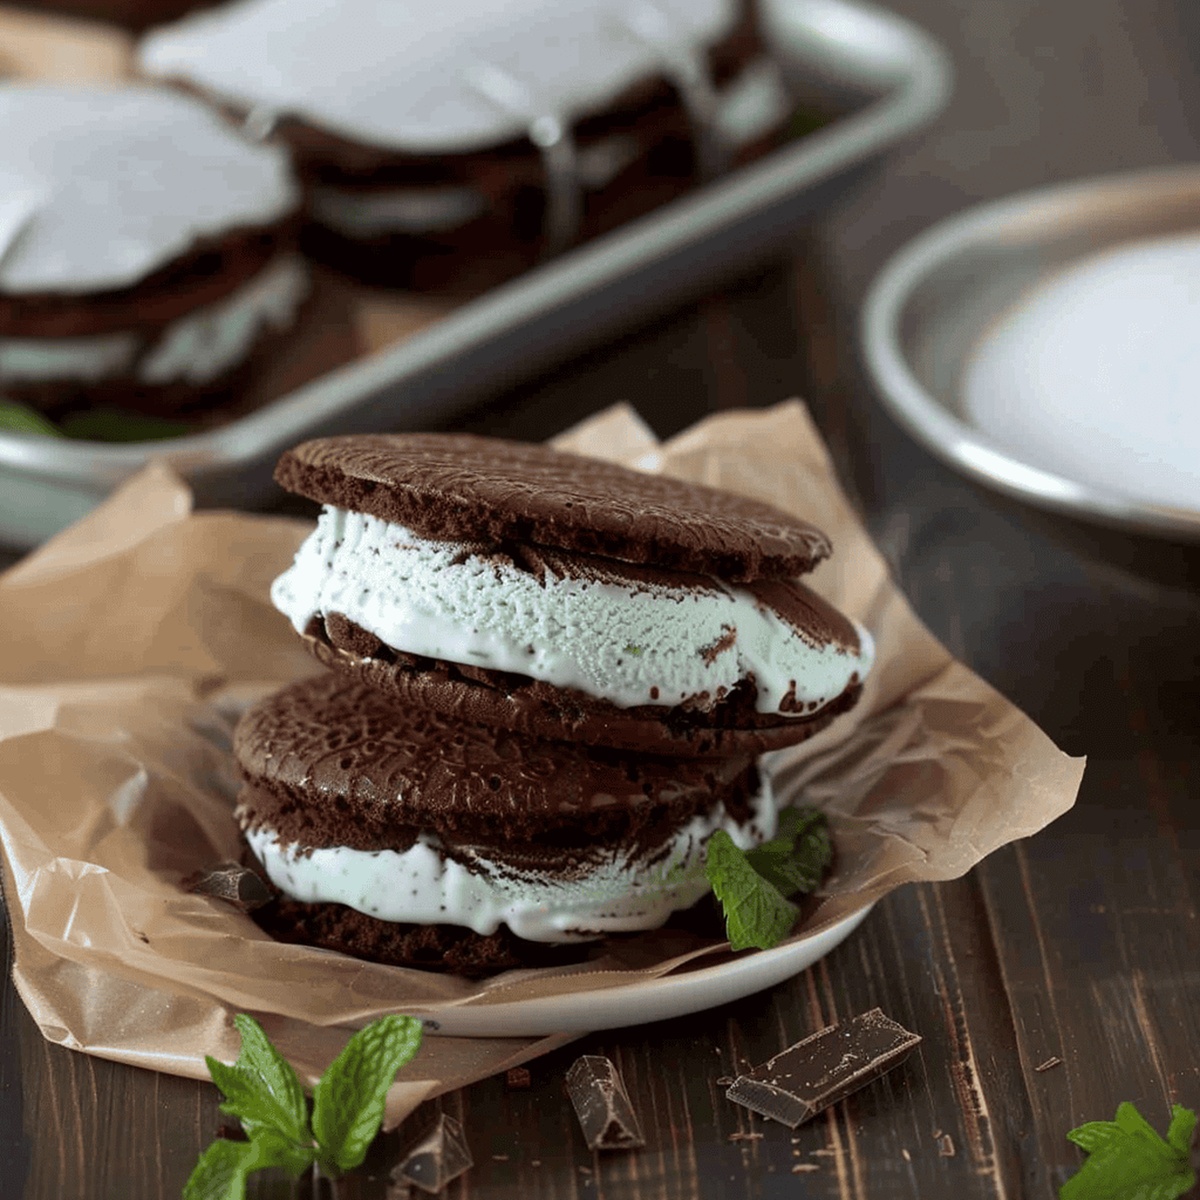
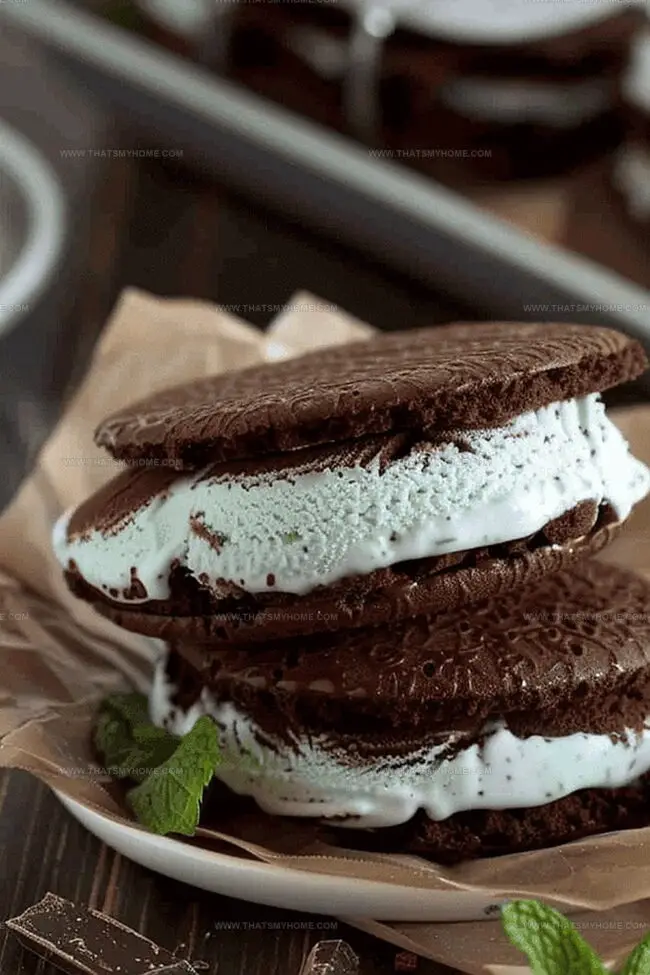
Sandwiched between two rich chocolate cookies, the creamy mint filling promises an irresistible treat for every sweet tooth.
Homemade goodness merges perfectly with refreshing flavors that dance across your palate.
The blend of cool mint and decadent chocolate creates an elegant dessert experience.
These sandwiches are surprisingly simple to assemble with just a few quality ingredients.
Each bite delivers a perfect balance of smooth ice cream and crisp chocolate cookies.
Whip up these heavenly treats and watch everyone’s faces light up with delicious excitement.
Quick Recipe Overview
What’s in Minty Chocolate Ice Cream Sandwiches
For Dry Ingredients:For Wet Ingredients:For Filling Ingredients:Tools to Create Minty Chocolate Ice Cream Sandwiches
How to Build Minty Chocolate Ice Cream Sandwiches
Gather your baking tools and quality ingredients for a delightful kitchen adventure. These rich chocolate wafers will become the foundation of your dreamy dessert.
Mix dry ingredients in a bowl, creating a deep chocolate landscape with subtle coffee undertones. Blend butter and sweeteners until they transform into a creamy, light mixture.
Roll out the dough between parchment sheets, aiming for a thin, elegant thickness. Pop the rolled dough into the freezer to firm up and make cutting easier.
Cut precise circular wafers and bake until they develop a perfect crisp edge. Allow them to cool completely on a wire rack, developing a satisfying crunch.
Create smooth, round ice cream disks by carefully molding mint chocolate ice cream in a plastic-lined measuring cup. Freeze until firm.
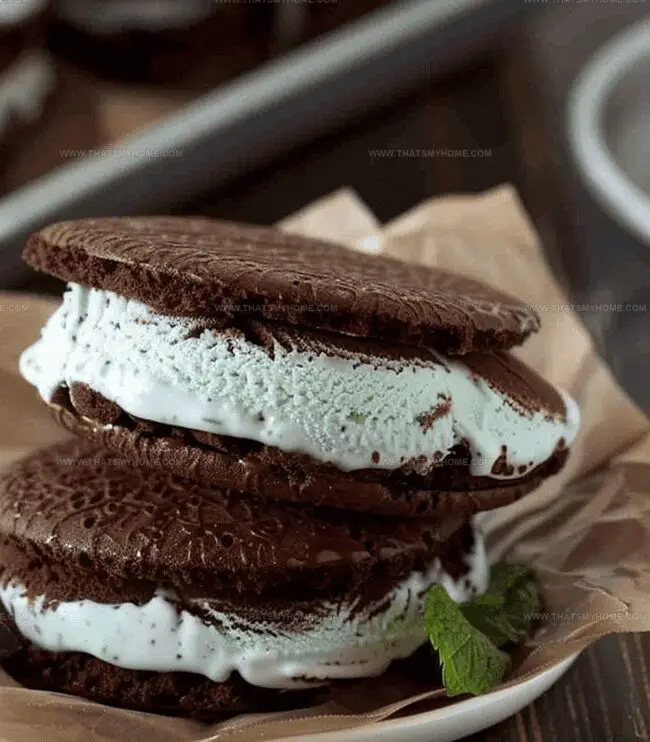
Gently press the ice cream disk between two chocolate wafers, creating a harmonious blend of cool creaminess and rich chocolate crunch. Wrap each sandwich for later enjoyment.
Tips for Better Minty Chocolate Ice Cream Sandwiches
Serving Minty Chocolate Ice Cream Sandwiches
Storing Minty Chocolate Ice Cream Sandwiches the Right Way
Print
Frosty Chocolate Ice Cream Sandwiches Recipe
- Total Time: 53 minutes
- Yield: 13 1x
Description
Refreshing minty chocolate ice cream sandwiches combine cool mint with rich chocolate for a delightful summer treat. Homemade cookies and creamy filling make you crave another bite of this nostalgic dessert.
Ingredients
- 1.5 qt (1.4 L) mint chocolate chip ice cream
- 24 mint chocolate wafers
- 8 tbsps unsalted butter
- ½ cup light brown sugar
- ¼ cup granulated sugar
- 2 large eggs
- ½ cup Dutch-processed cocoa powder
- ½ cup gluten-free oat flour
- ⅓ cup white rice flour
- 2 tbsps white rice flour
- ⅓ cup sweet rice flour
- ⅓ cup tapioca flour
- 2 tbsps tapioca flour
- ½ tsp xanthan gum
- ½ tsp kosher salt
- ¼ tsp baking powder
- ¼ tsp baking soda
- ½ tsp vanilla extract
- 1 tsp espresso powder
- ½ tsp peppermint extract
Instructions
- Preheat: Heat oven to 325°F (165°C) for consistent chocolate wafer baking environment.
- Mix Dry Ingredients: Whisk together all-purpose flour, gluten-free flour, xanthan gum, unsweetened cocoa powder, espresso powder, baking powder, baking soda, and salt in a medium mixing bowl until completely integrated.
- Cream Butter and Sugars: Using a stand mixer, blend softened butter with granulated and brown sugars until light, airy, and thoroughly combined, approximately 3-4 minutes.
- Combine Wet Ingredients: Fold in eggs, vanilla, and mint extracts into the butter mixture, creating a smooth, homogeneous blend.
- Form Dough: Gradually incorporate dry ingredient mixture into wet ingredients on low speed, creating a slightly sticky chocolate dough.
- Chill and Roll: Sandwich dough between parchment paper, roll to 1/4-inch thickness, and freeze for 20 minutes to firm up.
- Cut and Bake: Extract chilled dough, cut 3-inch round wafers, arrange on parchment-lined baking sheet, and bake for 7-8 minutes until edges are set.
- Cool Wafers: Transfer baked wafers to a wire rack, allowing complete cooling and crisping.
- Prepare Ice Cream Disks: Line a half-cup measuring cup with plastic wrap, fill with mint chocolate chip ice cream, pressing firmly to create compact disks.
- Assemble Sandwiches: Freeze ice cream disks for 1 hour, then sandwich between two chocolate wafers, wrap individually in plastic, and store in freezer.
Notes
- Chill Dough Strategically: Freezing the chocolate dough for 20 minutes helps prevent spreading and ensures precise, crisp wafer edges during baking.
- Create Uniform Ice Cream Disks: Using a measuring cup with plastic wrap guarantees consistent, perfectly shaped ice cream centers that fit neatly between wafers.
- Handle Wafers Carefully: Allow chocolate wafers to cool completely on a wire rack to develop a crisp texture that won’t become soggy when paired with ice cream.
- Wrap and Store Smartly: Individually wrapping each ice cream sandwich prevents freezer burn and maintains optimal flavor and texture for extended storage.
- Prep Time: 45 minutes
- Cook Time: 8 minutes
- Category: Desserts, Snacks
- Method: Baking
- Cuisine: American
Nutrition
- Serving Size: 13
- Calories: 263
- Sugar: 14 g
- Sodium: 135 mg
- Fat: 13 g
- Saturated Fat: 8 g
- Unsaturated Fat: 4.5 g
- Trans Fat: 0 g
- Carbohydrates: 33 g
- Fiber: 1.5 g
- Protein: 3.5 g
- Cholesterol: 45 mg
Michael Rivera
Co-Founder & Culinary Instructor
Expertise
Education
The French Culinary Institute (now part of the International Culinary Center)
Michael Rivera is a seasoned chef and culinary instructor based in San Francisco, CA. Trained in Classic Culinary Arts at The French Culinary Institute, he refined his skills in Michelin-starred kitchens, mastering classic French techniques and artisanal bread baking.
Passionate about making gourmet methods accessible, Michael co-founded thatsmyhome.com to share his expertise through interactive online lessons and innovative, plant-based recipes. He loves blending traditional techniques with modern ideas, encouraging home cooks to enjoy the art of cooking in a relaxed, fun environment.