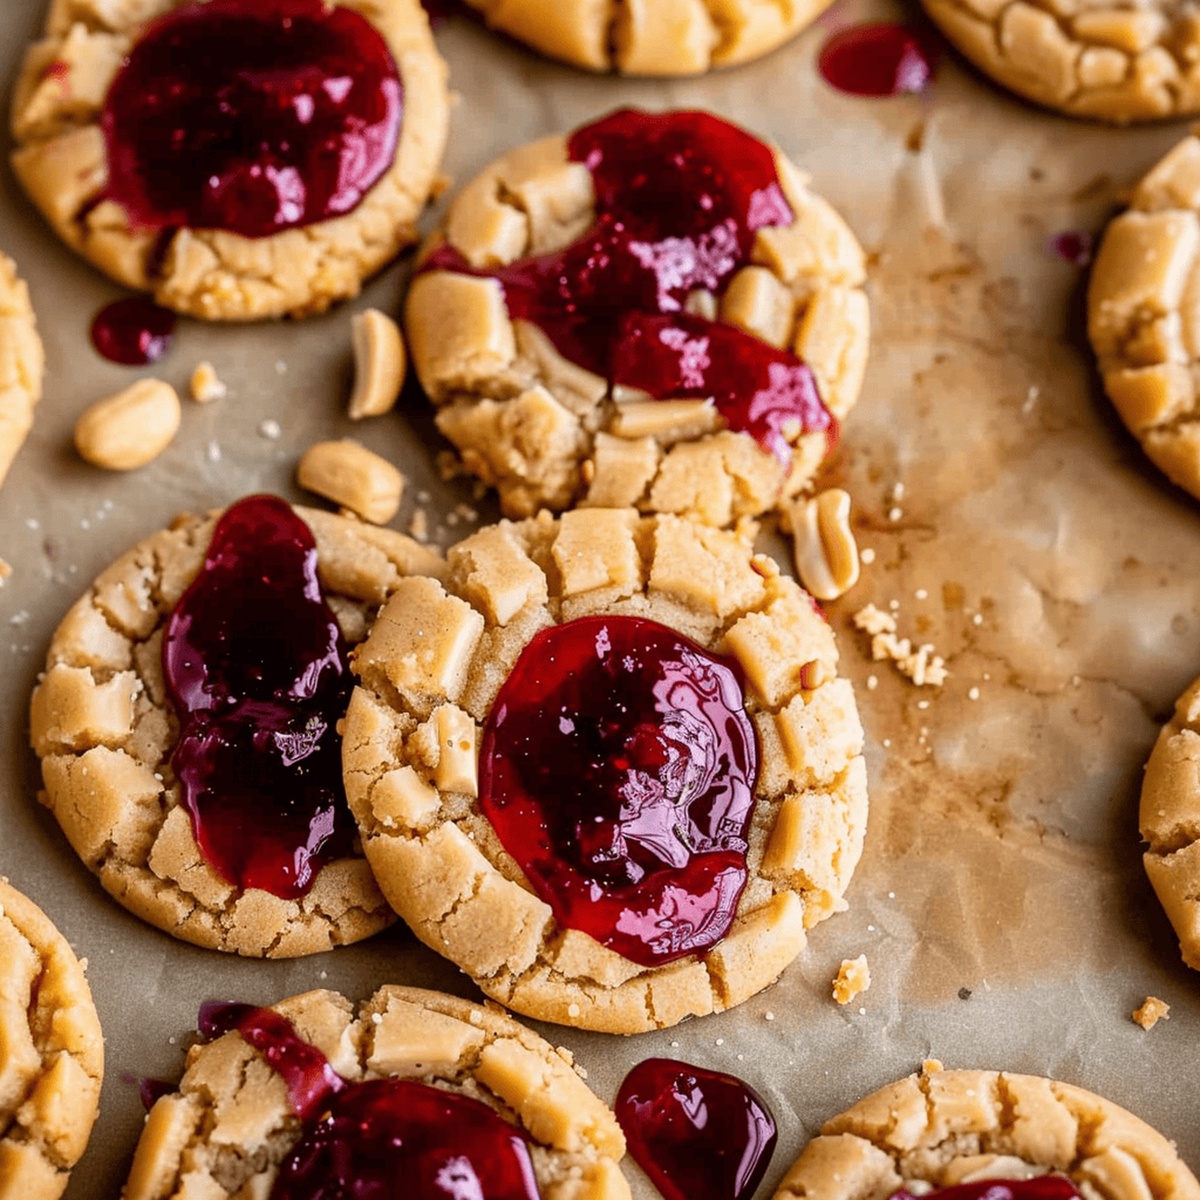
Sweet memories dance with classic comfort in these irresistible peanut butter and jelly cookie delights that bring childhood nostalgia straight to your dessert plate.
Soft, chewy cookies blend the perfect balance of nutty richness and fruity sweetness in every single bite.
The combination of familiar flavors creates a delectable treat that breaks through traditional cookie boundaries.
Homemade goodness radiates from these simple yet elegant cookies that require minimal ingredients and maximum enjoyment.
Bakers of all skill levels can whip up these delightful morsels with ease and confidence.
Each cookie promises a warm embrace of flavor that connects generations through a single, delicious moment.
Get ready to fall in love with a classic twist on two beloved favorites.
Quick Recipe Overview
Prep Time: 20 minutes
Cook Time: 15 minutes
Total Time: 35 minutes
Calories: 200 kcal
Servings: 22
What Goes into Peanut Butter and Jelly Cookie
For Cookie Base:
Butter: Provides rich, creamy foundation that ensures tender, melt-in-your-mouth texture with luxurious depth of flavor.
Granulated Sugar, Brown Sugar: Delivers perfect balance of sweetness and moisture, creating chewy edges with soft center.
For Flavor Enhancers:
Peanut Butter: Infuses robust nutty essence, choose creamy variety for smooth consistency and deep roasted undertones.
Baking Soda: Helps cookies rise and spread evenly, producing light, airy texture with golden edges.
Salt: Balances sweetness and enhances other ingredients’ natural flavors, bringing depth to every bite.
Egg: Binds ingredients together, contributes to rich, soft cookie consistency and provides structural integrity.
Tools That Make Peanut Butter and Jelly Cookies Easy
Stand Mixer or Large Bowl: Perfect for creaming butter and mixing ingredients smoothly.
Measuring Cups and Spoons: Essential for accurate ingredient proportions.
Baking Sheets: Two sheets lined with parchment paper or silicone mat for even baking.
Fork: Used to create signature criss-cross pattern and prevent dough from sticking.
Wire Cooling Rack: Helps cookies cool evenly and prevents soggy bottoms.
Spatula: Helpful for mixing and scraping down bowl sides.
Small Spoon: Ideal for adding jam to cookie centers.
How to Prepare Peanut Butter and Jelly Cookie
Oven Preparation Cozy kitchen setup with a warm, inviting oven ready to transform simple ingredients into a delightful treat.
Butter Bliss Softened butter whipped into a creamy cloud, waiting to embrace sweet sugars and create a luxurious base.
Sweet Symphony Granulated and brown sugars dancing together, creating a rich foundation that promises incredible flavor.
Peanut Butter Magic Smooth peanut butter swirling into the mixture, bringing nutty warmth and irresistible charm.
Flour Power Delicate dry ingredients gently folded into the wet mixture, creating a perfectly balanced dough.
Cookie Shaping Playful dough rolled into adorable little balls, each one a potential masterpiece of flavor.
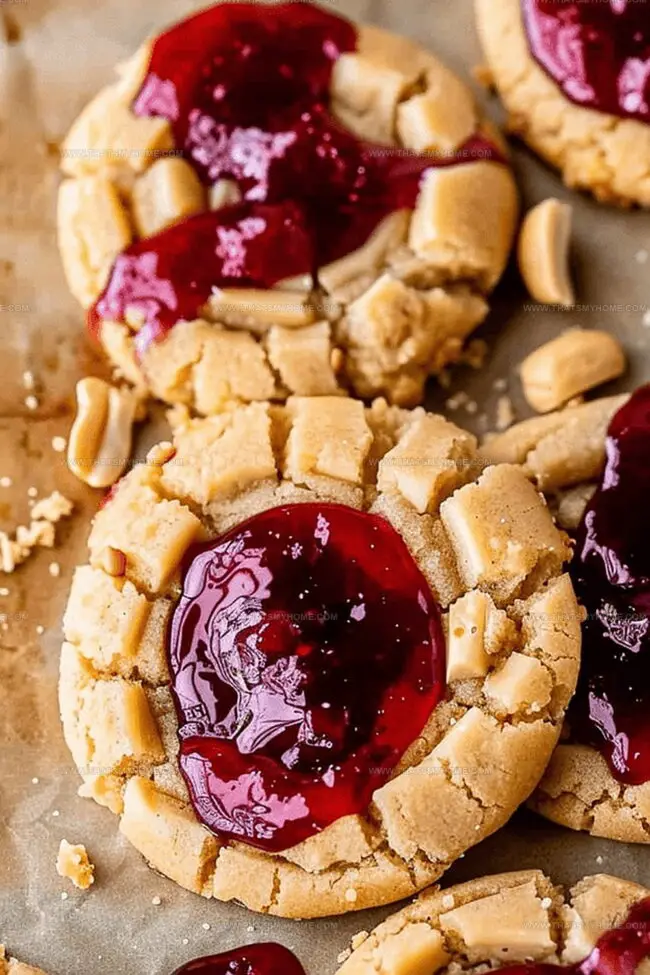
Signature Criss-Cross Gentle fork marks creating beautiful patterns, transforming ordinary cookies into edible art.
Jam Jewel Center A dollop of vibrant jam nestled in the heart of each cookie, adding a burst of fruity excitement.
Baking Transformation Cookies turning golden and fragrant, filling the kitchen with an irresistible aroma.
Cool and Embellish Freshly baked cookies resting gracefully, ready for a final touch of melted peanut butter drizzle.
Flavor Twists for PB&J Cookie
Adjust the cookie’s softness by slightly underbaking for a chewier result or extending baking time for a crispier edge.
Experiment with different fruit preserves like raspberry, strawberry, or apricot to create unique flavor combinations that complement the peanut butter base.
Prepare cookie dough balls in advance and freeze them on a baking sheet, then transfer to a freezer bag for quick baking whenever a sweet craving hits.
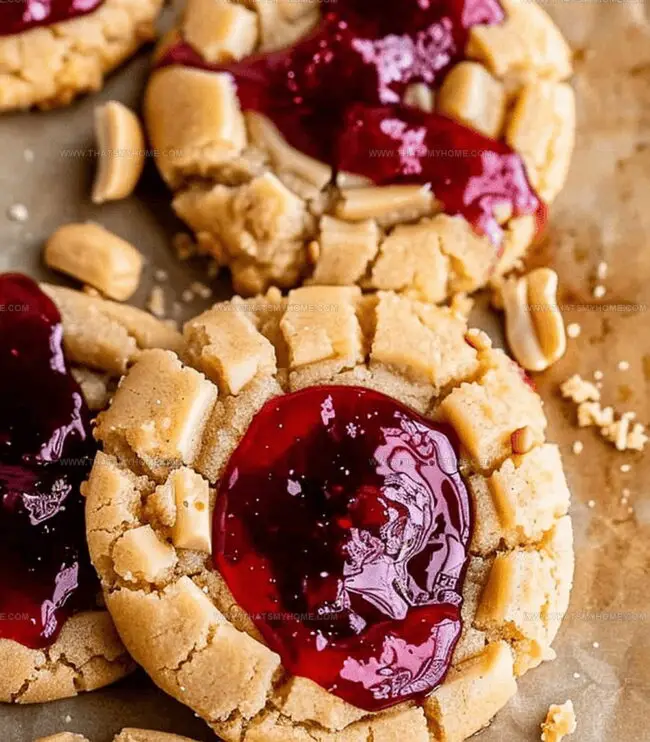
Fold chopped peanuts or other nuts into the dough for extra crunch, or sprinkle sea salt on top to enhance the sweet-savory balance of the cookies.
Drizzle melted dark or white chocolate over cooled cookies for an elegant presentation that adds another layer of indulgence to the classic PB&J flavor profile.
How to Serve Peanut Butter and Jelly Cookies
Pair with Cold Milk: Dunk these nostalgic cookies into a chilled glass of milk for a classic childhood-inspired treat that amplifies the sweet and nutty flavors.
Create a Dessert Platter: Arrange cookies alongside fresh berries, chocolate squares, and a small scoop of vanilla ice cream for an elegant and playful dessert presentation.
Afternoon Tea Companion: Serve these delightful cookies on a decorative plate during afternoon tea, complementing herbal or black tea with their rich, comforting taste.
Gift as Homemade Treats: Package the cookies in clear cellophane bags tied with a ribbon, perfect for sharing with friends, family, or as a thoughtful homemade gift.
Keeping Peanut Butter and Jelly Cookies Fresh
Maximize Cookie Freshness: Store cooled cookies in an airtight container at room temperature for up to 5 days, separating layers with parchment paper to prevent sticking.
Freeze for Future Enjoyment: Carefully stack unbaked cookie dough balls between wax paper in a freezer-safe container, storing up to 3 months for spontaneous baking moments.
Prep-Ahead Strategy: Mix dough in advance and refrigerate for 24 hours, allowing flavors to develop and making last-minute baking a breeze.
Smart Serving Tips: Serve cookies slightly warm for maximum flavor, or bring to room temperature before enjoying to restore their soft, delightful texture.
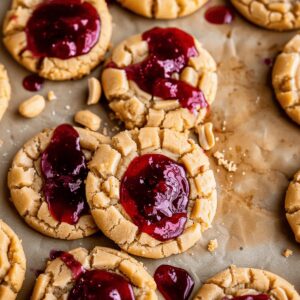
Nostalgic peanut butter and jelly cookie delights blend childhood memories with classic bakery charm. Crisp edges, creamy centers, and sweet-tangy jam swirls promise comfort that connects you to cherished moments of pure culinary joy.
Ingredients
Scale
1 cup creamy peanut butter
1 large egg
1 ½ cups (180 g) all-purpose flour
½ cup (113 g) butter, 1 stick
¾ cup (150 g) granulated sugar
¼ cup (50 g) brown sugar, packed
1 tsp vanilla extract
1 tsp baking soda
¼ tsp kosher salt
½ cup seedless jam
Extra jam, for topping baked cookies
Melted peanut butter, for garnish
Chopped peanuts, for garnish
Instructions
Preparation: Preheat oven to 350°F (175°C) and line baking sheets with parchment paper or silicone mats.
Creaming: Whip butter until silky, then blend granulated and brown sugars until fluffy and incorporate peanut butter thoroughly.
Mixing: Add egg and vanilla extract, ensuring complete incorporation, then gently fold sifted flour, baking soda, and salt into the wet mixture.
Shaping: Form uniform dough balls, placing them evenly on prepared sheets and flatten using a sugar-dipped fork to create classic crosshatch design.
Filling: Delicately place a small jam dollop in the center of each cookie, creating a vibrant focal point.
Baking: Position in preheated oven and bake for 13-15 minutes until edges turn golden brown and cookies develop a delicate, crisp exterior.
Cooling: Allow cookies to rest on baking sheet for 5-10 minutes to stabilize structure, then transfer to wire rack for complete cooling.
Finishing: Embellish with an additional jam swirl and a light drizzle of melted peanut butter for an elegant, gourmet touch before serving.
Notes
Butter Whipping Technique: Ensure butter is at room temperature for smooth, creamy incorporation that guarantees perfect cookie texture.
Sugar Mixing Tip: Beat sugars thoroughly until light and fluffy to create a soft, tender cookie base with excellent crumb structure.
Dough Handling Hack: Don’t overmix the flour – stop stirring the moment ingredients combine to prevent tough, dense cookies.
Jam Placement Trick: Use a small spoon or piping bag for precise, centered jam dollops that prevent overflow during baking.
The French Culinary Institute (now part of the International Culinary Center)
Program: Classic Culinary Arts
Focus: An intensive curriculum rooted in classical French techniques, artisanal bread production, and contemporary culinary methods.
Michael Rivera is a seasoned chef and culinary instructor based in San Francisco, CA. Trained in Classic Culinary Arts at The French Culinary Institute, he refined his skills in Michelin-starred kitchens, mastering classic French techniques and artisanal bread baking.
Passionate about making gourmet methods accessible, Michael co-founded thatsmyhome.com to share his expertise through interactive online lessons and innovative, plant-based recipes. He loves blending traditional techniques with modern ideas, encouraging home cooks to enjoy the art of cooking in a relaxed, fun environment.
Michael Rivera
Co-Founder & Culinary Instructor
Expertise
Education
The French Culinary Institute (now part of the International Culinary Center)
Michael Rivera is a seasoned chef and culinary instructor based in San Francisco, CA. Trained in Classic Culinary Arts at The French Culinary Institute, he refined his skills in Michelin-starred kitchens, mastering classic French techniques and artisanal bread baking.
Passionate about making gourmet methods accessible, Michael co-founded thatsmyhome.com to share his expertise through interactive online lessons and innovative, plant-based recipes. He loves blending traditional techniques with modern ideas, encouraging home cooks to enjoy the art of cooking in a relaxed, fun environment.