Granulated Sugar, Brown Sugar: Contribute sweetness and help create golden, crisp edges.
Egg: Binds ingredients and provides moisture and structure.
Vanilla Extract: Deepens flavor complexity and adds aromatic warmth.
For Mousse and Filling:
Heavy Cream: Creates light, airy texture when whipped.
Cream Cheese: Provides tangy richness and smooth consistency.
Powdered Sugar: Sweetens mousse and helps stabilize whipped cream.
Peanut Butter: Intensifies nutty flavor profile in mousse.
Raspberry Jam: Adds vibrant fruity contrast and colorful layer.
For Garnish:
Chopped Peanuts: Adds delightful crunch and extra nutty dimension.
What You’ll Need to Bake Peanut Butter & Jelly Cookie Cups
Muffin Tin: Standard 12-cup size for baking cookie cups perfectly.
Large Cookie Scoop (3 Tbsp): Essential for creating uniform cookie bases.
Electric Mixer: Crucial for beating butter, peanut butter, and creating smooth mixtures.
Whisk: Needed for combining dry ingredients and aerating mixtures.
Small Jar or Container: Used to press centers and create wells in baked cookies.
Piping Bag: Great for neatly adding peanut butter mousse on top.
Microwave-Safe Bowl: For warming raspberry jam.
Wire Cooling Rack: Helps cookies cool evenly after baking.
Mixing Bowls: Different sizes for preparing various components.
How to Make Peanut Butter & Jelly Cookie Cups Easily
Oven Preparation A toasty environment sets the stage for delicious cookie cups. Warm up your oven and grab a muffin tin ready for magic.
Dough Creation Blend soft butter with creamy peanut butter until they dance together smoothly. Introduce sugars and watch the mixture transform into a fluffy cloud of deliciousness.
Mixing Magic Gently fold in flour and other dry ingredients. The key is a light touch that keeps everything tender and perfect.
Shaping Adventure Scoop generous amounts of dough into each muffin space. Press down softly to create a cozy cookie base.
Baking Transformation Place the tin in the heated oven. Watch as golden edges form and your kitchen fills with irresistible aromas.
Cup Formation Once baked, quickly create wells in each cookie using a small jar or container. This creates the perfect pocket for delightful fillings.
Creamy Filling Whip together cream cheese, peanut butter, and a touch of sweetness. Fold in whipped cream to create a cloud-like mousse.
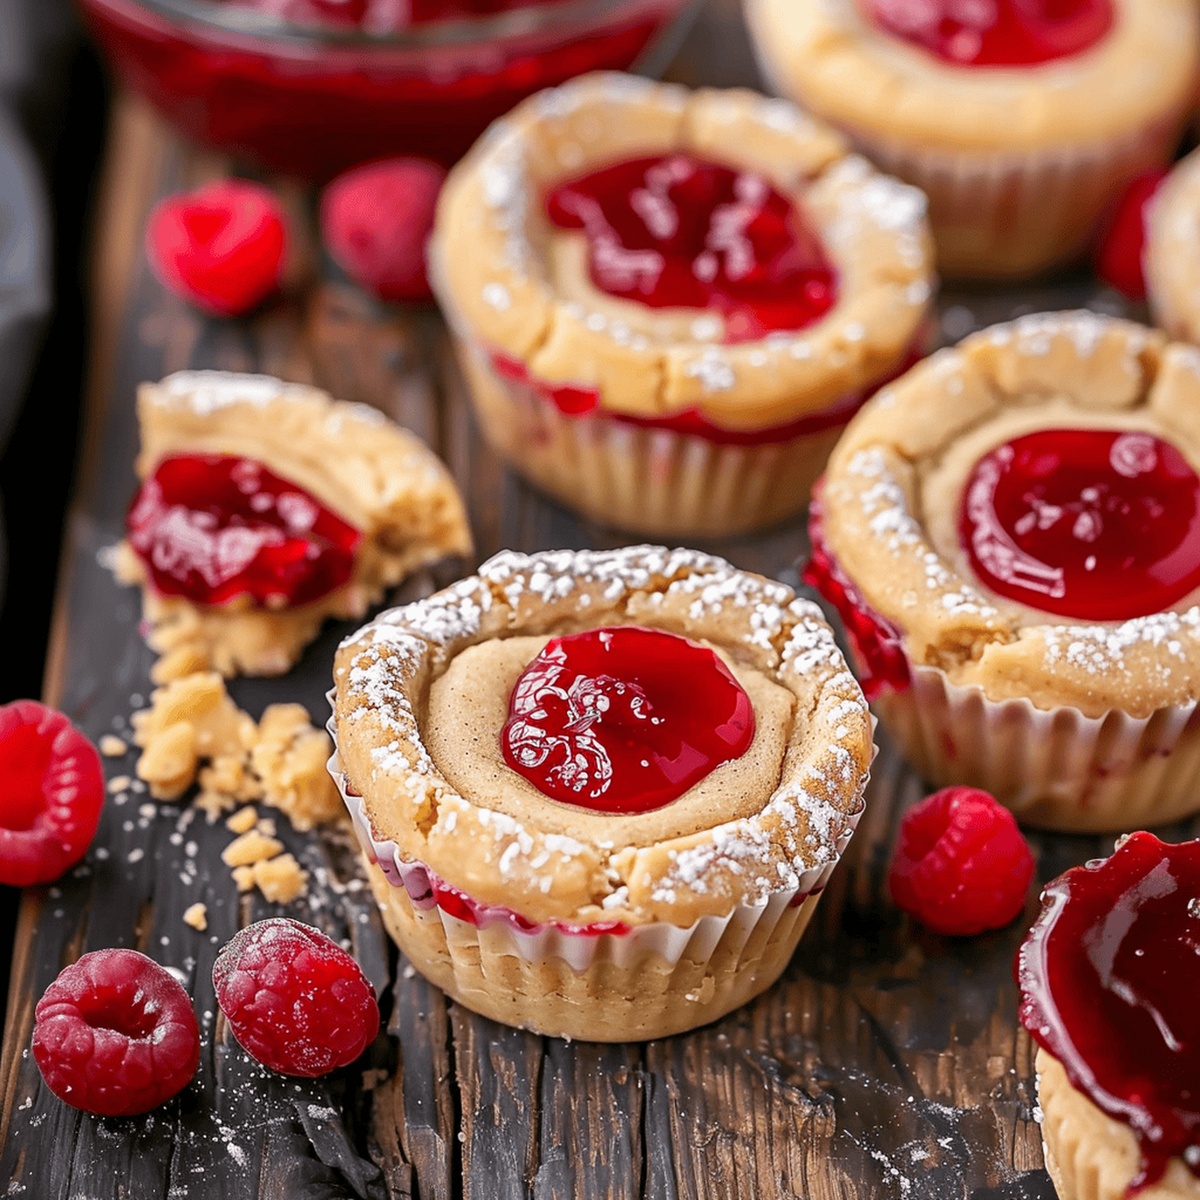
Fruity Touch Warm raspberry jam and drizzle into each cookie cup. This adds a burst of fruity excitement.
Final Touch Pipe the creamy peanut butter mousse on top of the jam. Sprinkle with chopped peanuts for extra crunch.
Chill and Serve Let the cups rest in the refrigerator until they’re perfectly set. Enjoy within a few days for maximum deliciousness.
Tips and Filling Ideas for Peanut Butter & Jelly Cookie Cups
Get Creative with Flavors and Techniques
Experiment with different fruit preserves like strawberry, blackberry, or apricot for unique flavor combinations that tantalize your taste buds.
Prepare cookie cups and mousse separately up to two days in advance, assembling just before serving to maintain perfect texture and freshness.
Replace chopped peanuts with toasted almond slivers or crushed graham crackers for added crunch and interesting mouthfeel.
Substitute gluten-free flour blend for regular flour and use dairy-free cream cheese and whipping cream to create allergy-friendly versions without compromising taste.
Drizzle melted chocolate, sprinkle sea salt, or garnish with fresh mint leaves to elevate the visual appeal and add unexpected flavor layers.
Savor Sweet Combo: Pair these delightful cookie cups with a cold glass of milk or creamy vanilla ice cream for an indulgent treat that complements the rich peanut butter and tangy raspberry flavors.
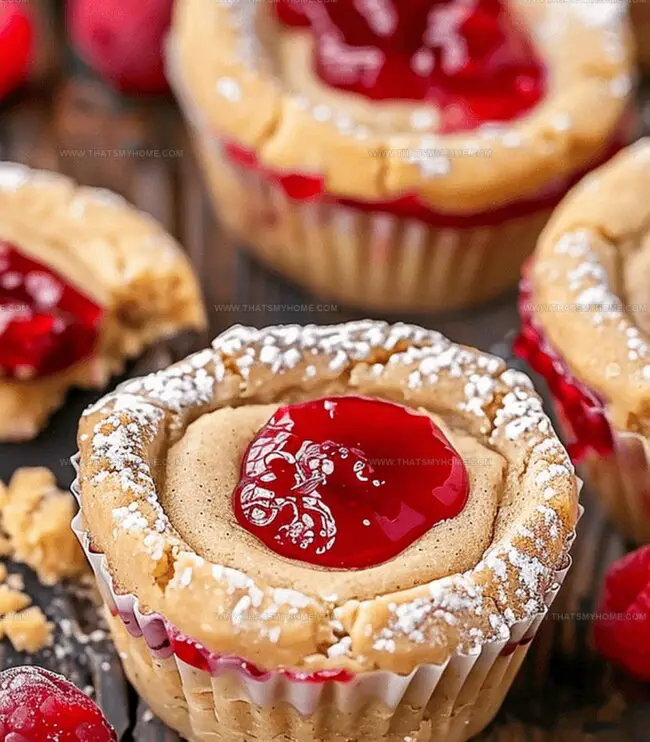
Create Stunning Presentation: Arrange the cookie cups on a decorative platter with a light dusting of powdered sugar and scattered chopped peanuts to elevate their visual appeal for gatherings or special occasions.
Perfect Party Dessert: Prepare these bite-sized treats ahead of time and store in the refrigerator, making them an excellent make-ahead dessert for potlucks, birthday parties, or casual weekend get-togethers with friends and family.
Customize Flavor Twist: Experiment with different jam varieties like strawberry, blackberry, or even a chocolate drizzle to personalize these cookie cups and match your taste preferences or seasonal ingredients.
How to Store Peanut Butter & Jelly Cookie Cups
Maximize Freshness: Store cookies in an airtight container in the refrigerator to keep mousse firm and prevent texture changes.
Quick Chill Strategy: Allow cookie cups to set completely in the refrigerator for at least 2 hours before serving to enhance flavor and structural integrity.
Freeze with Confidence: Wrap individual cookie cups in plastic wrap, then place in a freezer-safe container to maintain quality for up to 4 weeks. Thaw overnight in the refrigerator for best results.
Smart Serving Tip: Remove cookie cups from refrigerator 10-15 minutes before serving to soften slightly and enhance the creamy texture of the peanut butter mousse.
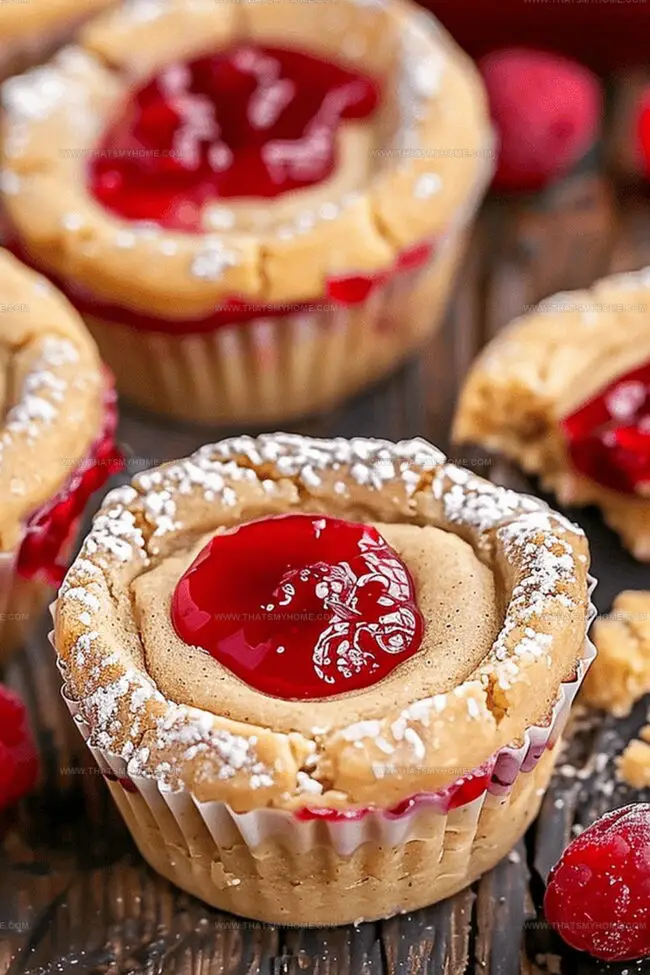
Nostalgic peanut butter & jelly cookie cups deliver childhood memories on a delightful dessert plate. Crisp cookie shells cradle sweet jam centers, inviting dessert enthusiasts to savor familiar flavors in one irresistible bite.
Ingredients
Scale
1 ¼ cups (156 grams) all-purpose flour
½ cup (110 grams) light brown sugar, packed
½ cup (128 grams) smooth peanut butter (not natural)
½ cup (120 ml) heavy whipping cream, cold
¼ cup (64 grams) smooth peanut butter (not natural)
¼ cup (57 grams) unsalted butter, room temperature
¼ cup (50 grams) granulated sugar
1 cup (320 grams) raspberry jam, seedless
3 oz (85 grams) cream cheese, softened
1 large egg, room temperature
1 tsp vanilla extract
½ tsp salt
¼ tsp baking soda
Optional: chopped peanuts
Instructions
Preheat and Prepare: Set oven to 350°F (175°C) and thoroughly coat a standard muffin tin with non-stick spray.
Mix Dry Ingredients: Whisk flour, baking soda, and salt in a medium bowl until uniformly combined.
Create Cookie Base: Cream butter and peanut butter until smooth, then gradually add both sugars, beating until the mixture becomes light and fluffy. Incorporate egg and vanilla extract, mixing until just blended.
Form Cookie Cups: Fold flour mixture into wet ingredients, creating a cohesive dough. Portion 3-tablespoon scoops into muffin tin, pressing gently to create even surfaces.
Bake and Shape: Bake for 10-12 minutes until edges turn golden. Immediately create wells in the center of each warm cookie using a small jar or container.
Prepare Mousse: Whip heavy cream to stiff peaks. In a separate bowl, blend cream cheese, powdered sugar, and peanut butter until silky. Gently fold whipped cream into the peanut butter mixture.
Assemble and Chill: Warm raspberry jam in short microwave intervals. Spoon jam into cooled cookie cups and refrigerate for 20 minutes. Pipe peanut butter mousse over the jam layer.
Finish and Serve: Refrigerate assembled cookie cups until mousse sets completely (about 2 hours). Optionally garnish with additional raspberry jam and chopped roasted peanuts.
Storage: Refrigerate for 2-3 days or freeze up to 4 weeks for extended enjoyment.
Notes
Chill for Success: Refrigerate the cookie cups to help the mousse set firmly and enhance the overall texture and flavor melding.
Prevent Overmixing: Gently fold ingredients to maintain a light, tender cookie texture and avoid dense, tough results.
Temperature Matters: Use room temperature butter and egg for smoother mixing and more consistent cookie dough consistency.
Handle with Care: Allow cookies to cool slightly before creating wells to prevent breaking and ensure structural integrity.
The French Culinary Institute (now part of the International Culinary Center)
Program: Classic Culinary Arts
Focus: An intensive curriculum rooted in classical French techniques, artisanal bread production, and contemporary culinary methods.
Michael Rivera is a seasoned chef and culinary instructor based in San Francisco, CA. Trained in Classic Culinary Arts at The French Culinary Institute, he refined his skills in Michelin-starred kitchens, mastering classic French techniques and artisanal bread baking.
Passionate about making gourmet methods accessible, Michael co-founded thatsmyhome.com to share his expertise through interactive online lessons and innovative, plant-based recipes. He loves blending traditional techniques with modern ideas, encouraging home cooks to enjoy the art of cooking in a relaxed, fun environment.

Michael Rivera
Co-Founder & Culinary Instructor
Expertise
Education
The French Culinary Institute (now part of the International Culinary Center)
Michael Rivera is a seasoned chef and culinary instructor based in San Francisco, CA. Trained in Classic Culinary Arts at The French Culinary Institute, he refined his skills in Michelin-starred kitchens, mastering classic French techniques and artisanal bread baking.
Passionate about making gourmet methods accessible, Michael co-founded thatsmyhome.com to share his expertise through interactive online lessons and innovative, plant-based recipes. He loves blending traditional techniques with modern ideas, encouraging home cooks to enjoy the art of cooking in a relaxed, fun environment.