Pumpkin Pie Balls Recipe

Easy Pumpkin Pie Balls Recipe: Fall’s Sweetest Little Treats

No-bake pumpkin pie balls capture the soul of fall’s most beloved dessert without turning on the oven.

Sweet, spiced spheres redefine traditional pie into a handheld treat that dances between creamy and crisp textures.

Compact and irresistible, these little morsels pack concentrated flavor into a single pop-in-your-mouth experience.

Crafted from wholesome ingredients, they blend familiar warming spices with smooth, rich components that evoke memories of family gatherings.

Simple ingredients come together quickly, making them perfect for spontaneous sweet cravings or planned celebrations.

Minimal kitchen skills and zero baking required mean anyone can master these delightful confections.

Prepare to wow friends and family with a nostalgic dessert that feels both playful and sophisticated.

No-Bake Pumpkin Pie Balls: A Sweet, No-Fuss Fall Treat

  • Reinvent Leftover Pie: Transform ordinary pumpkin pie remnants into delightful, bite-sized treats that breathe new life into holiday desserts without any baking required.
  • Indulgent No-Fuss Coating: Experience the luxurious vanilla candy coating that adds a smooth, glossy exterior, creating an irresistible contrast with the rich, dense pumpkin pie interior.
  • Quick Crowd-Pleasing Dessert: Whip up 24 servings in just minutes, perfect for potlucks, holiday gatherings, or spontaneous sweet cravings with minimal effort and maximum flavor impact.
  • Texture Sensation: Enjoy the unique combination of creamy pumpkin filling, crumbly crust pieces, and a crisp candy shell that delivers a multi-layered sensory experience in every single bite.

The Essential Ingredients for No-Bake Pumpkin Pie Balls

Pie Base:
  • Pumpkin Pie: Classic dessert that provides rich, creamy flavor and texture for the no-bake balls.
  • Pie Crust: Adds structural support and crumbly texture to the final mixture.
Coating and Topping:
  • Vanilla Candy Coating, Almond Bark: Smooth white coating that creates a beautiful shell and helps bind the pie balls.
  • Reserved Pie Crust Crumbles: Decorative topping that adds extra crunch and visual appeal.
Optional Equipment:
  • Parchment Paper: Prevents sticking and makes handling the pie balls easier.
  • Electric Mixer or Large Bowl: Used for combining pie ingredients into a cohesive mixture.
  • Fork: Helps with dipping and coating the pie balls evenly in the candy coating.

Quick and Easy Method to Make Pumpkin Pie Balls

Step 1: Crush Pumpkin Pie Into Smooth Mixture

Break the chilled pumpkin pie (filling and crust) into pieces. Place in an electric mixer or large bowl. Beat on low speed until the mixture becomes a moist, cohesive blend. If using a hand method, mix thoroughly until ingredients combine well.

Step 2: Shape Delicious Pie Balls

Roll the pie mixture into 2-tablespoon sized round balls. Place each ball carefully on a parchment-lined baking sheet. Freeze for 30 minutes or refrigerate for 2 hours to help balls firm up and maintain their shape.

Step 3: Create Creamy Coating

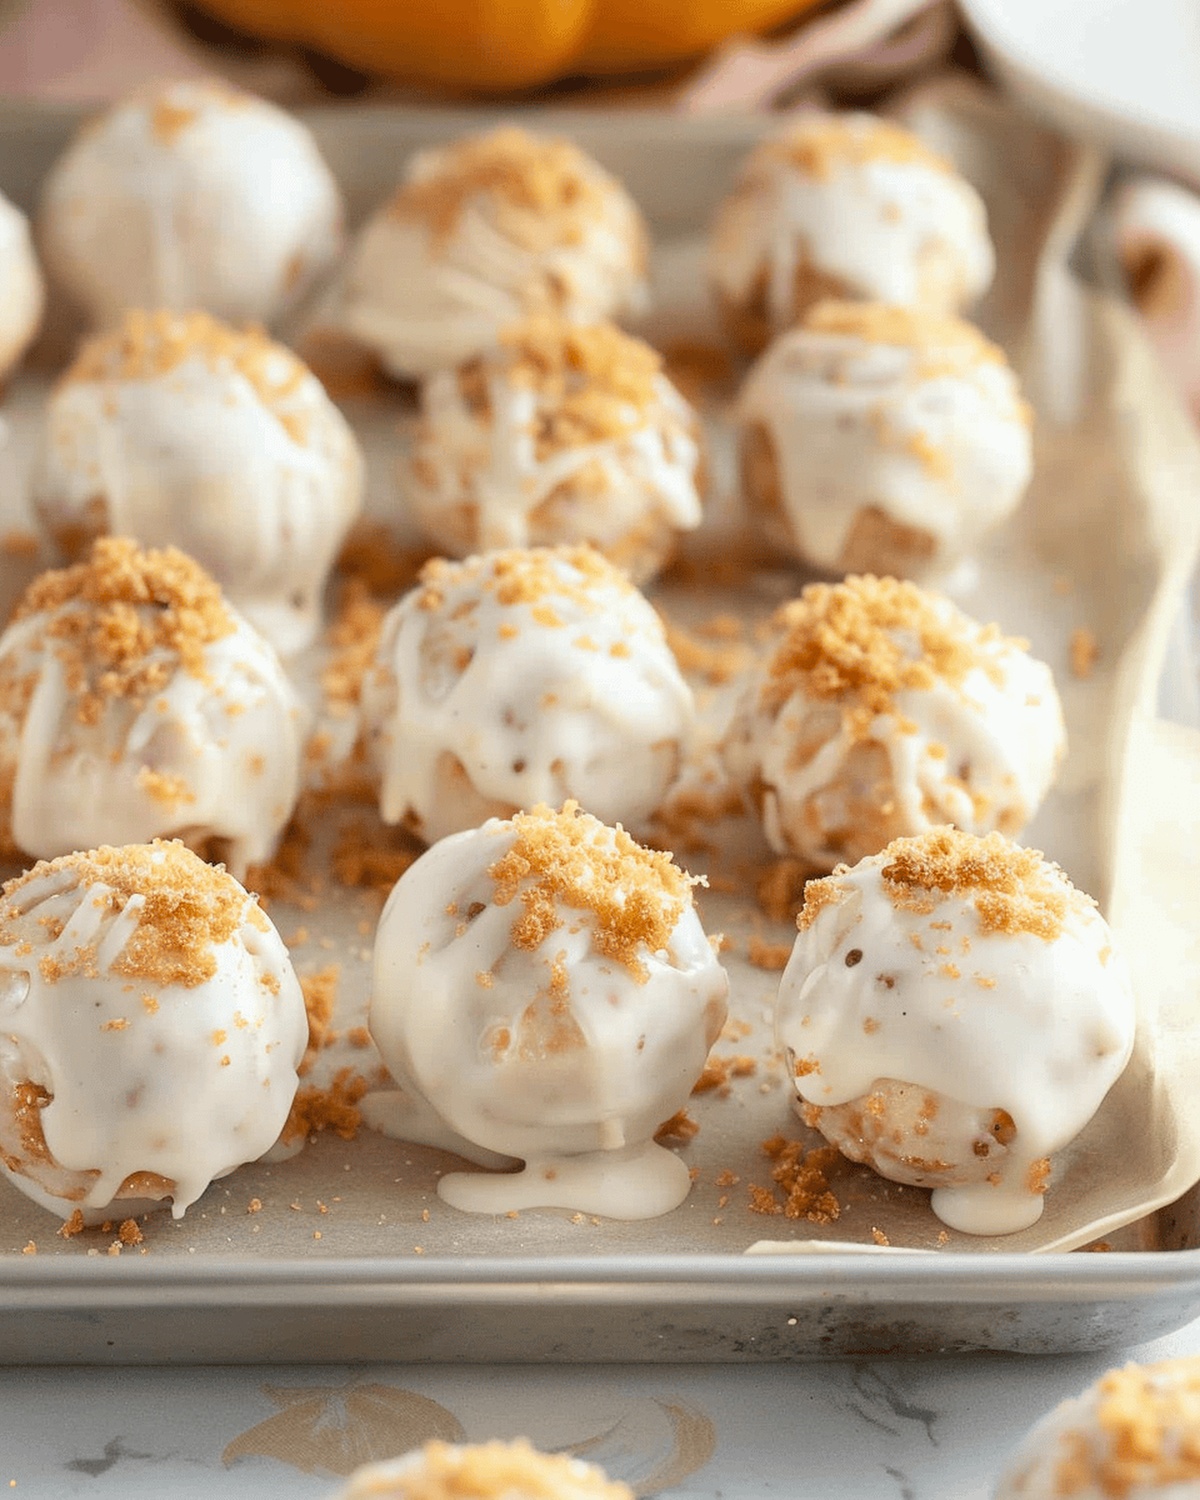
Melt vanilla candy coating or almond bark in a microwave-safe bowl. Use a fork to carefully dip each pie ball, ensuring complete and even coverage with the sweet coating.

Step 4: Add Final Decorative Touch

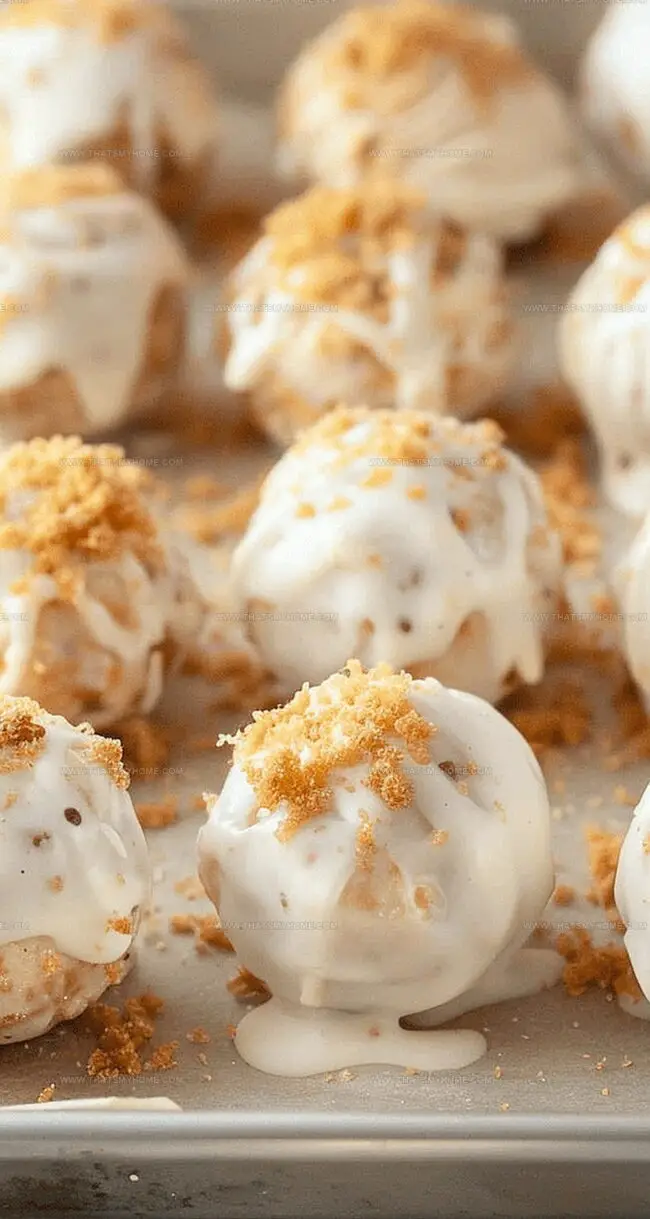
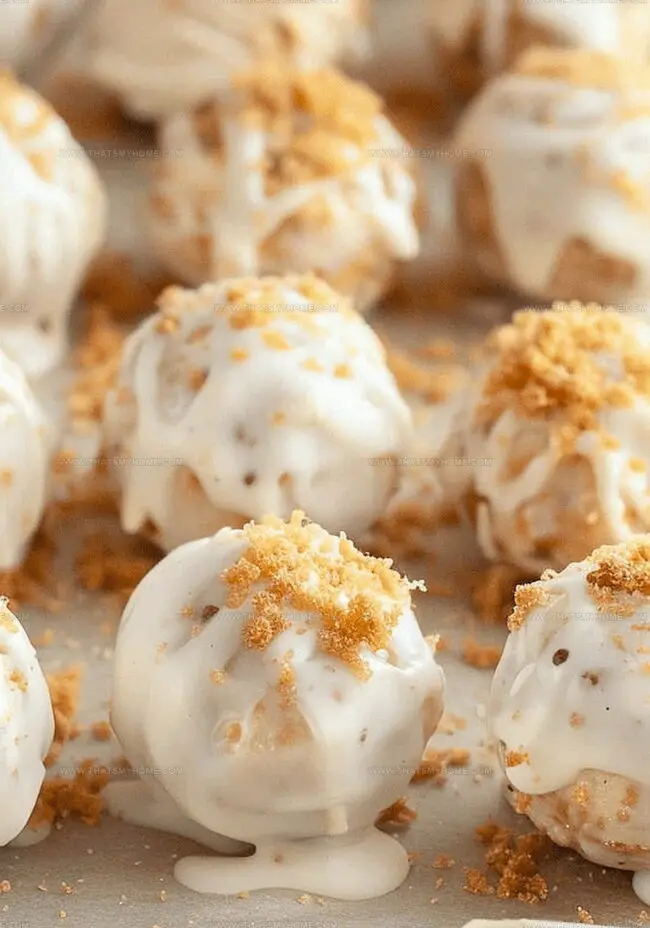
Sprinkle reserved pie crust crumbles on top of each coated ball. Allow coating to set at room temperature until hardened. Once set, the pie balls are ready to serve and enjoy.

Clever Tips to Perfect Your No-Bake Pumpkin Pie Balls

  • Chill for Firm Texture: Refrigerate or freeze the pie balls to help them maintain their shape and make dipping easier, preventing crumbling during the coating process.
  • Smooth Mixing Technique: Use an electric mixer on low speed or mix by hand carefully to create a consistent, moist texture without over-processing the pie mixture.
  • Perfect Coating Trick: Melt the candy coating slowly and use a fork to evenly dip each ball, allowing excess to drip off for a smooth, professional-looking finish.
  • Crumb Topping Hack: Sprinkle reserved pie crust crumbles immediately after coating while the candy shell is still wet to ensure they stick perfectly.
  • Size Consistency Tip: Use a 2-tablespoon measure or small cookie scoop to create uniform-sized balls for even coating and attractive presentation.

How to Keep Your No-Bake Pumpkin Pie Balls Fresh

  • Store the No-Bake Pumpkin Pie Balls in an airtight container to maintain their freshness and texture. Refrigerate the treats for up to 5 days, keeping them cool and preventing any potential spoilage. When ready to enjoy, remove the balls from the refrigerator about 10 minutes before serving to let them soften slightly and bring out their delicious flavor.
  • Freezing works perfectly for long-term storage. Place the coated pie balls in a freezer-safe container with parchment paper between layers to prevent sticking. They'll stay delicious for up to 3 months, making them an excellent make-ahead dessert for quick treats or unexpected guests.
  • Reheating isn't necessary for these no-bake delights.

Serving No-Bake Pumpkin Pie Balls with These Combinations

  • Craft a Cozy Dessert Pairing: Brew a warm vanilla chai latte to complement the sweet, spicy notes of the pumpkin pie balls. The creamy tea enhances the dessert's rich pumpkin flavor and provides a comforting contrast to the vanilla candy coating.
  • Match with Dessert Wines: Select a late-harvest Riesling or a moscato to highlight the pie balls' sweet profile. These light, fruity wines bring out the pumpkin's subtle sweetness and create a delightful after-dinner treat.
  • Create a Seasonal Beverage Companion: Whip up a homemade spiced apple cider to echo the warm autumn flavors of the pumpkin pie balls. The cinnamon and nutmeg notes in the cider perfectly synchronize with the pie's classic spice blend.
  • Serve with Coffee Delight: Prepare a smooth caramel macchiato that adds depth to the dessert's creamy texture. The coffee's rich undertones and sweet caramel complement the pumpkin pie balls' delicate coating and crumbly crust.

Fun Twists to Spice Up Your No-Bake Pumpkin Pie Balls

  • Spiced Autumn Crunch: Add chopped pecans or walnuts to the mixture for extra texture and warm fall flavor. Roll balls in cinnamon-graham cracker crumbs for a spicier coating.
  • Chocolate Drizzle Edition: Instead of vanilla coating, use dark or milk chocolate for dipping. Sprinkle with mini chocolate chips or cocoa powder for enhanced richness.
  • Cream Cheese Swirl: Mix soft cream cheese into the pie mixture for a tangy, creamy element. Dust with powdered sugar or graham cracker crumbs after coating for added sweetness.
  • Maple Pecan Fusion: Incorporate maple syrup into the mixture and roll balls in crushed toasted pecans. Drizzle with maple-infused white chocolate coating for deeper autumn notes.
Print
clock clock iconcutlery cutlery iconflag flag iconfolder folder iconinstagram instagram iconpinterest pinterest iconfacebook facebook iconprint print iconsquares squares iconheart heart iconheart solid heart solid icon
Pumpkin Pie Balls Recipe

Pumpkin Pie Balls Recipe


5 Stars 4 Stars 3 Stars 2 Stars 1 Star

4.8 from 24 reviews

  • Total Time: 15 minutes
  • Yield: 24 1x

Description

Silky smooth No-Bake Pumpkin Pie Balls deliver autumn’s warmest spices in one delightful bite. Creamy graham cracker crumbs, pumpkin purée, and warming cinnamon blend perfectly for a quick seasonal treat you can enjoy without turning on the oven.


Ingredients

Scale

Main Ingredients:

  • 1 (9-inch) pumpkin pie

Coating:

  • 1 (16-ounce) vanilla candy coating or almond bark

Optional Add-ins:

  • ¼ cup powdered sugar
  • 1 teaspoon ground cinnamon
  • ½ teaspoon ground nutmeg
  • ¼ teaspoon ground ginger

Instructions

  1. Deconstruct the thoroughly chilled pumpkin pie, separating the filling and crust into fragments. Transfer the mixture to an electric mixer or large mixing bowl, blending on low speed until the ingredients consolidate into a cohesive, moist mass.
  2. Using clean hands or a small cookie scoop, form the pie mixture into compact spheres approximately each. Arrange the balls precisely on a parchment-lined baking sheet, ensuring minimal spacing between them.
  3. Chill the formed spheres in the freezer for approximately 30 minutes or refrigerate for 2 hours, allowing them to firm and maintain their structured shape.
  4. Gently melt vanilla candy coating or almond bark using a double boiler or microwave, stirring until achieving a smooth, glossy consistency. Carefully submerge each chilled pie ball into the melted coating, using a fork to ensure complete and even coverage.
  5. While the coating remains wet, delicately sprinkle reserved pie crust crumbles over the surface, creating a decorative and textural garnish. Allow the coated balls to rest at room temperature until the candy coating solidifies completely.
  6. Once set, transfer the pumpkin pie balls to a serving platter or storage container. These delectable treats can be enjoyed immediately or refrigerated for up to 5 days.

Notes

  • Transforming leftover pumpkin pie into delightful, no-bake treats saves time and reduces food waste.
  • Chilling the pie balls helps them maintain their shape and creates a satisfying texture when biting into the sweet morsel.
  • Vanilla candy coating adds a smooth, elegant finish that complements the warm spices of the pumpkin filling.
  • Sprinkling reserved pie crust crumbles on top provides a delicious crunch and visual appeal to the finished dessert.
  • Storing these bite-sized treats in an airtight container extends their enjoyment for several days in the refrigerator.
  • Prep Time: 15 minutes
  • Category: Desserts, Snacks
  • Method: None
  • Cuisine: American

Nutrition

  • Serving Size: 24
  • Calories: 400 kcal
  • Sugar: 30g
  • Sodium: 150mg
  • Fat: 22g
  • Saturated Fat: 10g
  • Unsaturated Fat: 12g
  • Trans Fat: 0g
  • Carbohydrates: 50g
  • Fiber: 2g
  • Protein: 4g
  • Cholesterol: 20mg
Mary Ellen

Mary Ellen

Founder, Pastry Chef & Recipe Developer

Expertise

  • Artisanal Bread Making
  • Exquisite Pastry Craftsmanship
  • Creative Dessert Presentation
  • Flavor Profile Development
  • Menu Concept Innovation.

Education

Savannah Technical College

  • Program: Associate of Applied Science in Culinary Baking & Pastry Arts
  • Focus: A specialized program focusing on baking and pastry fundamentals, including bread making, cake decorating, and advanced pastry techniques. Developed creative presentation skills and an understanding of ingredient functions through lab-based practice.

Mary Ellen is the heart and soul of thatsmyhome.com. As the founder, pastry chef, and recipe developer, she refined her skills at Savannah Technical College with an Associate of Applied Science in Culinary Baking & Pastry Arts. 

Mary blends classic techniques with modern twists to make artisanal breads, beautifully crafted pastries, and desserts full of unique flavor. Her passion is evident in every recipe, and she enjoys sharing her expertise through hands-on pastry workshops and insightful articles in local culinary magazines.

Leave a Reply

Your email address will not be published. Required fields are marked *

Recipe rating 5 Stars 4 Stars 3 Stars 2 Stars 1 Star