Fresh Chocolate Mint Delight Bark Recipe: A Sweet Treat Sensation
Sweet chocolate meets cool mint in this irresistible chocolate mint delight bark that promises to melt hearts with every bite.
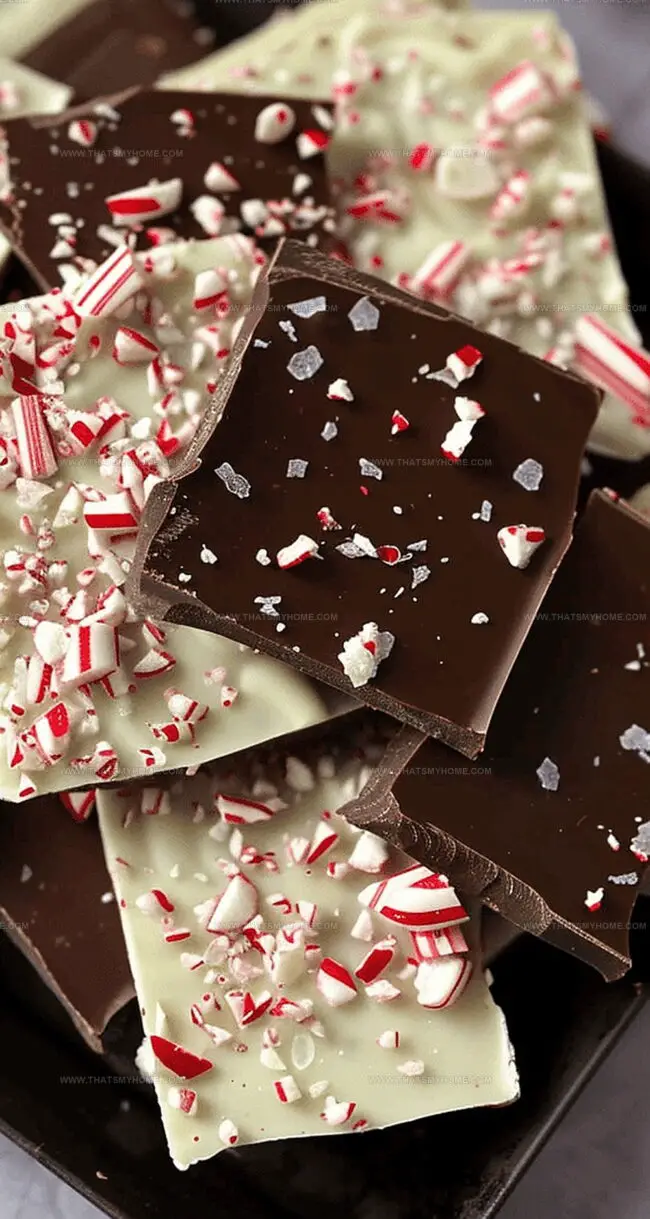
The combination of rich dark chocolate and refreshing peppermint creates a decadent treat sure to impress.
Layers of smooth chocolate swirl together with bright mint flavors for a sensational dessert experience.
Each piece offers a perfect balance of sweet and cool sensations that dance across your palate.
Simple ingredients and minimal prep time make this bark an easy go-to dessert for any occasion.
With just a few steps, you can craft a homemade confection that looks elegant and tastes extraordinary.
Grab your chocolate and mint, and get ready to create a delightful treat that will have everyone asking for seconds.
Quick Recipe Overview
Chocolate Mint Bark: What You’ll Need
For Chocolate Base:For White Chocolate Layer:For Festive Topping:Tools to Break and Swirl Chocolate Mint Bark
How to Create Swirled Chocolate Mint Bark at Home
Grab a baking sheet and line it with smooth parchment paper, creating a perfect surface for your delicious creation.
Melt dark chocolate using gentle microwave waves, stirring until silky and glossy. Pour this rich liquid across the prepared canvas, spreading evenly with smooth motions.
Let the dark chocolate layer rest in the cool refrigerator, allowing it to transform into a solid, sleek base.
Warm white chocolate until it becomes a velvety river, then cascade it gently over the dark chocolate foundation.
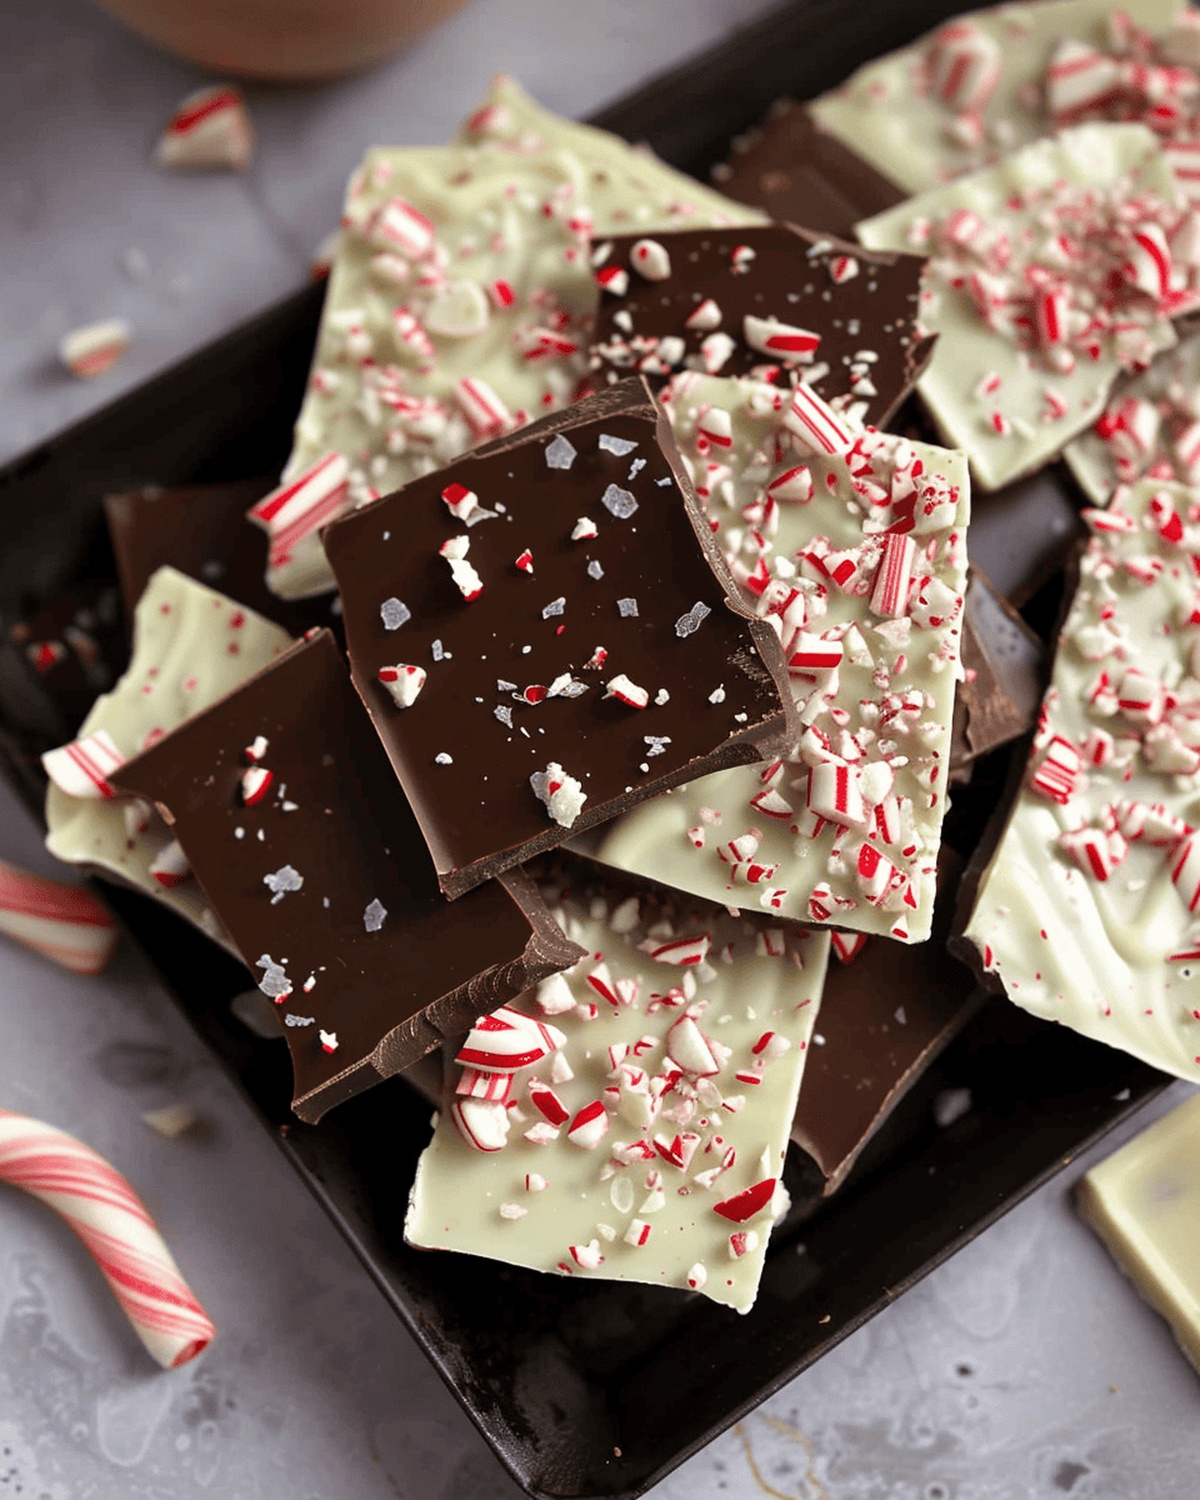
Shower crushed candy canes across the white chocolate landscape, adding pops of peppermint crunch. Dust a whisper of sea salt for an unexpected flavor dance.
Slide the creation into the refrigerator, letting it firm up and solidify into a delectable masterpiece.
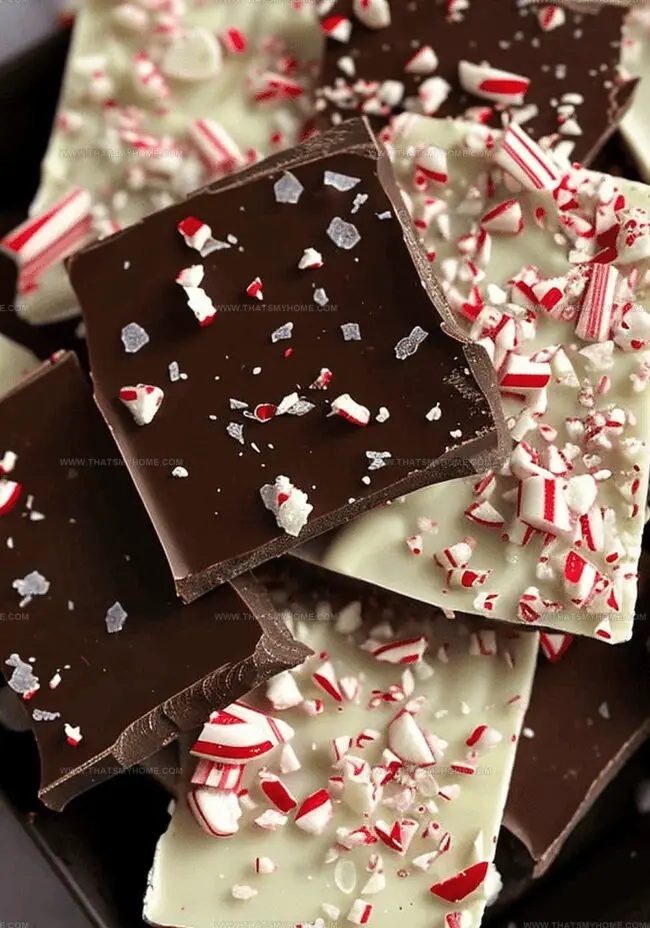
Liberate the bark from its parchment home, cracking it into irregular, artisan-style pieces ready to delight taste buds.
Tips for Balancing Mint and Chocolate Just Right
Serving Bark Pieces That Look as Good as They Taste
Storing Bark Without Losing the Snap
Print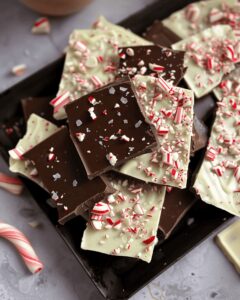
Silky Chocolate Mint Bark Recipe
- Total Time: 45 minutes
- Yield: 17 1x
Description
Delectable chocolate mint delight bark combines rich chocolate with refreshing peppermint for an irresistible treat. Crisp layers and cool mint create a perfect balance that satisfies sweet cravings with minimal effort.
Ingredients
- 16 oz (454 g) dark chocolate chips (60% cocoa)
- 16 oz (454 g) white chocolate chips
- 4 tsp (20 mL) coconut oil, divided
- ½ cup (50 g) crushed candy canes
- Flake sea salt, to taste
Instructions
- Preparation: Line a 13 by 9-inch baking sheet with parchment paper, ensuring complete coverage for easy removal.
- Dark Chocolate Base: Melt dark chocolate chips with coconut oil in a microwave-safe bowl at 50% power, stirring until smooth and glossy.
- First Layer Setting: Pour melted dark chocolate onto the prepared sheet, spreading evenly with a spatula to create a thin, uniform layer. Refrigerate for 15 minutes until completely solidified.
- White Chocolate Overlay: Melt white chocolate chips with remaining coconut oil, heating cautiously and stirring at short intervals until achieving a liquid consistency.
- Layering and Decoration: Drizzle molten white chocolate over the chilled dark chocolate base, maintaining an even distribution. Immediately sprinkle crushed peppermint candy canes and flaky sea salt across the surface for added texture and flavor complexity.
- Final Setting: Refrigerate the bark for approximately one hour until completely firm and set.
- Serving: Remove from parchment paper and break into irregular, artisanal pieces, creating a visually stunning and delectable chocolate mint confection.
Notes
- Prevent Chocolate Seizing: Microwave chocolate at reduced power and stir frequently to maintain smooth texture and avoid burning.
- Chill Between Layers: Allow first chocolate layer to set completely in refrigerator to create distinct, clean layer separation and prevent color bleeding.
- Crush Candy Uniformly: Break peppermint candy canes into consistent, small pieces for even distribution and balanced flavor throughout the bark.
- Salt Enhances Flavor: Use flaky sea salt sparingly to elevate chocolate’s richness and create a sophisticated sweet-savory contrast.
- Prep Time: 25 minutes
- Cook Time: 20 minutes
- Category: Snacks, Desserts
- Method: Baking
- Cuisine: American
Nutrition
- Serving Size: 17
- Calories: 212
- Sugar: 21 g
- Sodium: 22 mg
- Fat: 12 g
- Saturated Fat: 7 g
- Unsaturated Fat: 5 g
- Trans Fat: 0 g
- Carbohydrates: 25 g
- Fiber: 1 g
- Protein: 2 g
- Cholesterol: 0 mg
Michael Rivera
Co-Founder & Culinary Instructor
Expertise
Education
The French Culinary Institute (now part of the International Culinary Center)
Michael Rivera is a seasoned chef and culinary instructor based in San Francisco, CA. Trained in Classic Culinary Arts at The French Culinary Institute, he refined his skills in Michelin-starred kitchens, mastering classic French techniques and artisanal bread baking.
Passionate about making gourmet methods accessible, Michael co-founded thatsmyhome.com to share his expertise through interactive online lessons and innovative, plant-based recipes. He loves blending traditional techniques with modern ideas, encouraging home cooks to enjoy the art of cooking in a relaxed, fun environment.