Dreamy No Bake Peanut Butter Pie Recipe You’ll Adore
Decadent desserts often surprise us with their simplicity, and this no bake peanut butter pie recipe proves just that.
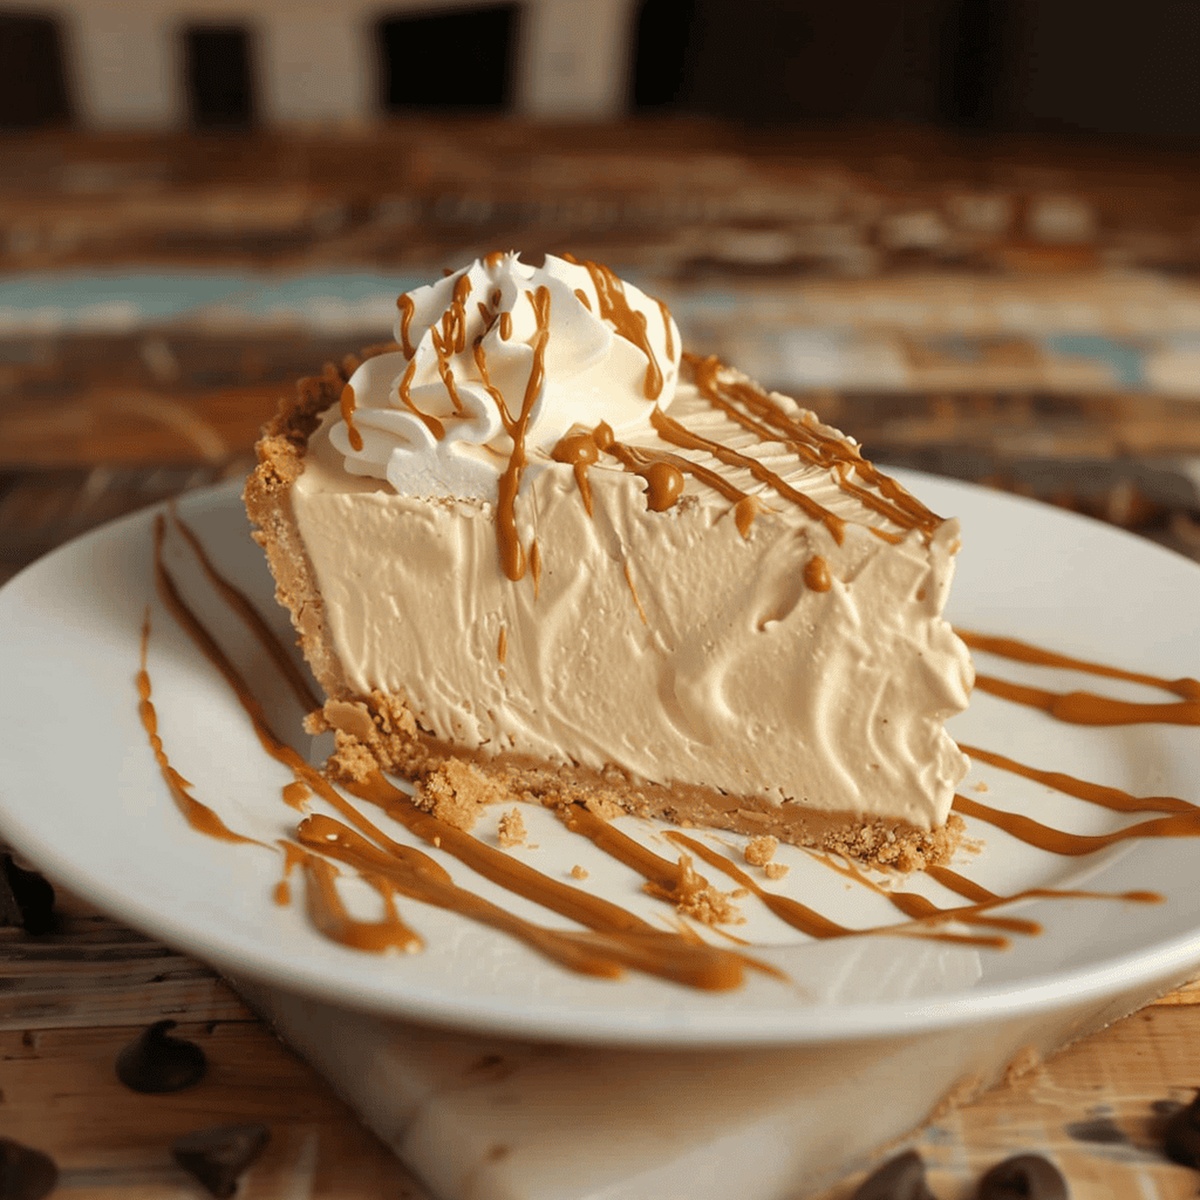
Sweet, creamy, and utterly irresistible, the pie combines rich chocolate and smooth peanut butter in a dreamy no-bake format.
Chocolate cookie crusts provide the perfect base for this luscious treat that comes together in mere minutes.
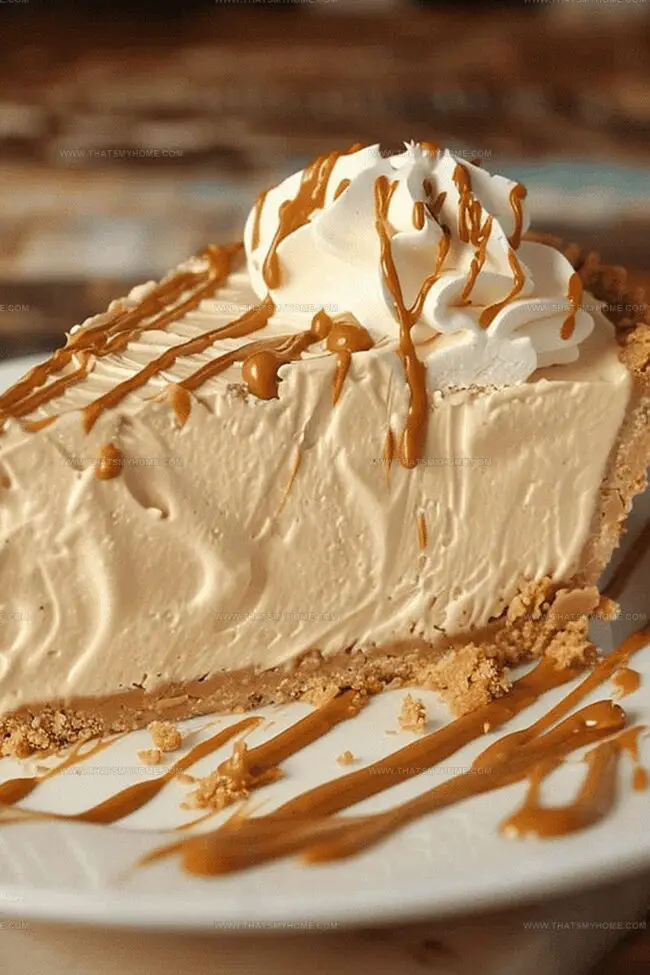
Cold and silky, each slice delivers a luxurious punch of peanut butter flavor that melts on your tongue.
no oven required means less hassle and more enjoyment for anyone seeking a delightful dessert.
The recipe works brilliantly for summer gatherings or whenever you need a quick, impressive sweet.
Grab your mixing bowl and get ready to make a dessert that will have everyone asking for seconds.
Quick Recipe Overview
No Bake Peanut Butter Pie Ingredients
For Base Layer:For Creamy Filling:For Topping and Garnish:Tools for Assembling Peanut Butter Pie
No-Bake Steps for Peanut Butter Pie
Blend cream cheese and powdered sugar until smooth and silky, creating a luxurious base for the pie.
Fold in rich, velvety peanut butter, transforming the mixture into a decadent, cookie-dough-like consistency.
Gently integrate cool whip, letting it dance through the mixture, creating an airy and light texture.
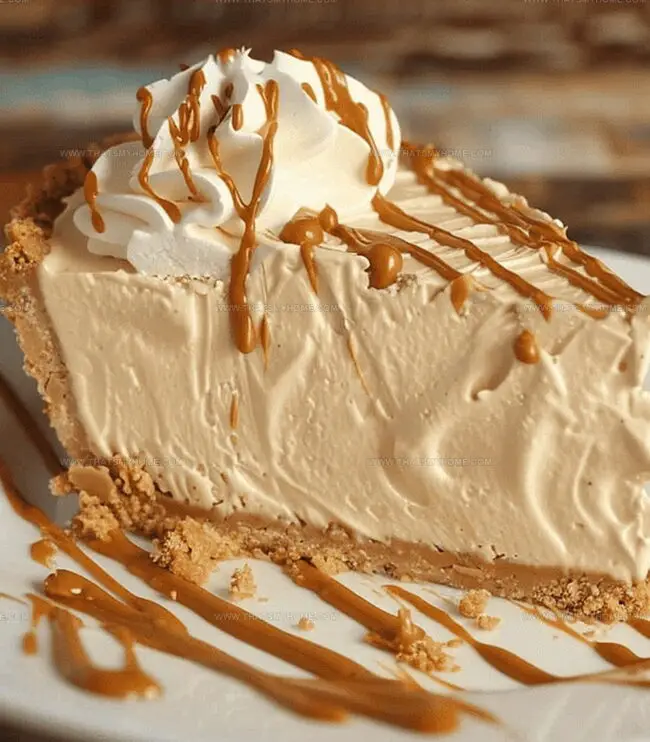
Pour the dreamy filling into a waiting graham cracker crust, letting it settle like a cloud.
Refrigerate the pie for an hour to let flavors meld, then sprinkle with melted peanut butter or chocolate chips for a stunning finish.
Tips for a Smooth & Creamy Pie
Ways to Serve No Bake Peanut Butter Pie
How to Store Peanut Butter Pie Properly
Print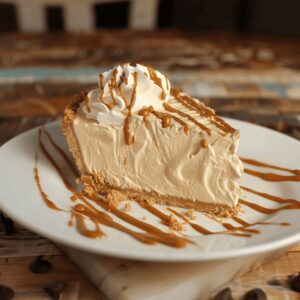
Silky Peanut Butter Pie Recipe
- Total Time: 10 minutes
- Yield: 9 1x
Description
Creamy no bake peanut butter pie delights dessert enthusiasts with its rich, smooth filling and crumbly graham cracker crust. Chilled perfection awaits when you slice into this simple yet indulgent treat from classic American baking traditions.
Ingredients
- 1 graham cracker crust
- 1 cup (240 ml / 8 fl oz) creamy peanut butter
- 8 oz (226 g) cream cheese
- 1 cup (240 ml / 8 fl oz) cool whip
- 1 cup (120 g / 4.2 oz) powdered sugar
Instructions
- Creamy Preparation: Whip cream cheese and powdered sugar in a large mixing bowl using an electric mixer until silky smooth, creating a luxurious base for the pie.
- Peanut Butter Fusion: Incorporate peanut butter into the cream cheese mixture, blending thoroughly until the consistency transforms into a rich, velvety filling with deep nutty undertones.
- Aeration and Incorporation: Gently fold whipped topping into the peanut butter mixture in two stages, preserving the light, ethereal texture while ensuring complete integration of ingredients.
- Crust Assembly: Carefully transfer the creamy filling into the prepared graham cracker crust, using a spatula to distribute evenly and create a perfectly leveled surface.
- Chilling and Setting: Refrigerate the pie for approximately one hour, allowing the filling to firm up and develop a delectable, slice-worthy consistency.
- Final Embellishment: Before serving, elevate the pie’s visual appeal by artfully drizzling melted peanut butter across the surface and sprinkling chocolate chips for a gourmet finishing touch.
- Serving: Slice the chilled pie into eight elegant wedges using a sharp knife, ensuring clean, precise cuts that showcase the pie’s luscious interior.
Notes
- Chilling Strategy: Refrigerate pie for at least 1 hour to ensure firm, clean-cut slices and enhanced flavor melding.
- Mixing Mastery: Use room temperature cream cheese and blend thoroughly to prevent lumps and achieve a silky-smooth filling texture.
- Tool Tip: Opt for an electric mixer to guarantee consistent incorporation of ingredients and eliminate manual mixing challenges.
- Garnish Grace: Add chocolate chips and peanut butter drizzle just before serving to maintain crisp visual appeal and prevent ingredient absorption.
- Prep Time: 10 minutes
- Cook Time: 0 minutes
- Category: Desserts, Snacks
- Method: Blending
- Cuisine: American
Nutrition
- Serving Size: 9
- Calories: 330
- Sugar: 17 g
- Sodium: 320 mg
- Fat: 24 g
- Saturated Fat: 10 g
- Unsaturated Fat: 14 g
- Trans Fat: 0 g
- Carbohydrates: 30 g
- Fiber: 1 g
- Protein: 7 g
- Cholesterol: 30 mg
Michael Rivera
Co-Founder & Culinary Instructor
Expertise
Education
The French Culinary Institute (now part of the International Culinary Center)
Michael Rivera is a seasoned chef and culinary instructor based in San Francisco, CA. Trained in Classic Culinary Arts at The French Culinary Institute, he refined his skills in Michelin-starred kitchens, mastering classic French techniques and artisanal bread baking.
Passionate about making gourmet methods accessible, Michael co-founded thatsmyhome.com to share his expertise through interactive online lessons and innovative, plant-based recipes. He loves blending traditional techniques with modern ideas, encouraging home cooks to enjoy the art of cooking in a relaxed, fun environment.