Crunchy Air Fryer Peanut Butter and Jelly Sandwich Recipe
A classic childhood favorite gets a crispy upgrade with this easy air fryer peanut butter and jelly sandwich that promises golden-brown perfection.
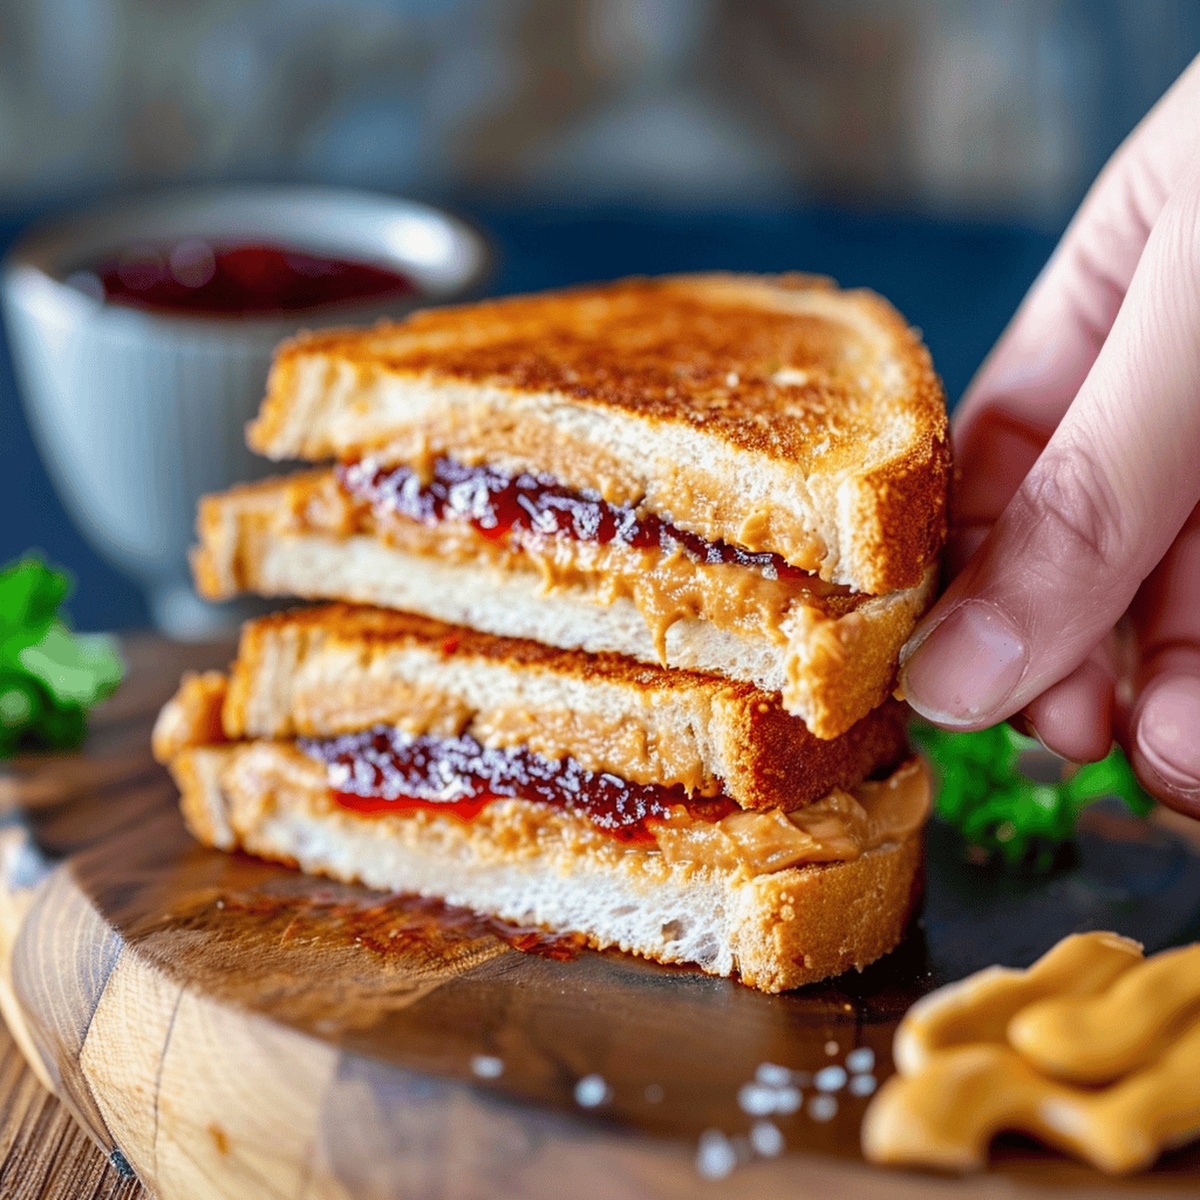
The nostalgic comfort of pb&j takes on a delightful crunch when cooked in an air fryer, delivering a warm and toasty treat.
Bread slathered with creamy peanut butter and sweet jelly transforms into a delectable snack in just minutes.
Simple ingredients and minimal effort are all you need to create this quick and satisfying meal.
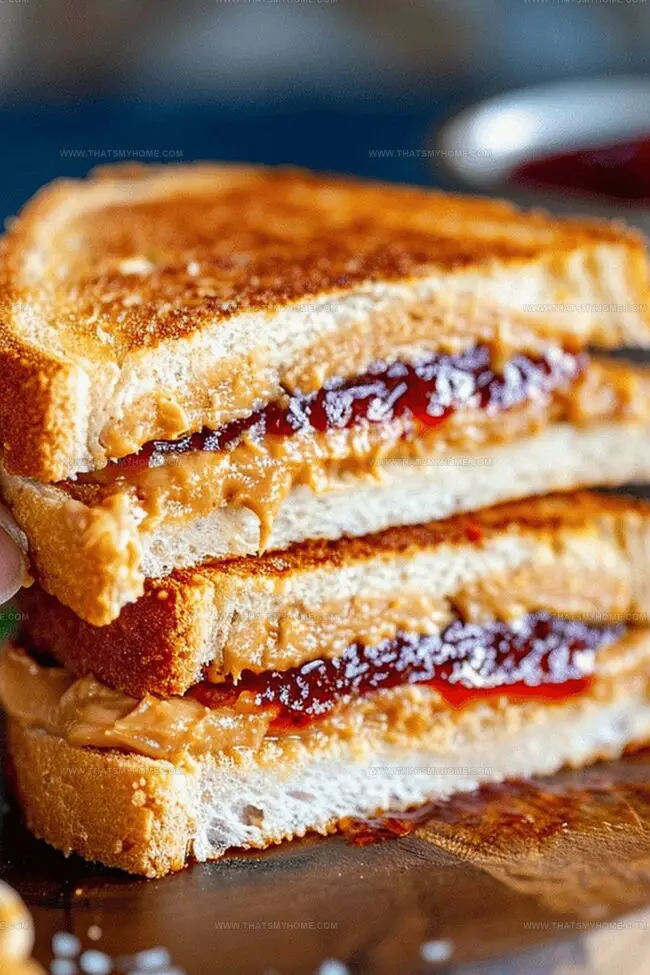
The air fryer works its magic, turning an ordinary sandwich into a crunchy, gooey delight that’ll transport you back to carefree lunch times.
Grab your favorite bread, spread on those classic flavors, and get ready to enjoy a reimagined sandwich that’s sure to become a new favorite.
Quick Recipe Overview
What You Need for Air Fryer PB&J Sandwich
For Sandwich Base:For Spread and Filling:For Seasoning and Finishing:Tools for Crispy Air-Fried Sandwich
How to Air Fry a Peanut Butter and Jelly
Select two slices of soft sandwich bread and arrange them on a clean surface.
Generously coat one slice with creamy peanut butter and the other with sweet berry jam, ensuring even coverage.
Press the two slices together with the spread sides facing each other, creating a classic comfort food combination.
Lightly brush the exterior of the sandwich with melted butter for extra golden crispiness.
Warm the air fryer to a moderate temperature, creating the perfect environment for toasting.
Gently place the sandwich in the air fryer basket, allowing it to transform into a crispy delight for a few minutes.
Carefully flip the sandwich and increase heat for a perfectly golden exterior with a molten center.
Allow the sandwich to rest briefly, letting the filling settle and cooling to a safe temperature before enjoying this nostalgic treat.
Tips for Sweetness and Crisp Edges
Serving This Kid-Friendly Favorite
Storing Air Fried PB&J for a Crunchy Reheat
Print
Crispy Air Fryer Peanut Butter And Jelly Sandwich Recipe
- Total Time: 15 minutes
- Yield: 2 1x
Description
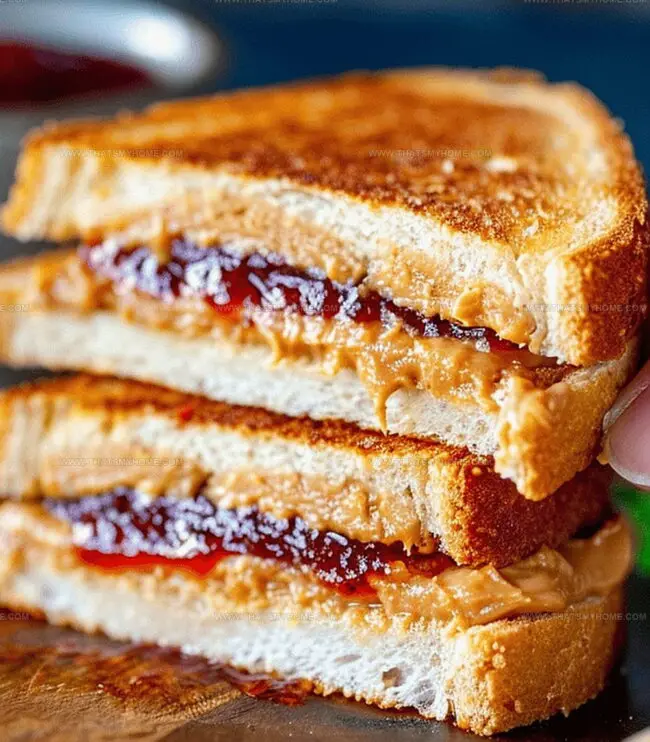
Crispy air fryer peanut butter and jelly sandwich brings nostalgic comfort to classic childhood memories. Quick preparation delivers golden-brown edges with melted center that satisfies hunger and sparks joy for sandwich enthusiasts.
Ingredients
- 2 slices bread
- 2 tbsps (30 mL) peanut butter
- 2 tbsps (30 mL) jelly or jam
- powdered sugar (optional)
Instructions
- Preparation: Lay out bread slices on a clean cutting board, creating a workspace for sandwich assembly.
- Spread Ingredients: Generously apply peanut butter across one bread slice and jelly on the second slice, ensuring complete and even coverage.
- Sandwich Formation: Carefully press bread slices together, aligning peanut butter and jelly sides internally, creating a unified sandwich.
- Butter Coating: Lavishly brush the exterior sides with softened butter to promote a golden, crispy exterior.
- Air Fryer Setup: Preheat air fryer to 350°F (177°C), allowing the appliance to reach optimal cooking temperature.
- Cooking Process: Delicately place the sandwich in the center of the air fryer basket, ensuring balanced heat distribution.
- Initial Cooking: Fry for 3-4 minutes, observing the top surface for initial browning and caramelization.
- Final Crisping: Flip the sandwich using tongs, then elevate the temperature to 380°F (193°C) for enhanced crispiness, cooking for an additional 4-5 minutes while monitoring closely.
- Resting and Serving: Remove from air fryer and let rest for 2-3 minutes to stabilize internal temperature, then slice diagonally and serve warm, revealing the melted, gooey interior.
Notes
- Butter Technique: Soften butter at room temperature for smooth, even coating that promotes perfect golden-brown crispiness.
- Bread Selection: Choose thick-cut, sturdy bread like Texas toast or sourdough to prevent sogginess and maintain structural integrity during air frying.
- Temperature Control: Monitor air fryer closely during second cooking phase at 380°F to prevent burning while achieving maximum exterior crunchiness.
- Resting Period: Allow sandwich to rest 2-3 minutes after cooking to let fillings settle and prevent potential mouth burns from molten peanut butter and jelly.
- Prep Time: 5 minutes
- Cook Time: 10 minutes
- Category: Breakfast, Snacks
- Method: Air Frying
- Cuisine: American
Nutrition
- Serving Size: 2
- Calories: 360
- Sugar: 12 g
- Sodium: 250 mg
- Fat: 16 g
- Saturated Fat: 3 g
- Unsaturated Fat: 13 g
- Trans Fat: 0 g
- Carbohydrates: 44 g
- Fiber: 4 g
- Protein: 10 g
- Cholesterol: 0 mg
Michael Rivera
Co-Founder & Culinary Instructor
Expertise
Education
The French Culinary Institute (now part of the International Culinary Center)
Michael Rivera is a seasoned chef and culinary instructor based in San Francisco, CA. Trained in Classic Culinary Arts at The French Culinary Institute, he refined his skills in Michelin-starred kitchens, mastering classic French techniques and artisanal bread baking.
Passionate about making gourmet methods accessible, Michael co-founded thatsmyhome.com to share his expertise through interactive online lessons and innovative, plant-based recipes. He loves blending traditional techniques with modern ideas, encouraging home cooks to enjoy the art of cooking in a relaxed, fun environment.