Sizzling Miso Butter Grilled Rice Balls Recipe: Tasty Handheld Joy
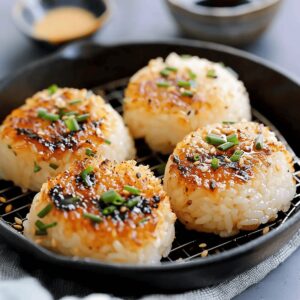
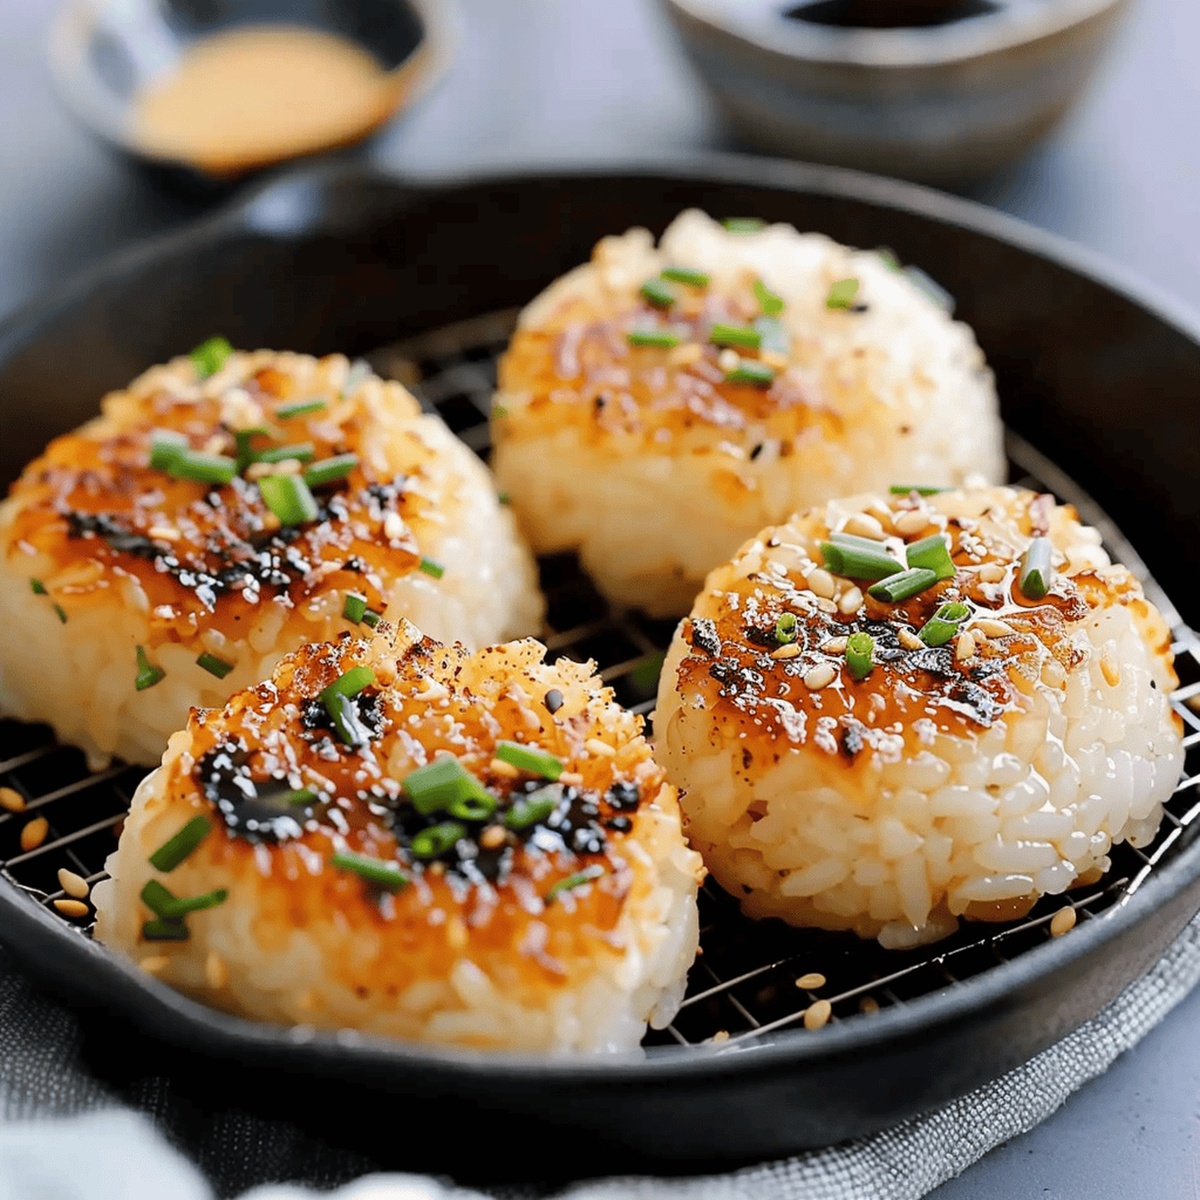
Sizzling on the grill, these miso butter grilled rice balls spark pure culinary magic that will make your taste buds dance.
Leftover rice gets a delectable second life with this ingenious technique.
Japanese street food meets gourmet cooking in a simple yet spectacular dish.
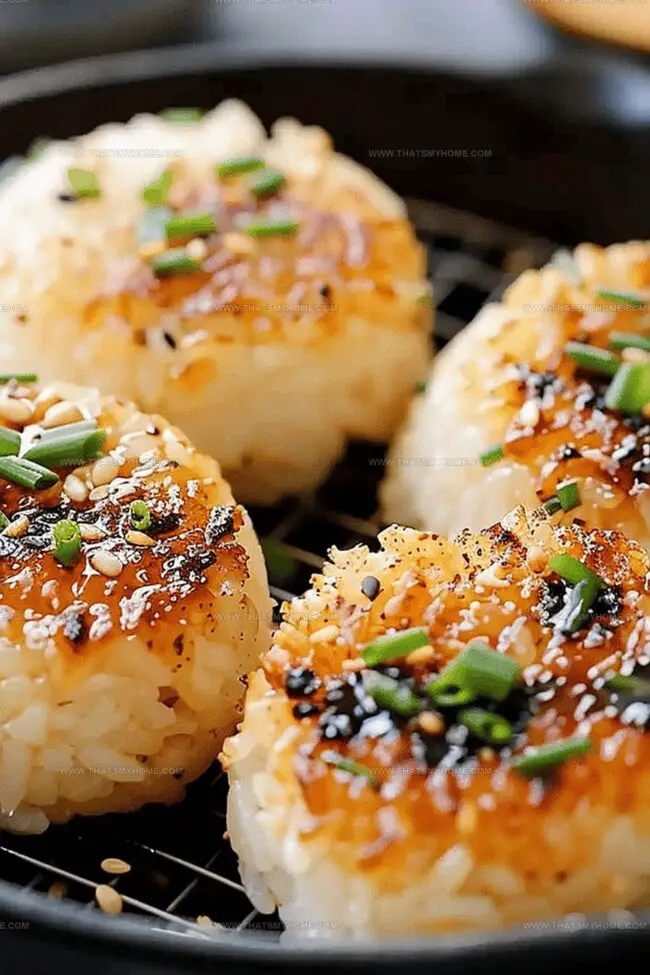
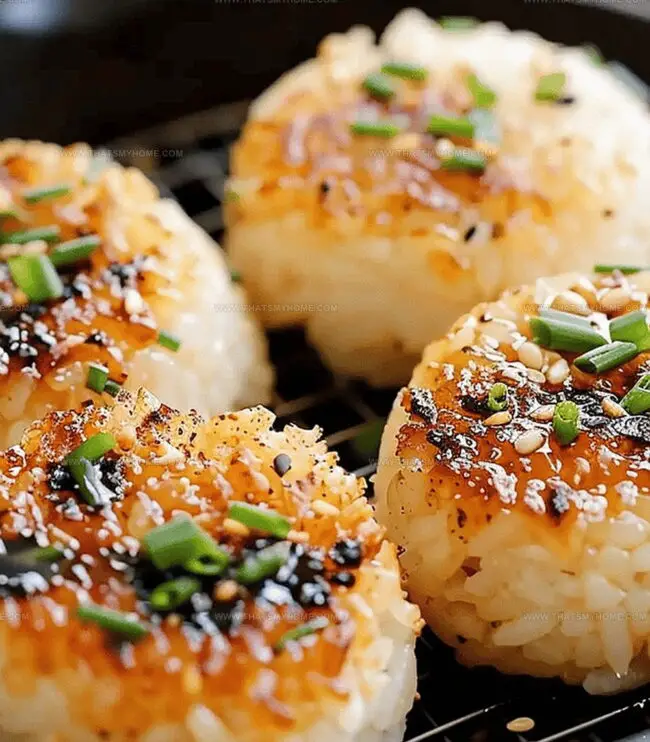
The umami-rich miso butter creates a golden, crispy exterior that seals in incredible flavor.
Sticky rice transforms into irresistible portable bites with just a few expert moves.
Each grilled rice ball promises a smoky, savory experience that bridges comfort and excitement.
Get ready to impress everyone at your next backyard gathering with these mouthwatering morsels.
Quick Recipe Overview
Ingredients You’ll Need for Miso Butter Grilled Rice Balls
For Rice Base:For Miso Butter Seasoning:For Grilling and Garnish:Essential Tools for Miso Butter Grilled Rice Balls
Step-by-Step Guide for Grilled Rice Balls with Miso Butter
Start with freshly cooked warm rice, allowing it to cool slightly so it’s easy to handle and shape.
Wet your hands with water to prevent sticking, then gently form rice into compact triangular shapes using light pressure.
Choose between two delicious grilling styles: rich miso butter or classic soy sauce coating for your rice balls.
Heat a cast iron skillet, melt butter, and carefully place rice triangles to create a golden crispy exterior, brushing with savory miso mixture during cooking.
If preferring a traditional approach, use vegetable oil in skillet and brush rice balls with soy sauce while grilling for a caramelized finish.
Sprinkle with fresh chives, toasted sesame seeds, or Everything Bagel seasoning to add texture and visual appeal.
Enjoy immediately while rice balls are warm and crispy, perfect as a snack or side dish with Japanese-inspired meals.
Miso Grilled Rice Ball Tips & Flavor Twists
How to Present Miso Butter Rice Balls
Keeping Your Miso Grilled Rice Balls Fresh
Print
Crispy Miso Butter Grilled Rice Balls Recipe
- Total Time: 40 minutes
- Yield: 5 1x
Description
Japanese home cooks love creating crispy miso butter grilled rice balls with leftover rice. Charred edges and umami-rich miso glaze make these onigiri irresistible for anyone seeking a quick, satisfying snack you’ll crave again and again.
Ingredients
- 2 cups uncooked short grain rice
- 2 cups water
- 1.5 tbsps (45 ml) butter
- 1 tbsp (15 ml) miso
- 1.5 tbsps (22.5 ml) everything bagel seasoning
- 1.5 tbsps (22.5 ml) vegetable oil
- 1 tbsp (15 ml) soy sauce
- 2 tsps (10 ml) mirin
- 2 tsps (10 ml) sake
- 2 tsps (10 ml) sugar
- 1 tsp (5 ml) finely chopped chives
- 1 tsp (5 ml) sesame seeds
Instructions
- Rice Preparation: Cook sushi or short-grain rice in rice cooker until sticky, allowing to cool slightly for comfortable handling.
- Miso Glaze Creation: Whisk miso paste, mirin, sake, and granulated sugar into a smooth, homogeneous mixture.
- Rice Ball Shaping: Using plastic wrap, compress rice into 6 tight, triangular formations, ensuring compact structure.
- Grilling Technique: Heat cast iron skillet over medium flame, melting unsalted butter until golden and aromatic.
- Crisp Transformation: Position rice triangles in buttered skillet, grilling each side 60-90 seconds to develop a golden, crunchy exterior; brush generously with prepared miso glaze during rotation.
- Flavor Enhancement: Continue cooking, caramelizing surface until deep golden brown and crispy, rotating to ensure even coverage.
- Alternative Method: For soy sauce variation, repeat identical process using vegetable oil and soy sauce brushing technique.
- Final Presentation: Transfer grilled rice balls to serving plate, adorning with finely chopped chives, toasted sesame seeds, or everything bagel seasoning.
- Serving Recommendation: Present immediately while rice balls maintain warmth and crisp texture.
Notes
- Sticky Rice Secrets: Use short-grain or sushi rice for optimal cohesiveness and texture, ensuring rice balls hold their shape perfectly during grilling.
- Glaze Mastery: Whisk miso mixture thoroughly to create a smooth, well-integrated glaze that caramelizes beautifully and adds deep umami flavor.
- Handling Technique: Use plastic wrap when forming rice balls to prevent sticking and achieve tight, compact triangular shapes with clean edges.
- Temperature Control: Maintain medium heat while grilling to develop a crispy golden-brown crust without burning the rice balls’ delicate exterior.
- Prep Time: 30 minutes
- Cook Time: 10 minutes
- Category: Snacks, Dinner
- Method: Grilling
- Cuisine: Japanese
Nutrition
- Serving Size: 5
- Calories: 290
- Sugar: 2 g
- Sodium: 450 mg
- Fat: 18 g
- Saturated Fat: 10 g
- Unsaturated Fat: 7 g
- Trans Fat: 0 g
- Carbohydrates: 30 g
- Fiber: 1 g
- Protein: 4 g
- Cholesterol: 30 mg


Michael Rivera
Co-Founder & Culinary Instructor
Expertise
Education
The French Culinary Institute (now part of the International Culinary Center)
Michael Rivera is a seasoned chef and culinary instructor based in San Francisco, CA. Trained in Classic Culinary Arts at The French Culinary Institute, he refined his skills in Michelin-starred kitchens, mastering classic French techniques and artisanal bread baking.
Passionate about making gourmet methods accessible, Michael co-founded thatsmyhome.com to share his expertise through interactive online lessons and innovative, plant-based recipes. He loves blending traditional techniques with modern ideas, encouraging home cooks to enjoy the art of cooking in a relaxed, fun environment.