Homemade Garlic Cheese Bombs Recipe: Irresistibly Gooey Treats
Crispy, golden bread pillows bursting with garlic cheese bombs will make your taste buds dance with delight.
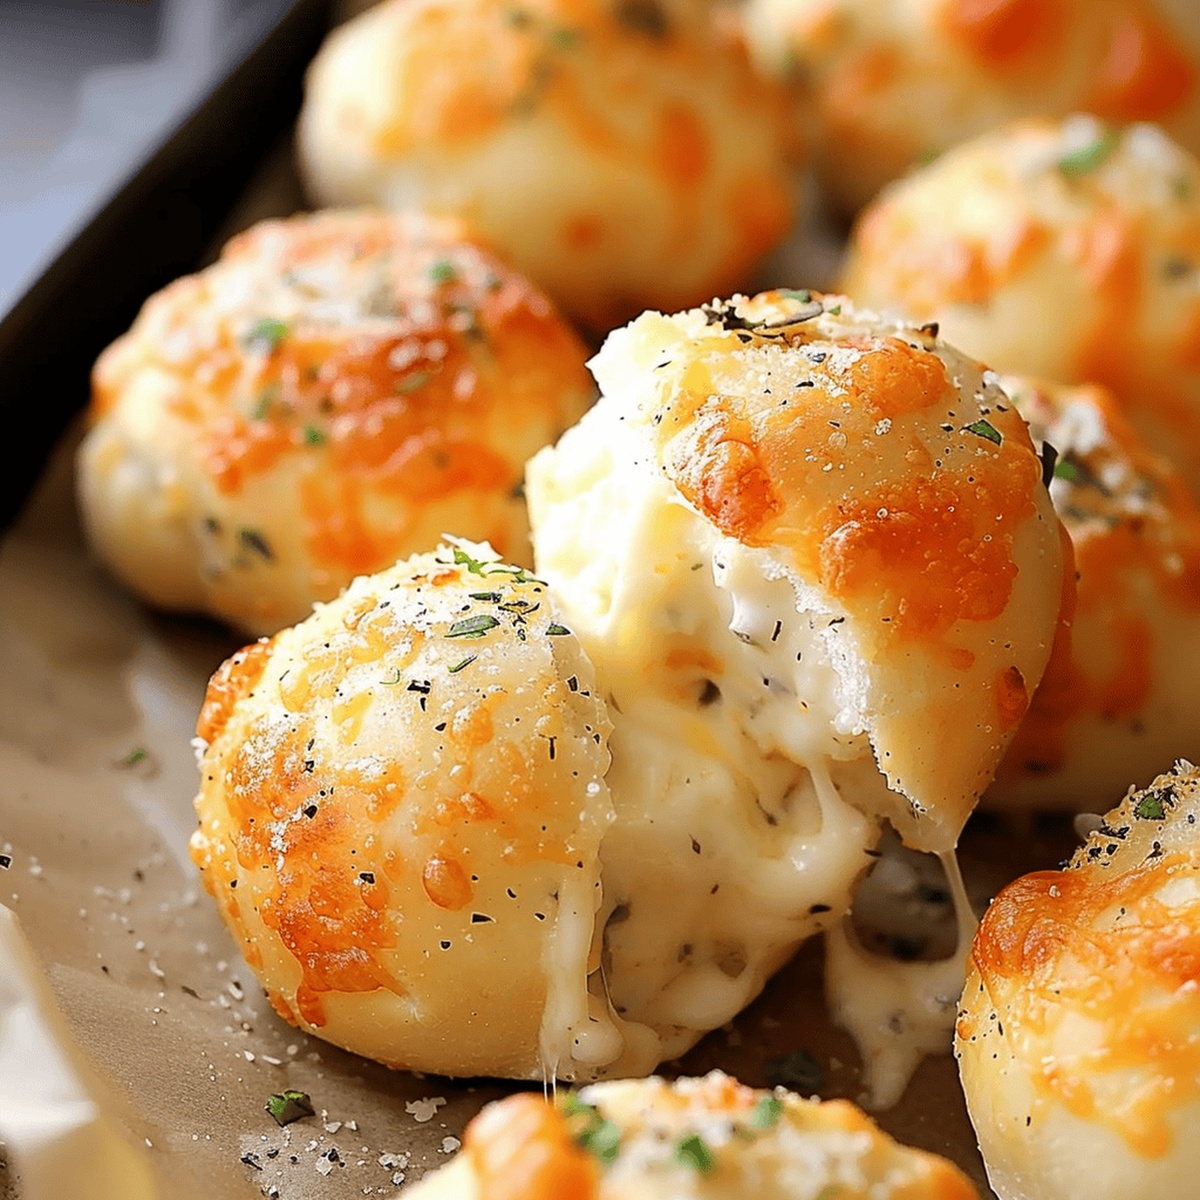
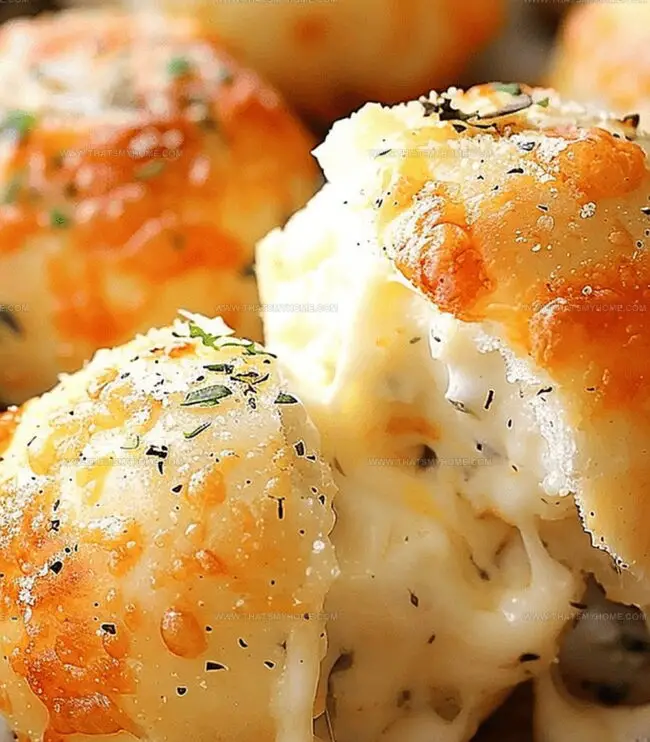
These irresistible appetizers melt with rich, gooey cheese and aromatic garlic in every single bite.
Soft dough wraps around creamy filling, creating a perfect handheld snack that disappears faster than you can plate them.
Warm from the oven, these savory treats bring comfort and excitement to any gathering.
Each bomb delivers a spectacular blend of buttery bread and sharp cheese with a garlic punch that lingers.
Quick to assemble and even quicker to devour, these garlic cheese bombs promise to be the star of your next meal or snack time.
Grab your ingredients and get ready to wow everyone with this seriously addictive recipe.
Quick Recipe Overview

Ingredients for Gooey Garlic Cheese Bombs
For Base Ingredients:For Flavor Enhancers:For Serving:Tools for Baking Garlic Cheese Bombs Perfectly
Equipment & Tools:How to Make Soft and Cheesy Garlic Cheese Bombs
Grab fresh mozzarella and slice into neat cubes ready for stuffing.
Separate refrigerated biscuit dough and lay out on clean surface.
Nestle a cheese cube into center of each biscuit, carefully folding and sealing edges to prevent leakage.
Combine melted butter with zesty garlic and tangy ranch seasoning for a flavor punch.
Generously brush seasoned butter mixture over assembled rolls, ensuring complete coverage.
Slide baking sheet into preheated oven and bake until rolls turn beautiful golden brown.
Remove from oven, brush with remaining butter mixture, and let rest briefly before serving alongside marinara sauce for delicious dipping.
Ideas to Customize Your Garlic Cheese Bombs
Serving Tips for Garlic Cheese Bombs That Impress
How to Store Garlic Cheese Bombs for Later Enjoyment
Print
Explosive Garlic Cheese Bombs Recipe
- Total Time: 25 minutes
- Yield: 11 1x
Description
Homemade garlic cheese bombs deliver explosive flavor straight from Italian kitchens. Crispy pastry shells packed with melted cheese and aromatic garlic promise pure comfort you cannot resist.
Ingredients
- 3 oz (85 g) mozzarella cheese in brick
- 1 tube biscuits (regular size, 10 count)
- ¼ cup (60 ml) salted butter, melted
- 2 tsps dry ranch seasoning mix
- 2 tsps garlic powder or 3 tsps minced garlic
Instructions
- Preparation: Preheat oven to 400°F (204°C) and line a baking sheet with silicone mat or parchment paper.
- Cheese Preparation: Cube mozzarella into uniform 3/4-inch pieces to ensure consistent melting.
- Biscuit Filling: Delicately unfold each biscuit and center a mozzarella cube in the middle of each round.
- Sealing Process: Meticulously encase the cheese by folding and pinching biscuit edges, creating a seamless, sealed roll with no cheese exposure.
- Sheet Arrangement: Position the enclosed rolls on the prepared baking sheet, spacing them 2 inches apart to allow proper expansion.
- Flavor Coating: Blend melted unsalted butter with minced garlic and Ranch seasoning mix, then liberally brush the aromatic mixture over each roll.
- Baking Stage: Roast in the preheated oven for 13-15 minutes until achieving a rich, golden-brown exterior that signals perfect doneness.
- Final Touch: Remove from oven, brush with remaining butter mixture for enhanced flavor and glossy finish.
- Resting Period: Let garlic cheese bombs sit for 5 minutes to stabilize melted cheese and prevent potential burning.
- Serving Suggestion: Present warm with marinara sauce for an irresistible dipping experience.
Notes
- Precision Matters: Cut cheese cubes uniformly to ensure even melting and consistent texture across all bombs.
- Seal Carefully: Completely enclose cheese within biscuit dough, pinching edges tightly to prevent cheese leakage during baking.
- Watch Closely: Bake until golden brown, monitoring the 13-15 minute window to achieve perfect crispy exterior without burning.
- Flavor Boost: Apply butter mixture both before and after baking to enhance taste and create a glossy, appetizing finish.
- Prep Time: 10 minutes
- Cook Time: 15 minutes
- Category: Appetizer, Snacks
- Method: Baking
- Cuisine: American
Nutrition
- Serving Size: 11
- Calories: 160
- Sugar: 1 g
- Sodium: 430 mg
- Fat: 11 g
- Saturated Fat: 7 g
- Unsaturated Fat: 4 g
- Trans Fat: 0 g
- Carbohydrates: 12 g
- Fiber: 0 g
- Protein: 3 g
- Cholesterol: 30 mg
Michael Rivera
Co-Founder & Culinary Instructor
Expertise
Education
The French Culinary Institute (now part of the International Culinary Center)
Michael Rivera is a seasoned chef and culinary instructor based in San Francisco, CA. Trained in Classic Culinary Arts at The French Culinary Institute, he refined his skills in Michelin-starred kitchens, mastering classic French techniques and artisanal bread baking.
Passionate about making gourmet methods accessible, Michael co-founded thatsmyhome.com to share his expertise through interactive online lessons and innovative, plant-based recipes. He loves blending traditional techniques with modern ideas, encouraging home cooks to enjoy the art of cooking in a relaxed, fun environment.