Bake Up Homemade Buttery White Bread Delight Recipe Today
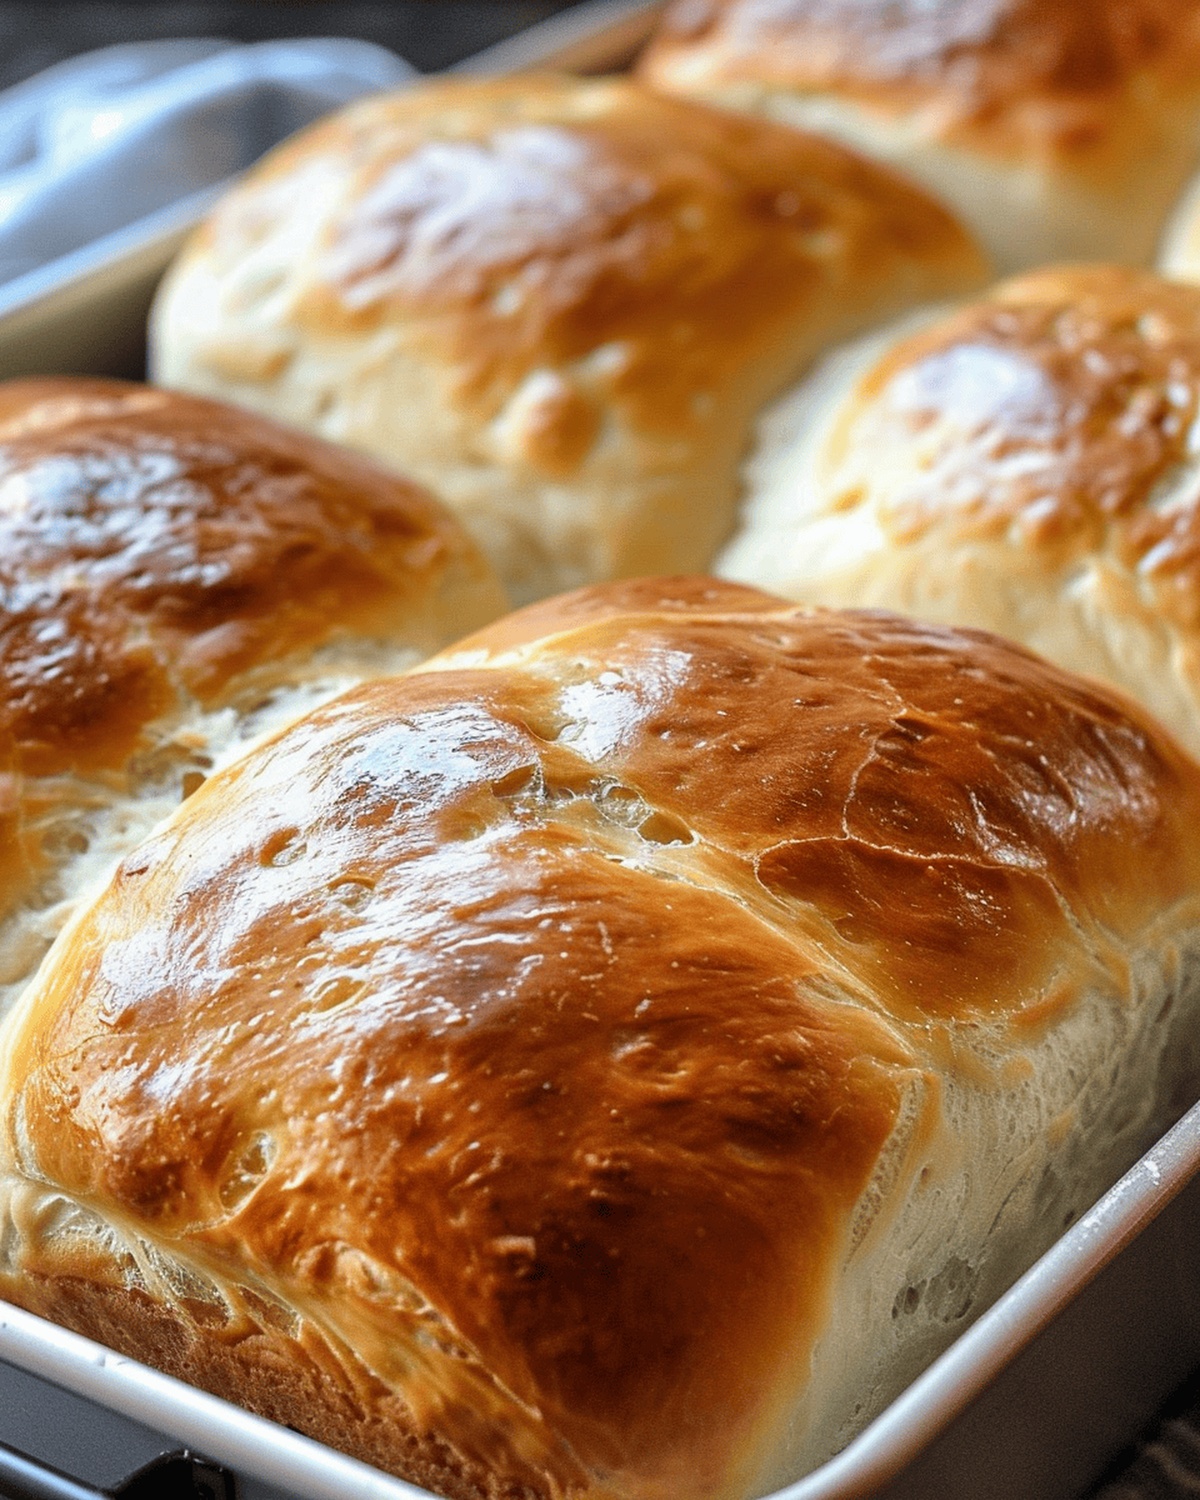
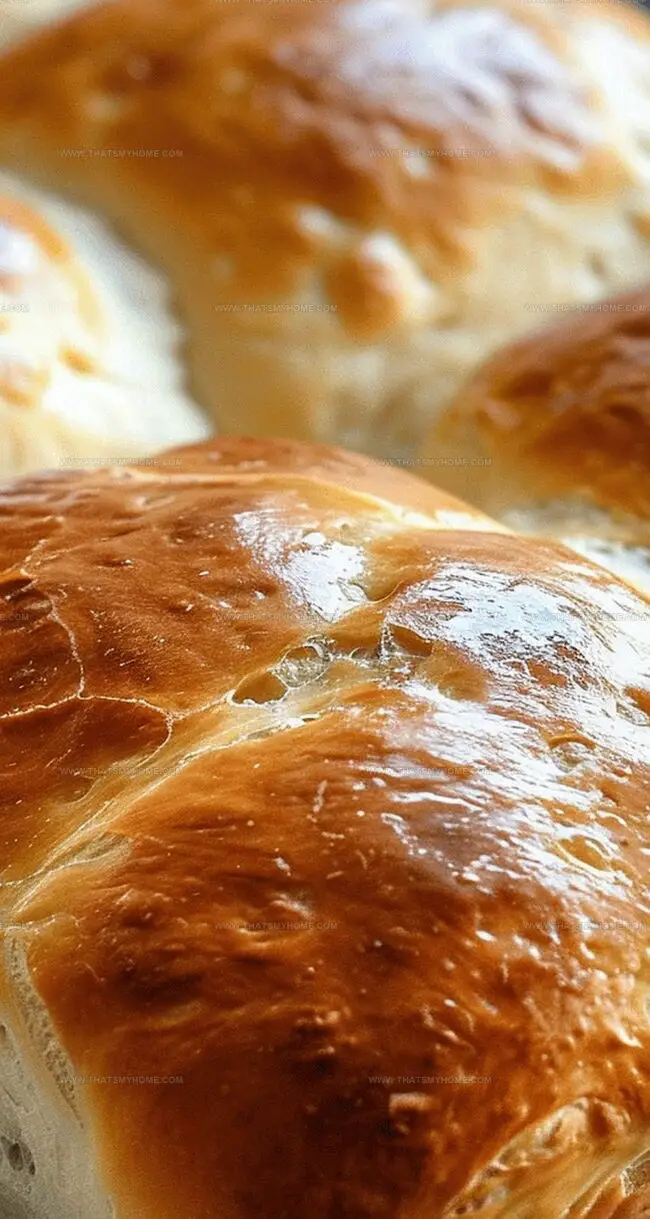
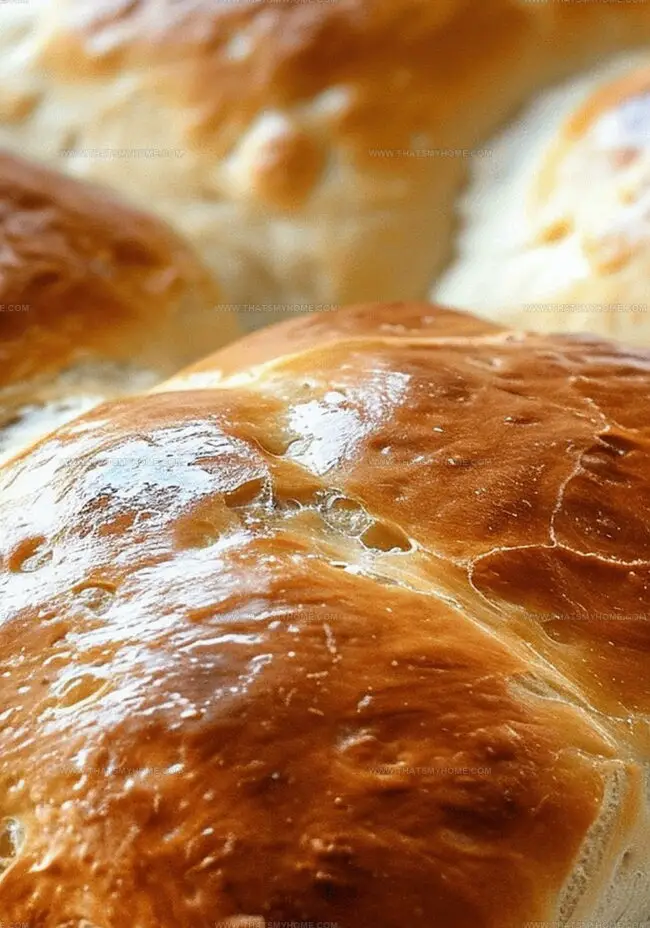
Warm, golden loaves of homemade buttery white bread delight straight from the oven can turn any ordinary day into something magical.
The aroma of freshly baked bread fills every corner of the kitchen with comfort.
Soft, pillowy slices promise a delectable experience that store-bought breads simply cannot match.
Each knead and fold builds layers of rich, tender texture waiting to be savored.
Butter adds a luxurious smoothness that melts perfectly into every bite.
The simple ingredients come together like a delicious symphony of flavors.
You won’t believe how easy it is to create this bakery-worthy treasure that will have everyone asking for seconds.
Quick Recipe Overview
Ingredients to Make That Buttery White Bread Shine
For Dry Base Blend:For Liquid Enrichment:For Optional Finishing Touch:Tools to Prep Homemade Buttery White Bread Right
How to Nail Homemade Buttery White Bread Every Time
Gather your key players: flour, yeast, salt, butter, and water. These simple ingredients will transform into a delightful bread that’ll make your kitchen smell amazing.
Combine dry ingredients in a spacious bowl, creating a foundation for your soon-to-be bread. Whisk them together until they’re perfectly blended.
Warm your water and melt the butter, creating a silky liquid that will bring your dough to life. The key is gentle warmth, not scalding heat.
Mix wet and dry ingredients, stirring until they form a soft, slightly sticky dough. Don’t worry about perfection – bread making is an art, not a science.
Transfer your dough to a floured surface and work it with your hands. Push, fold, and turn the dough, enjoying the therapeutic process of bread creation.
Let the dough rest in a cozy spot, covered, allowing it to double in size. This is where patience becomes your secret ingredient.
Gently shape your dough into a beautiful loaf, tucking and rolling it into a smooth form that promises deliciousness.
Slide your shaped loaf into a preheated oven. Watch as it transforms into a golden, crusty masterpiece that fills your home with warmth.
Allow your bread to cool slightly, then slice and savor the fruits of your delicious labor.
Switch-Ups and Tips for Homemade Buttery White Bread
Best Ways to Plate Buttery White Bread at Home
Storage Know-How for Buttery White Bread You Baked
Print
Golden Homemade White Bread Recipe
- Total Time: 1 hour 5 minutes
- Yield: 13 1x
Description
Homemade buttery white bread delight brings comfort and warmth to kitchens worldwide. Bakers can craft this simple yet satisfying loaf with basic ingredients, creating a golden-brown masterpiece you’ll savor slice by slice.
Ingredients
- 3.25 cups (780 ml) all-purpose flour
- 1 packet (7 g) or 2.25 tsps active dry yeast
- 1 cup (240 ml) warm water
- 0.25 cup (60 ml) unsalted butter, at room temperature
- 1 tsp (5 ml) salt
Instructions
- Dry Ingredient Fusion: Meticulously combine flour, salt, and active dry yeast in a roomy mixing bowl, ensuring uniform ingredient integration.
- Liquid Mixture Preparation: Merge room-temperature melted butter with warm water (110°F to 115°F), creating a silky foundation for the dough’s rich texture.
- Dough Formation: Blend liquid ingredients into dry mixture, stirring until a cohesive, slightly rough dough materializes, avoiding excessive handling.
- Dough Conditioning: Knead the dough on a floured surface for 7-8 minutes, developing gluten networks that provide structure and elasticity, transforming the mixture into a smooth, responsive mass.
- First Fermentation: Place dough in a greased bowl, cover with a kitchen towel, and rest in a warm, undisturbed location for 60-75 minutes until volume doubles, allowing yeast to work its transformative magic.
- Shaping and Preparation: Gently deflate dough, divide into two equal portions, and mold into smooth loaves that nestle perfectly into greased 9-inch by 5-inch loaf pans.
- Final Proofing and Baking: Cover loaves and let rise for 35-45 minutes. Preheat oven to 375°F, positioning rack centrally, then bake for 32-38 minutes until loaves develop a golden-amber crust and produce a hollow sound when tapped.
- Cooling and Finishing: Remove bread from oven, rest in pans for 12 minutes, then transfer to a wire rack, allowing complete cooling to enhance slicing and flavor development.
Notes
- Precise Yeast Activation: Ensure water temperature is between 110-115°F for optimal yeast performance, preventing dormant or killed yeast that can ruin bread texture.
- Kneading Mastery: Develop gluten by kneading consistently for 6-8 minutes, creating elasticity and structural strength that determines bread’s final texture and rise.
- Proofing Perfection: Choose a warm, draft-free location for rising, maintaining consistent temperature around 80-85°F to help dough double in volume effectively.
- Crust Control: Tap bread to check doneness – a hollow sound indicates fully baked loaf, while golden-amber color signals perfect external caramelization.
- Prep Time: 25 minutes
- Cook Time: 40 minutes
- Category: Breakfast, Lunch, Dinner, Snacks
- Method: Baking
- Cuisine: American
Nutrition
- Serving Size: 13
- Calories: 150
- Sugar: 1 g
- Sodium: 115 mg
- Fat: 6 g
- Saturated Fat: 4 g
- Unsaturated Fat: 2 g
- Trans Fat: 0 g
- Carbohydrates: 20 g
- Fiber: 1 g
- Protein: 3 g
- Cholesterol: 15 mg
Michael Rivera
Co-Founder & Culinary Instructor
Expertise
Education
The French Culinary Institute (now part of the International Culinary Center)
Michael Rivera is a seasoned chef and culinary instructor based in San Francisco, CA. Trained in Classic Culinary Arts at The French Culinary Institute, he refined his skills in Michelin-starred kitchens, mastering classic French techniques and artisanal bread baking.
Passionate about making gourmet methods accessible, Michael co-founded thatsmyhome.com to share his expertise through interactive online lessons and innovative, plant-based recipes. He loves blending traditional techniques with modern ideas, encouraging home cooks to enjoy the art of cooking in a relaxed, fun environment.