Heavenly Korean Cream Cheese Garlic Bread Recipe for Beginners
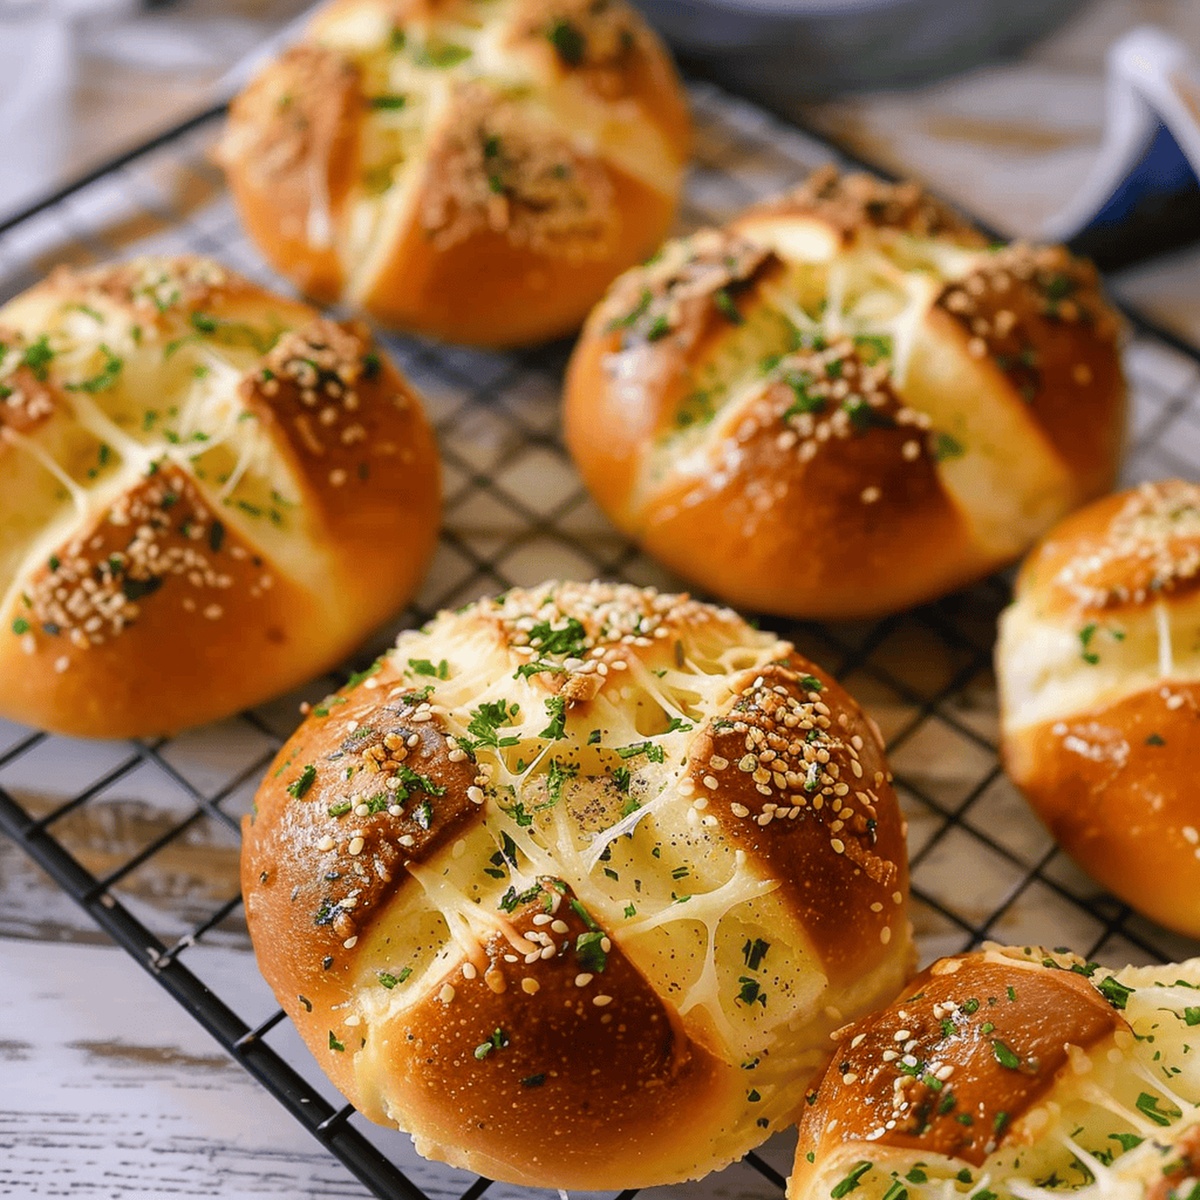
Warm, golden-brown bread slathered with a decadent Korean cream cheese garlic bread recipe promises pure comfort on a plate.
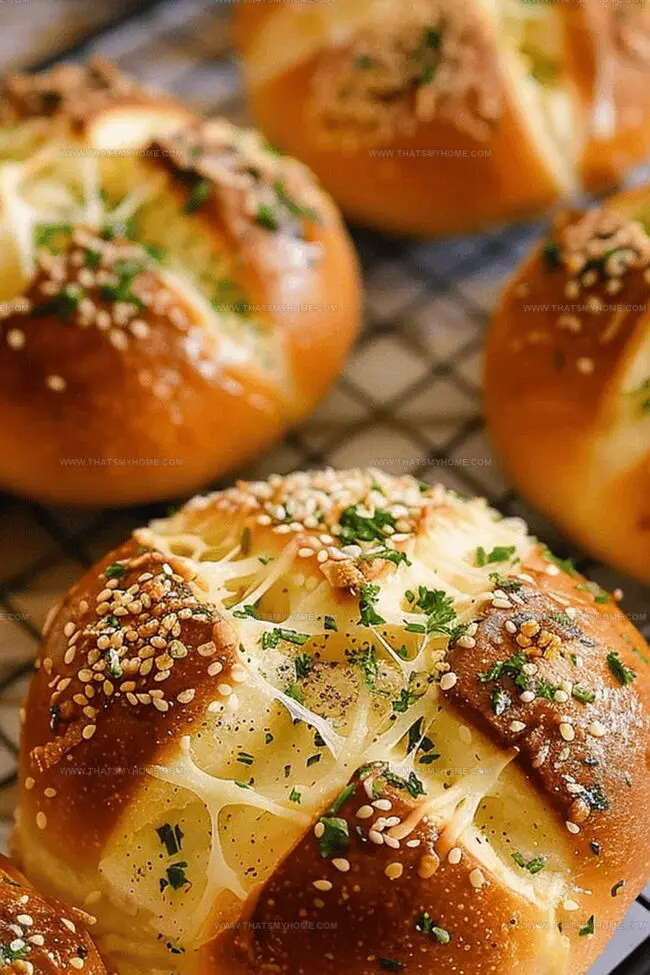
Crispy edges give way to a soft, pillowy interior that melts in your mouth.
garlic bold aroma dances with rich, tangy cream cheese, creating a symphony of flavors.
Street food meets home cooking in this irresistible treat that originated in Korean bakeries.
Each bite delivers a perfect balance of crunch and creaminess that’ll make your taste buds sing.
This simple yet indulgent recipe brings restaurant-quality magic right to your kitchen.
You’ll fall in love with every single mouthwatering slice of this heavenly bread.
Quick Recipe Overview
Ingredients You’ll Need for Korean Cream Cheese Garlic Bread
For Filling:For Bread Base:For Flavor Enhancement:For Binding:Kitchen Tools for Korean Cream Cheese Garlic Bread Prep
Step-by-Step Instructions for Korean Cream Cheese Garlic Bread
Gather all your kitchen tools and ingredients, creating a workspace that sparks culinary excitement.
Whip the cream cheese into a dreamy, velvety mixture, blending in sweet whispers of sugar and luxurious cream until silky smooth.
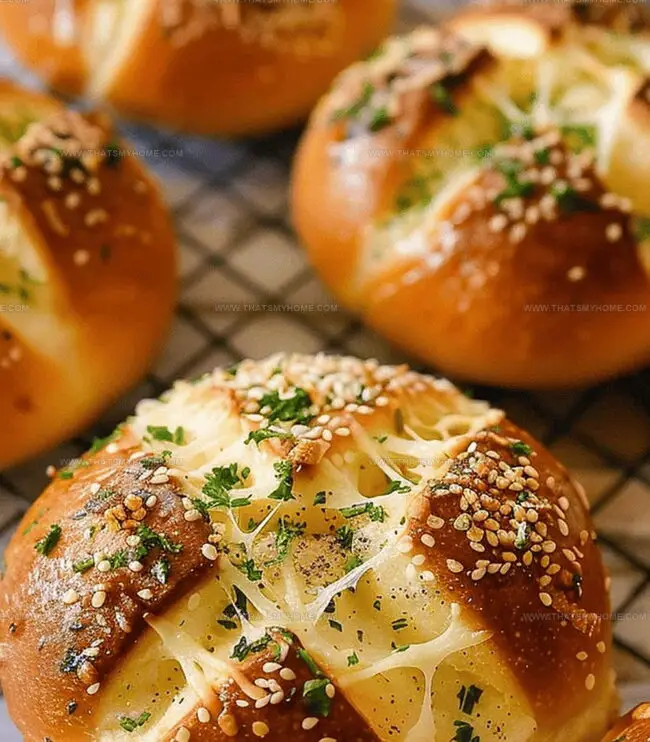
Gently transform your bread rolls into delicate fan-like shapes, creating pockets ready to cradle the luscious filling.
Craft a magical garlic butter elixir by mixing melted butter with hints of egg and milk, then awakening the blend with fragrant garlic and fresh parsley.
Carefully pipe the creamy mixture into the bread’s tender crevices, ensuring every slice becomes a treasure of flavor.
Lovingly drench each bread creation in the aromatic garlic butter, allowing it to seep deeply into every delicious crevice.
Slide the dressed bread into a warm oven, sprinkling optional Parmesan for an extra whisper of decadence. Watch as they turn into golden, crispy masterpieces in mere minutes.
Tips and Tweaks for Korean Cream Cheese Garlic Bread Success
Serving Up Korean Cream Cheese Garlic Bread Just Right
Keeping Korean Cream Cheese Garlic Bread Fresh and Tasty
Print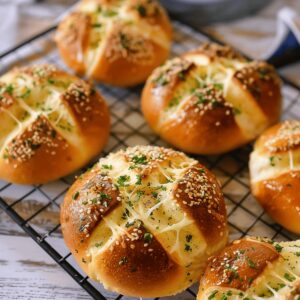
Heavenly Korean Cream Cheese Garlic Bread Recipe
- Total Time: 30 minutes
- Yield: 5 1x
Description
Delightful Korean cream cheese garlic bread showcases Seoul’s irresistible street snack with layers of buttery, creamy goodness. Crisp exterior and luscious filling promise a memorable culinary experience you won’t forget.
Ingredients
- 4 medium dinner rolls
- 4 oz (113 g) cream cheese, softened
- ½ cup (113 g) butter, melted
- 1 egg
- 2 tbsps sugar
- ¼ cup (60 mL) heavy cream
- 2 tbsps milk
- 2 tbsps minced garlic or garlic paste
- 1 tbsp parsley, chopped
- Parmesan cheese, to taste (optional)
Instructions
- Preparation Setup: Arrange oven rack to middle position and preheat to 350°F, lining baking sheet with parchment paper.
- Cream Cheese Filling: Whip cream cheese using electric mixer until silky smooth, gradually incorporating sugar and heavy cream to create a luxurious, uniform filling.
- Bread Modification: Carefully slice bread rolls into interconnected wedges, maintaining bottom integrity, and delicately pipe cream cheese mixture into each crevice for even distribution.
- Garlic Butter Infusion: Blend melted butter, egg, and milk, then introduce minced garlic and parsley to craft an aromatic garlic butter sauce.
- Coating and Assembly: Immerse each filled bread roll into garlic butter mixture, ensuring thorough coverage, then arrange on prepared baking sheet and optionally dust with Parmesan cheese.
- Baking Process: Position in preheated oven and bake for 10-12 minutes until exterior achieves golden-brown crispness and edges turn delightfully crunchy.
Notes
- Cream Cheese Consistency: Ensure cream cheese is completely softened at room temperature for a smooth, lump-free filling.
- Precise Cutting Technique: Slice bread rolls carefully without cutting through the base to maintain structural integrity for even filling.
- Filling Distribution: Pipe cream cheese mixture generously but gently to prevent bread from tearing or becoming soggy.
- Butter Coating Trick: Fully coat bread in garlic butter, allowing sauce to seep between wedges for maximum flavor absorption.
- Prep Time: 20 minutes
- Cook Time: 10 minutes
- Category: Snacks, Breakfast
- Method: Baking
- Cuisine: Korean
Nutrition
- Serving Size: 5
- Calories: 580
- Sugar: 6 g
- Sodium: 400 mg
- Fat: 45 g
- Saturated Fat: 25 g
- Unsaturated Fat: 18 g
- Trans Fat: 1 g
- Carbohydrates: 35 g
- Fiber: 2 g
- Protein: 9 g
- Cholesterol: 120 mg
Michael Rivera
Co-Founder & Culinary Instructor
Expertise
Education
The French Culinary Institute (now part of the International Culinary Center)
Michael Rivera is a seasoned chef and culinary instructor based in San Francisco, CA. Trained in Classic Culinary Arts at The French Culinary Institute, he refined his skills in Michelin-starred kitchens, mastering classic French techniques and artisanal bread baking.
Passionate about making gourmet methods accessible, Michael co-founded thatsmyhome.com to share his expertise through interactive online lessons and innovative, plant-based recipes. He loves blending traditional techniques with modern ideas, encouraging home cooks to enjoy the art of cooking in a relaxed, fun environment.