Foolproof Petit Pain Au Chocolat Recipe For Beginners
Waking up to the delicate aroma of homemade easy petit pain au chocolat fills your kitchen with warmth and anticipation.
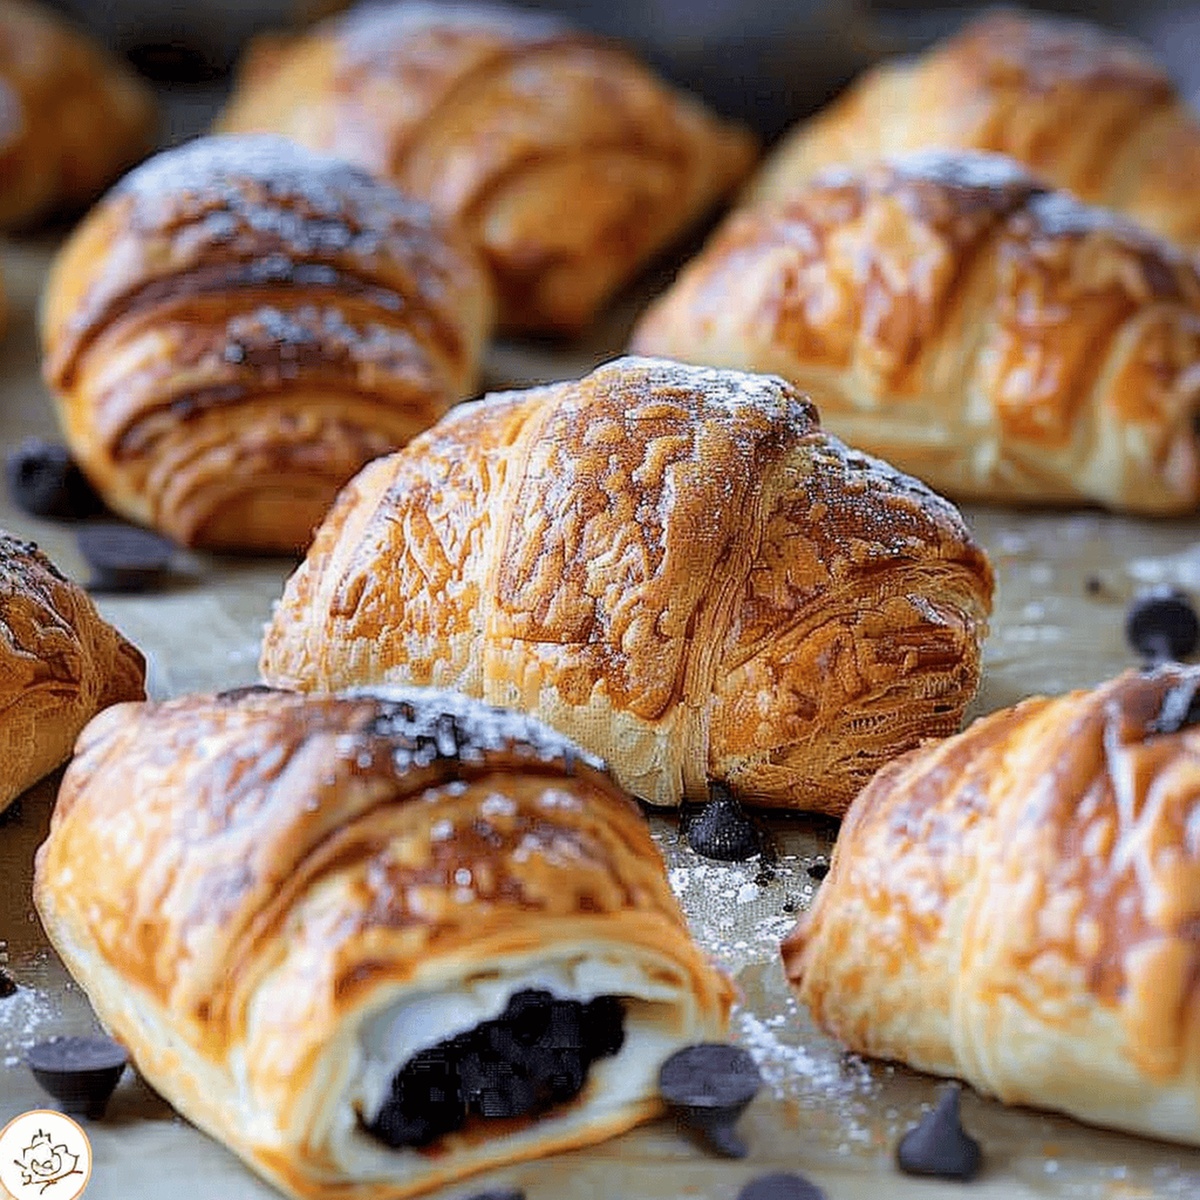
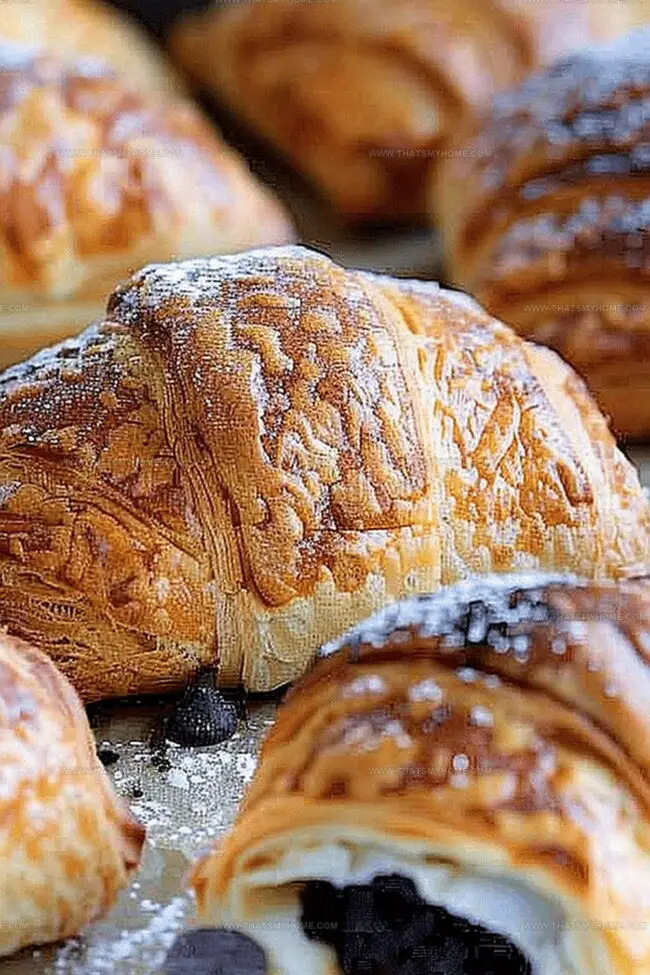
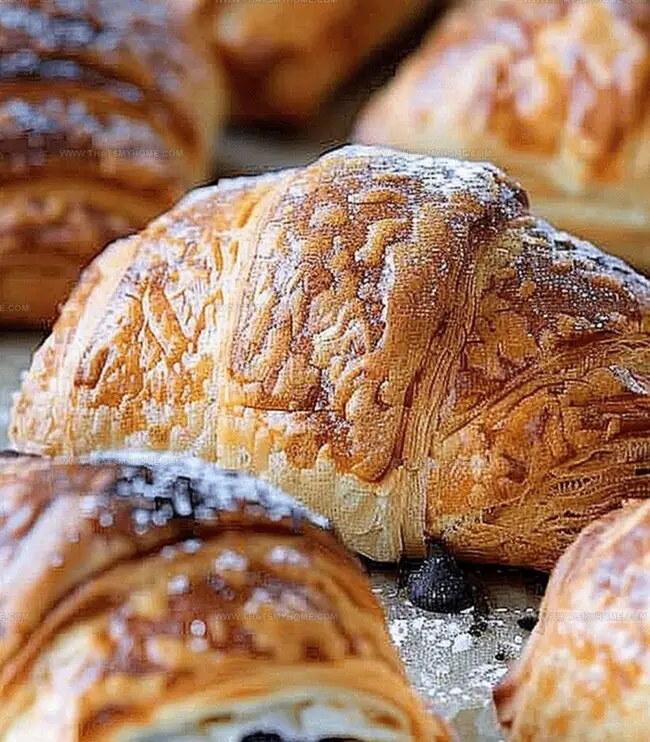
Buttery, flaky pastry wrapped around rich chocolate creates a breakfast dream that transports you straight to a French bakery.
Professional bakers might seem to hold the secret to these delectable treats, but this recipe breaks down every delicate step.
Crafting these chocolate-filled delights requires minimal ingredients and simple techniques that even novice bakers can master.
The golden, crisp exterior gives way to a molten chocolate center that melts deliciously on your tongue.
Perfecting these petit pains becomes a delightful morning ritual that promises pure indulgence.
You’ll fall in love with this straightforward method that brings Parisian pastry magic right to your kitchen.
Quick Recipe Overview
Ingredients for Easy Petit Pain au Chocolat
For Pastry Base:For Filling:For Finishing Touch:Tools for Assembling Petit Pain au Chocolat
How to Make Petit Pain au Chocolat at Home
Carefully unfold the delicate pastry sheet on a clean, lightly floured surface. The cool, smooth dough will be your canvas for creating these delightful chocolate treasures.
Nestle rich chocolate pieces near one edge of each rectangular pastry section. The chocolate should peek out just slightly, promising a tempting surprise inside.
Gently roll the pastry around the chocolate, creating a snug little bundle. Seal the edges with a light touch, ensuring the chocolate won’t escape during baking.
Place the rolled pastries on a baking sheet, leaving space between each one. They’ll puff up and turn a gorgeous golden brown in the oven’s warm embrace.
Slide the baking sheet into a preheated oven. Watch as the petit pains transform into flaky, chocolate-filled delights that will make mouths water.
Baker’s Secrets & Variations for This Classic
Stylish Ways to Serve Petit Pain au Chocolat
Make-Ahead & Storage Tips for Petit Chocolat
Print
Heavenly Petit Pain Au Chocolat Recipe
- Total Time: 40 minutes
- Yield: 5 1x
Description
Homemade petit pain au chocolat showcases French bakery magic with delicate pastry and rich chocolate. Crisp layers and silky chocolate center create a perfect morning treat you can savor with coffee.
Ingredients
- 2 sheets puff pastry (frozen, thawed)
- 1 cup (170 g) chocolate chips
- 2–3 tbsps (30–45 mL) water
- sugar (for dusting)
Instructions
- Preparation: Slice each pastry sheet into 8 precise rectangular segments with uniform dimensions to ensure consistent baking results.
- Chocolate Placement: Position chocolate batons along one edge of each pastry rectangle, ensuring complete coverage and even distribution.
- Rolling Technique: Tightly roll the pastry from the chocolate-lined edge, creating a compact cylindrical shape that completely envelops the chocolate filling, then gently curve into a traditional crescent form.
- Egg Wash Application: Whisk egg with water to create a glossy coating, then delicately brush the surface of each shaped pastry to enhance color and shine during baking.
- Oven Preparation: Position oven rack in the middle position and preheat to 400°F (204°C), allowing sufficient time for consistent temperature distribution.
- Baking Process: Transfer parchment-lined baking sheet with carefully spaced petit pain to the preheated oven, baking for 12-15 minutes until pastries achieve a rich, golden-brown appearance and crisp texture.
- Cooling and Serving: Remove pastries from the oven and transfer to a wire rack, allowing 5-7 minutes of cooling time to permit chocolate to set and pastry to stabilize before serving.
Notes
- Pastry Precision: Cut sheets uniformly to ensure even baking and professional-looking petit pains.
- Chocolate Placement: Position chocolate near the edge for perfect melting and distribution throughout the pastry.
- Rolling Technique: Roll tightly to prevent chocolate leakage and create a compact, elegant shape.
- Egg Wash Magic: Brush gently with egg wash for a stunning golden sheen and beautiful professional finish.
- Prep Time: 20 minutes
- Cook Time: 20 minutes
- Category: Breakfast, Snacks, Desserts
- Method: Baking
- Cuisine: French
Nutrition
- Serving Size: 5
- Calories: 300
- Sugar: 5 g
- Sodium: 150 mg
- Fat: 18 g
- Saturated Fat: 10 g
- Unsaturated Fat: 8 g
- Trans Fat: 0 g
- Carbohydrates: 34 g
- Fiber: 1 g
- Protein: 3 g
- Cholesterol: 15 mg
Michael Rivera
Co-Founder & Culinary Instructor
Expertise
Education
The French Culinary Institute (now part of the International Culinary Center)
Michael Rivera is a seasoned chef and culinary instructor based in San Francisco, CA. Trained in Classic Culinary Arts at The French Culinary Institute, he refined his skills in Michelin-starred kitchens, mastering classic French techniques and artisanal bread baking.
Passionate about making gourmet methods accessible, Michael co-founded thatsmyhome.com to share his expertise through interactive online lessons and innovative, plant-based recipes. He loves blending traditional techniques with modern ideas, encouraging home cooks to enjoy the art of cooking in a relaxed, fun environment.