Wickedly Good Homemade Devil Dogs Recipe for Sweet Teeth
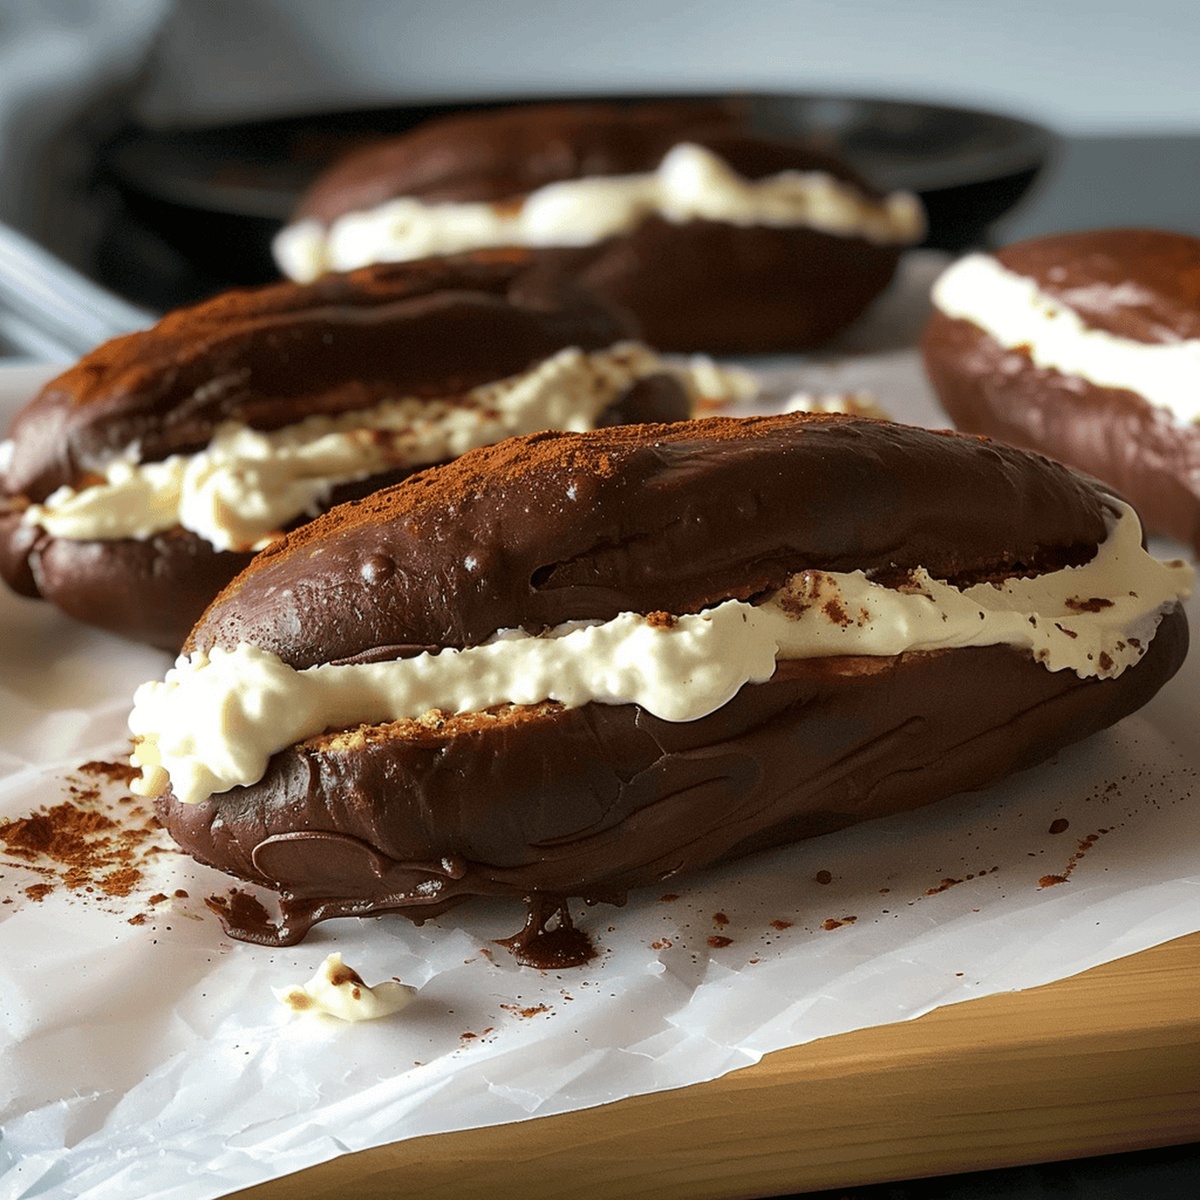
Soft, pillowy chocolate cakes sandwiched with a dreamy homemade devil dogs recipe are the ultimate nostalgic treat that brings pure joy to every bite.
These classic snack cakes burst with rich, decadent flavor that beats any store-bought version.
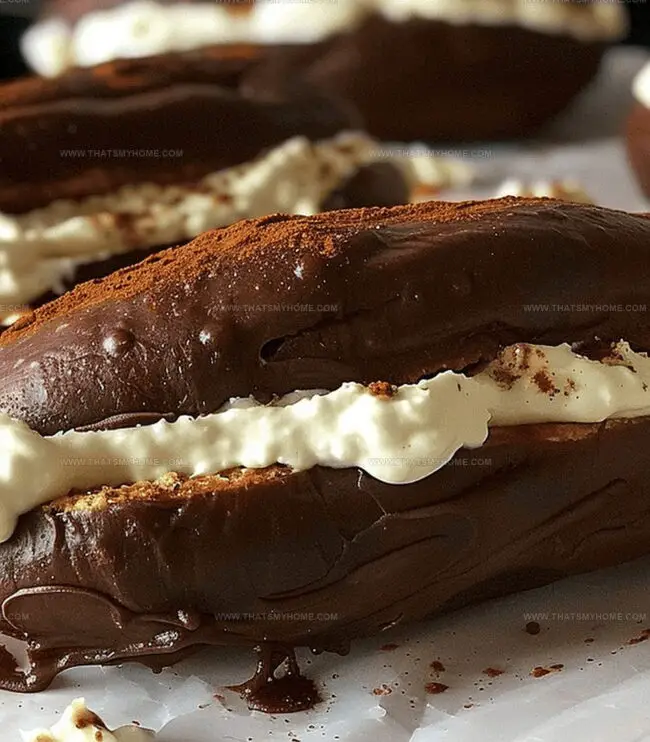
Bakery-style magic happens when you whip up these tender chocolate cake sandwiches with their signature creamy filling.
Each bite delivers a perfect balance of moist cake and silky sweet cream that melts in your mouth.
The recipe combines simple ingredients with a touch of baking magic to recreate a beloved childhood favorite.
Chocolate lovers and dessert enthusiasts will absolutely fall in love with this homemade version that’s surprisingly easy to make.
Grab your mixing bowl and get ready to experience a delightful twist on a timeless sweet sensation.
Quick Recipe Overview
What You’ll Need for Homemade Devil Dogs
For Cake Base:For Creamy Filling:Equipment to Bake Classic Devil Dogs
How to Prepare Devil Dogs at Home
Warm the oven to a toasty 425°F and line baking sheets with parchment paper for easy cleanup.
Combine all powdery ingredients in a large bowl, creating a rich chocolate foundation with a hint of coffee essence.
Whip butter and sugar into a cloud-like consistency, then gently incorporate egg and vanilla for depth of flavor.
Slowly introduce dry ingredients and milk, alternating to create a smooth, velvety batter.
Transfer batter into a piping bag and create elegant log-shaped cakes on the prepared baking sheets.
Slide sheets into the oven and bake until cakes are perfectly set, about 8 minutes.
Cook a silky base of flour and milk, transforming into a thick paste. Cool slightly, then blend with powdered sugar and butter until luxuriously smooth.
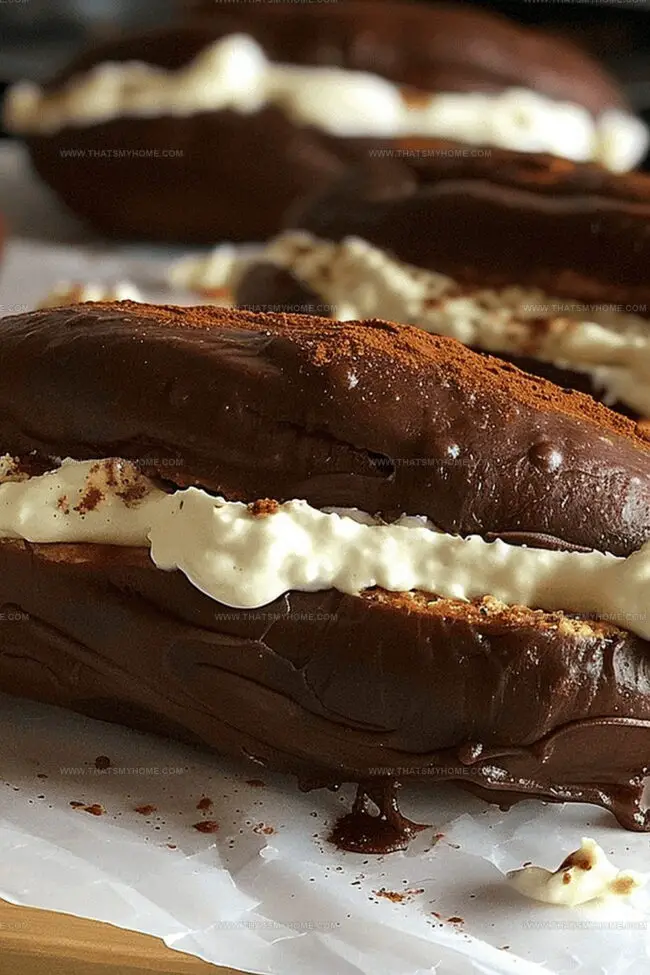
Sandwich the delicate cakes with generous dollops of creamy filling, creating a decadent treat that melts in your mouth.
Helpful Tips for Soft Cakes and Rich Filling
Serve Homemade Devil Dogs with a Nostalgic Twist
Store Devil Dogs to Keep Them Soft and Moist
Print
Indulgent Devil Dogs Recipe
- Total Time: 35 minutes
- Yield: 13 1x
Description
Devil dogs bring nostalgia to classic dessert lovers with their rich chocolate cake and creamy filling. Home bakers can recreate this beloved treat easily, delivering sweet memories in each delightful bite.
Ingredients
- 1 cup (120 g) powdered sugar
- ½ cup (113 g) unsalted butter
- ½ cup (96 g) shortening
- ½ cup (120 ml) milk
- ½ cup (120 ml) all-purpose flour
- 1 tsp (5 ml) vanilla extract
- ¼ tsp (1.25 ml) salt
Instructions
- Preparation Setup: Position oven rack in middle, preheat to 425°F. Line two baking sheets with parchment paper for optimal cake log performance.
- Dry Ingredient Fusion: Sift flour, cocoa powder, baking soda, espresso powder, and salt into a medium bowl, creating a uniform dry mixture that will provide rich flavor and smooth texture.
- Butter Transformation: Cream butter and sugar using electric mixer until mixture becomes light, pale, and exceptionally fluffy, developing a luxurious base for the cake logs.
- Wet Ingredient Integration: Blend whole egg and vanilla extract into butter mixture, ensuring complete incorporation and creating a smooth, cohesive foundation.
- Batter Composition: Alternate adding dry ingredients and milk to wet mixture, mixing minimally to maintain delicate cake texture. Use a large resealable bag as a piping tool, cutting a 1/2-inch opening for precise cake log formation.
- Baking Process: Pipe 3-inch elongated cake logs onto prepared sheets, spacing them 2 inches apart. Bake for 7-8 minutes until edges set and centers remain slightly soft, then cool completely on wire racks.
- Filling Preparation: Whisk flour, milk, and salt in saucepan over medium-low heat until smooth. Cook until mixture transforms into a thick paste, then cool for 5-7 minutes.
- Filling Completion: Cream butter and shortening, then gradually mix in powdered sugar, vanilla extract, and cooled flour mixture. Beat until light, airy, and exceptionally fluffy.
- Assembly Finale: Spread generous filling layer on half of cooled cake logs, then sandwich with remaining logs. Serve immediately or store in airtight container for later enjoyment.
Notes
- Precise Piping Technique: Use a resealable plastic bag with a clean, sharp cut at the corner to create uniform cake logs, ensuring consistent size and shape for professional-looking results.
- Temperature Precision Matters: Watch the baking time carefully; 7-8 minutes is crucial to maintain a soft, tender cake texture without overcooking or drying out the logs.
- Flour Mixture Magic: The cooked flour base for the filling is essential – it creates a smooth, stable foundation that prevents grainy or runny frosting.
- Mixing Method Mastery: Alternate dry ingredients and milk when combining, and mix just until incorporated to keep the cake texture light and tender, avoiding tough or dense devil dogs.
- Prep Time: 25 minutes
- Cook Time: 10 minutes
- Category: Desserts, Snacks
- Method: Baking
- Cuisine: American
Nutrition
- Serving Size: 13
- Calories: 218
- Sugar: 10 g
- Sodium: 57 mg
- Fat: 18 g
- Saturated Fat: 11 g
- Unsaturated Fat: 7 g
- Trans Fat: 0 g
- Carbohydrates: 19 g
- Fiber: 0 g
- Protein: 1 g
- Cholesterol: 36 mg
Michael Rivera
Co-Founder & Culinary Instructor
Expertise
Education
The French Culinary Institute (now part of the International Culinary Center)
Michael Rivera is a seasoned chef and culinary instructor based in San Francisco, CA. Trained in Classic Culinary Arts at The French Culinary Institute, he refined his skills in Michelin-starred kitchens, mastering classic French techniques and artisanal bread baking.
Passionate about making gourmet methods accessible, Michael co-founded thatsmyhome.com to share his expertise through interactive online lessons and innovative, plant-based recipes. He loves blending traditional techniques with modern ideas, encouraging home cooks to enjoy the art of cooking in a relaxed, fun environment.