Sweet Strawberry Bliss Tart Recipe: A Fruity Paradise Awaits
Sweet summer afternoons call for a delightful strawberry bliss tart that captures pure dessert magic.
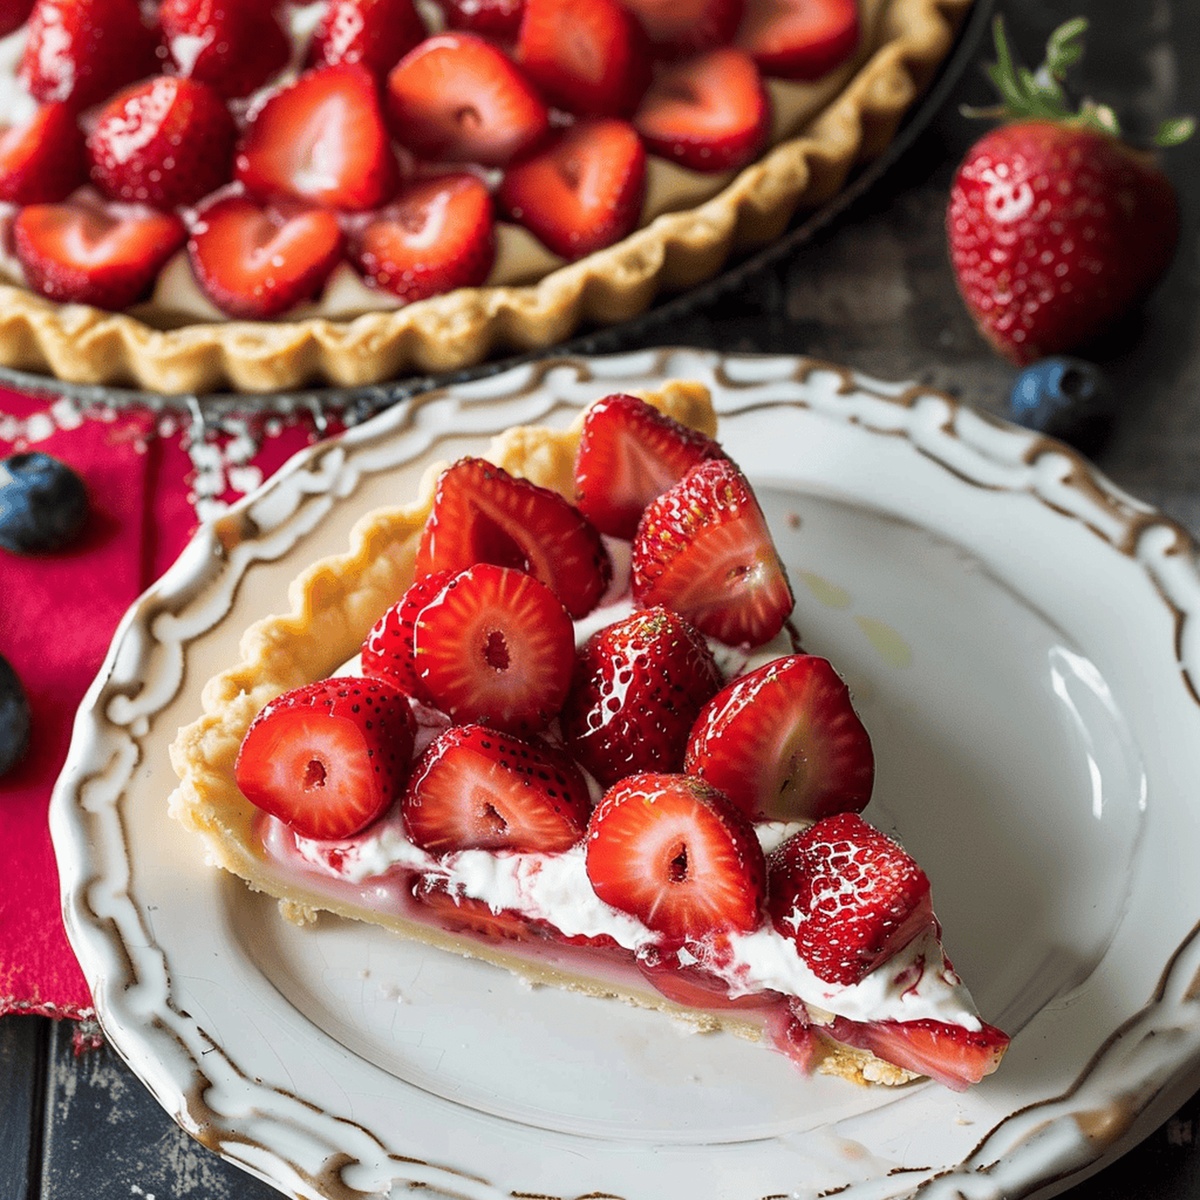
Ripe, juicy strawberries dance across a buttery, golden crust with irresistible charm.
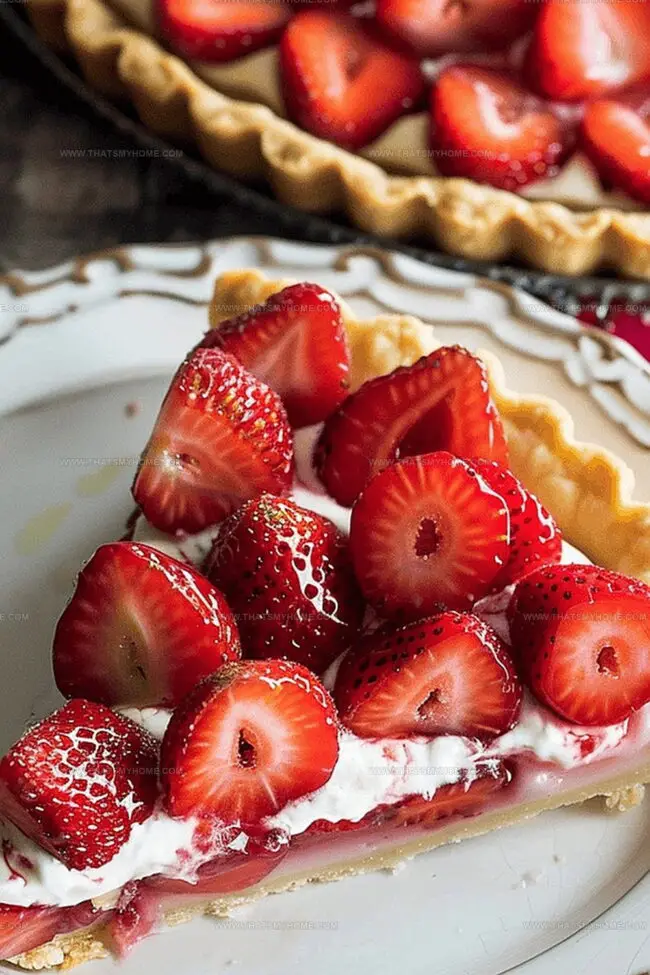
Each slice promises a burst of vibrant flavor and delicate texture that melts in your mouth.
The tart balances creamy smoothness with bright, tangy notes that sing of sunshine and joy.
Fresh ingredients blend seamlessly to create a dessert that feels both elegant and comforting.
Dessert lovers will adore this simple yet stunning treat that turns ordinary moments into celebration.
Get ready to indulge in a strawberry sensation that will leave everyone asking for seconds.
Quick Recipe Overview
Strawberry Tart Ingredients You’ll Crave
For Tart Crust:For Filling Base:For Topping:Equipment for Assembling Strawberry Tart
Instructions to Bake Strawberry Tart
Craft a delicate base using flour, sugar, and butter in a food processor. The key is achieving a sandy, crumbly texture that hints at the deliciousness to come.
Shape the mixture into a smooth disc and let it rest in the refrigerator. This chilling time allows the ingredients to meld and creates a flakier crust.
Carefully press the chilled dough into a tart pan, creating an even layer. Use a fork to create tiny holes that prevent bubbling during baking.
Blind bake the crust until it reaches a beautiful golden color. This step ensures a crisp foundation that won’t become soggy from the creamy filling.
Whip together cream cheese and whipped cream, creating a silky smooth mixture that’s light and decadent. The gentle folding technique preserves the airy texture.
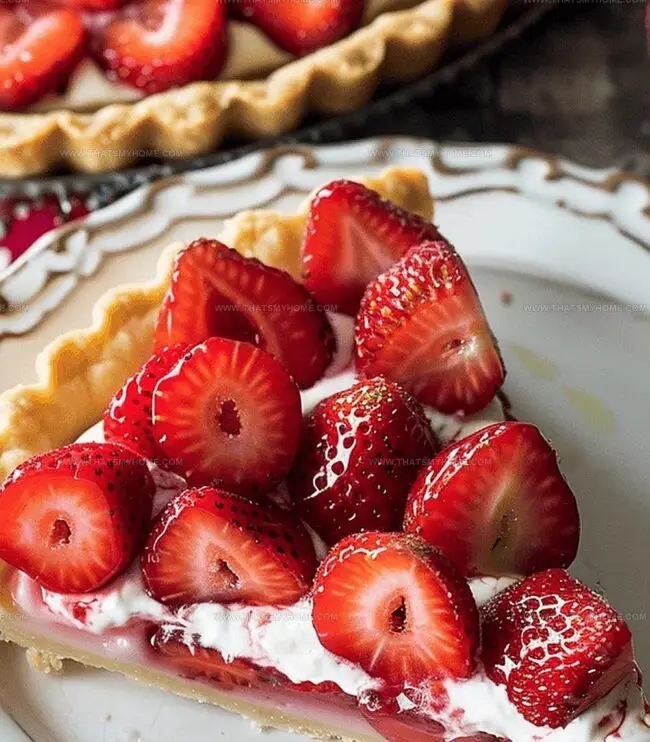
Arrange fresh, vibrant strawberry slices on top of the creamy filling. The bright red fruit creates a stunning contrast against the pale cream background.
Chill the tart before serving to help the filling set and enhance the flavors. Each slice promises a perfect balance of buttery crust, creamy filling, and fresh fruit.
Sweet Tips to Elevate Strawberry Tart
Serving Strawberry Tart with Flair
Strawberry Tart Storage & Freshness Guide
Print
Luscious Strawberry Bliss Tart Recipe
- Total Time: 21 minutes
- Yield: 9 1x
Description
Delightful strawberry bliss tart brings together creamy mascarpone filling and fresh summer berries in a buttery graham cracker crust. Sweet and tangy flavors complement each other, inviting you to savor each delectable bite.
Ingredients
- 1.5 cups (190 g) all-purpose flour
- 1.5 lbs (680 g) strawberries, hulled and sliced
- 6 oz (170 g) cream cheese, softened
- 0.67 cup (157 g) heavy cream
- 0.5 cup (66 g) powdered confectioner’s sugar
- 0.5 cup (66 g) powdered sugar
- 0.5 cup (113 g) unsalted butter, cold and cubed
- 1 lg egg, cold and beaten
- 0.25 tsp salt
- 0.5 tsp vanilla extract
- 0.125 tsp salt
Instructions
- Dough Preparation: Pulse flour, sugar, and salt in a food processor until uniformly combined.
- Butter Integration: Add cold butter cubes, processing until mixture resembles coarse sand-like texture.
- Egg Incorporation: Mix in beaten egg until dough forms a cohesive mass, then shape into a flat disc and refrigerate for one hour.
- Crust Formation: Roll chilled dough to 1/8 inch thickness, carefully transfer to tart pan, pressing into corners and trimming excess. Puncture bottom with fork to prevent bubbling.
- Crust Chilling: Freeze prepared crust for 30 minutes to prevent shrinkage during baking.
- Baking Preparation: Preheat oven to 375°F, positioning rack in middle. Line crust with parchment and fill with ceramic weights.
- Initial Baking: Bake weighted crust for 20 minutes, then remove weights and continue baking until golden brown, approximately 5-7 additional minutes.
- Cooling Process: Allow crust to cool completely on wire rack, ensuring crisp texture.
- Cream Preparation: Whip heavy cream with powdered sugar and vanilla until stiff peaks form.
- Filling Creation: Beat cream cheese with powdered sugar and salt until smooth, then gently fold in whipped cream to maintain airiness.
- Tart Assembly: Spread cream cheese mixture evenly across cooled crust, creating a smooth surface.
- Final Garnish: Artfully arrange fresh strawberry slices on top just before serving to preserve color and texture.
Notes
- Chill Dough Strategically: Refrigerate dough for 60 minutes to relax gluten, preventing tough crust and ensuring a tender, flaky texture.
- Prevent Crust Shrinkage: Freeze crust for 30 minutes before baking and use pie weights to maintain shape and prevent unwanted puffing during baking.
- Protect Cream Stability: Fold whipped cream gently into cream cheese mixture to preserve air pockets, creating a light, voluminous filling that won’t deflate.
- Timing Strawberry Placement: Add fresh strawberry slices just before serving to maintain their vibrant color, prevent moisture absorption, and keep the tart looking fresh and appealing.
- Prep Time: 1 hour 30 minutes
- Cook Time: 20 minutes
- Category: Desserts
- Method: Baking
- Cuisine: French
Nutrition
- Serving Size: 9
- Calories: 276
- Sugar: 14 g
- Sodium: 82 mg
- Fat: 19 g
- Saturated Fat: 11 g
- Unsaturated Fat: 7 g
- Trans Fat: 0 g
- Carbohydrates: 25 g
- Fiber: 1 g
- Protein: 3 g
- Cholesterol: 47 mg
Michael Rivera
Co-Founder & Culinary Instructor
Expertise
Education
The French Culinary Institute (now part of the International Culinary Center)
Michael Rivera is a seasoned chef and culinary instructor based in San Francisco, CA. Trained in Classic Culinary Arts at The French Culinary Institute, he refined his skills in Michelin-starred kitchens, mastering classic French techniques and artisanal bread baking.
Passionate about making gourmet methods accessible, Michael co-founded thatsmyhome.com to share his expertise through interactive online lessons and innovative, plant-based recipes. He loves blending traditional techniques with modern ideas, encouraging home cooks to enjoy the art of cooking in a relaxed, fun environment.