Dreamy DIY Chocolate Hostess Cupcakes Recipe for Beginners
Decadent chocolate cupcakes with a homemade hostess cupcakes recipe bring nostalgia flooding back from childhood lunchbox memories.
These iconic treats capture the essence of sweet indulgence with a modern twist.
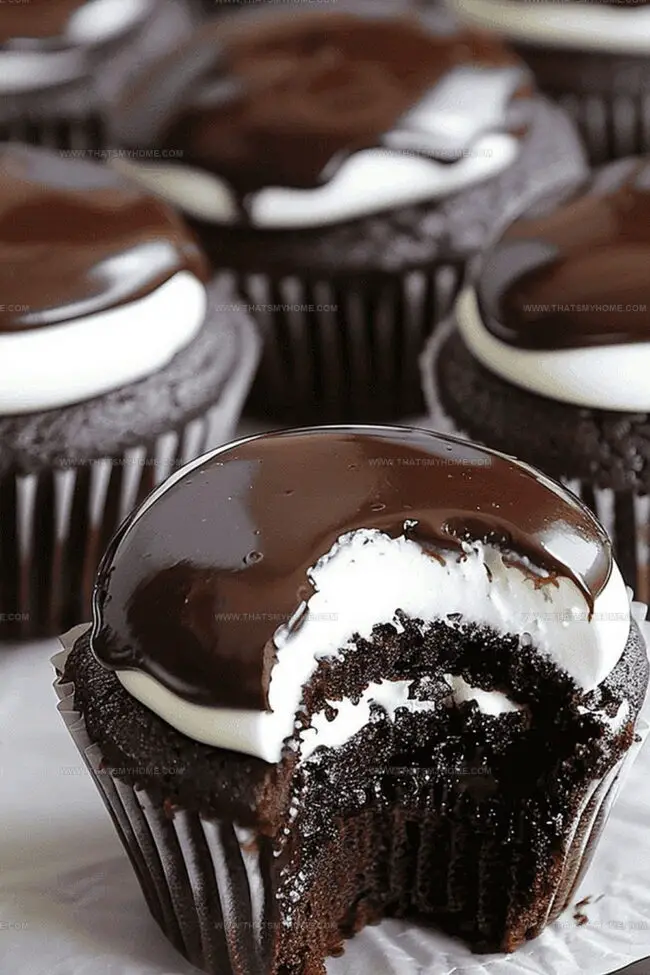
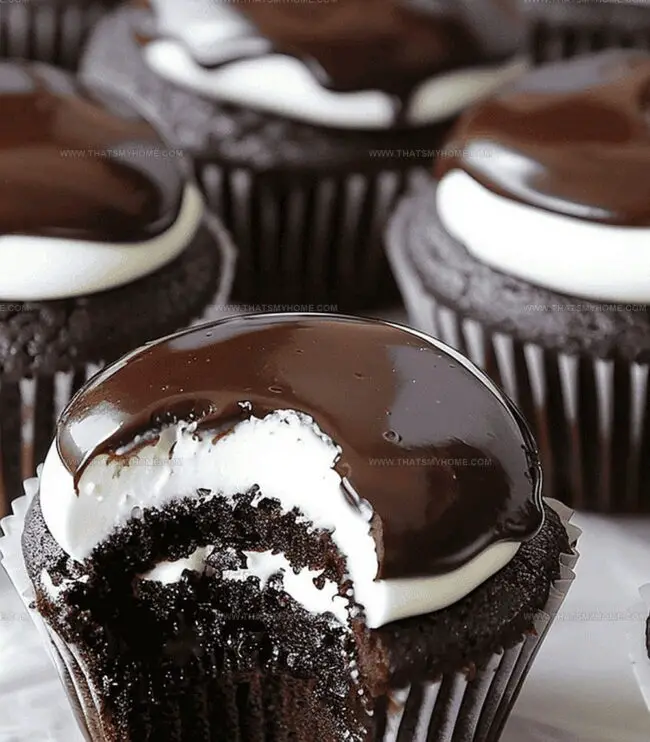
Each bite promises a luxurious combination of rich chocolate cake and creamy filling that beats store-bought versions hands down.
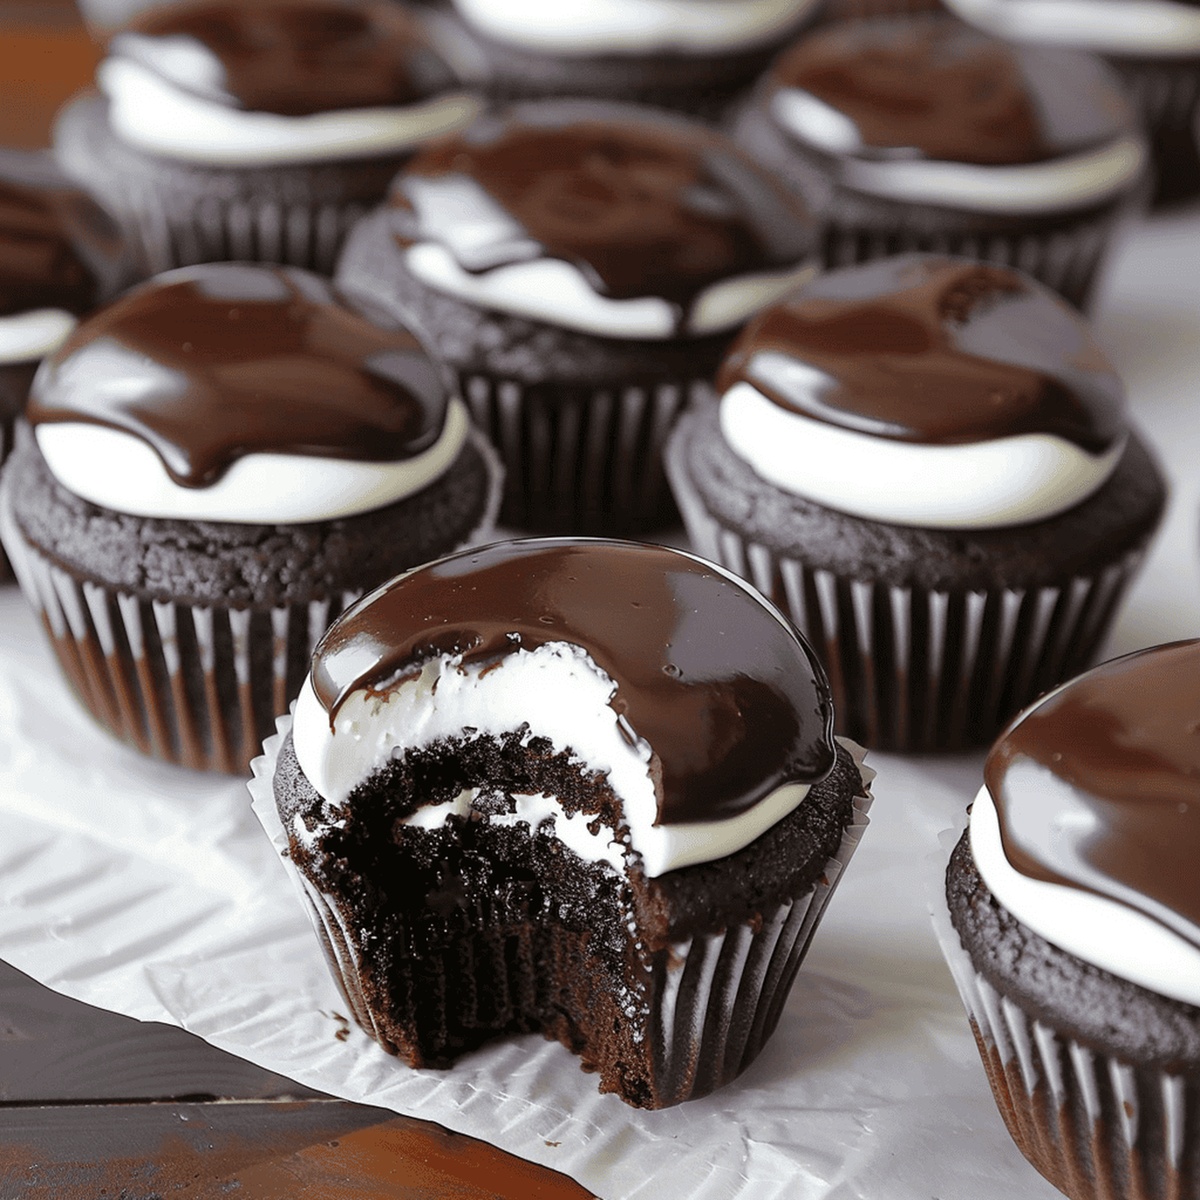
The spiraled white frosting tops a perfectly moist chocolate base that melts in your mouth.
Soft, tender cake layers contrast beautifully with the marshmallow-like cream center.
Professional bakers and home cooks alike will adore recreating this classic dessert from scratch.
Get ready to savor every delightful, chocolatey moment of these irresistible cupcakes.
Quick Recipe Overview
Ingredients for Homemade Hostess Cupcakes
For Dry Ingredients:For Wet Ingredients:For Filling and Topping:Tools for Baking Homemade Hostess Cupcakes
Steps to Make Cream-Filled Hostess Cupcakes
Mix dry ingredients like flour, cocoa, sugar, and leavening agents in a large bowl. Combine wet ingredients and blend until smooth. The batter will be thin and light.
Pour batter into cupcake liners, filling about two-thirds full. Bake in a preheated oven until a toothpick comes out clean. Let cupcakes cool completely on a wire rack.
Whip butter, sugar, and cream together until the mixture becomes fluffy and smooth. Use a piping bag to inject filling into the center of each cooled cupcake.
Melt chocolate chips with warm cream and butter until glossy. Allow mixture to cool slightly before drizzling over filled cupcakes. Let the chocolate set before serving.
These nostalgic treats are perfect for parties, afternoon snacks, or special dessert moments. Enjoy the rich chocolate and creamy center that makes these cupcakes irresistible.
Homemade Cupcake Tips & Creative Variations
Serving Homemade Hostess Cupcakes with Style
Cupcake Storage and Meal Prep Advice
Print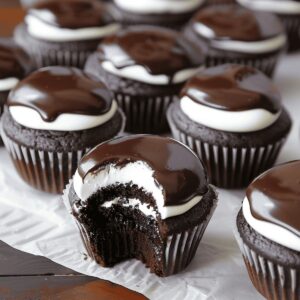
Nostalgic Homemade Hostess Cupcakes Recipe
- Total Time: 45 minutes
- Yield: 13 1x
Description
Nostalgic homemade Hostess cupcakes deliver chocolate-rich memories with classic cream filling. Bakers can craft these iconic treats using simple pantry ingredients and enjoy a delightful connection to childhood sweetness.
Ingredients
- 1 cup all-purpose flour
- 1 cup granulated sugar
- ½ cup unsweetened cocoa powder
- 1 large egg
- ½ cup milk
- ¼ cup (60 mL) vegetable oil
- ½ cup (120 mL) boiling water
- 1 tsp vanilla extract
- 1 tsp baking powder
- ½ tsp baking soda
- ½ tsp salt
- ½ cup (113 g) unsalted butter, softened
- 2 cups powdered sugar
- ½ tsp vanilla extract
- 2 tbsps (30 mL) heavy cream
- 1 cup (170 g) semi-sweet chocolate chips
- ½ cup (120 mL) heavy cream
- 2 tbsps (28 g) unsalted butter
Instructions
- Preparation: Preheat oven to 350°F (175°C) and line muffin tin with cupcake liners.
- Batter Creation: Sift dry ingredients in a large mixing bowl, then blend with wet ingredients using an electric mixer until smooth and consistent.
- Liquid Integration: Fold in boiling water to create a silky, thin batter with uniform texture.
- Baking Process: Fill cupcake liners two-thirds full and bake for 18-20 minutes, verifying doneness with a clean toothpick test.
- Cooling Stage: Rest cupcakes in pan for 5 minutes, then transfer to wire rack for complete cooling.
- Cream Filling: Whip butter, gradually blend powdered sugar, vanilla extract, and heavy cream until light, fluffy, and spreadable.
- Filling Technique: Use piping bag with round tip to inject cream filling into the center of each cooled cupcake.
- Ganache Preparation: Place chocolate chips in a heat-resistant bowl, then pour simmering cream and butter mixture over them.
- Chocolate Coating: Let chocolate rest for 2-3 minutes, then whisk until achieving a glossy, smooth ganache.
- Finishing Touch: Cool ganache slightly, generously coat filled cupcakes, and allow to set completely before serving.
Notes
- Precision Matters: Sift dry ingredients thoroughly to prevent lumps and ensure a uniform, smooth chocolate base for perfect texture.
- Batter Consistency is Key: Mix wet and dry ingredients carefully, maintaining a thin, silky batter that guarantees moist, tender cupcakes.
- Filling Technique: Use a piping bag with a round tip for precise cream filling, inserting directly into the cupcake center to create a classic Hostess-style surprise.
- Ganache Perfection: Allow chocolate mixture to rest briefly after pouring hot cream, enabling smooth melting and creating a glossy, professional-looking chocolate topping.
- Prep Time: 25 minutes
- Cook Time: 20 minutes
- Category: Desserts, Snacks
- Method: Baking
- Cuisine: American
Nutrition
- Serving Size: 13
- Calories: 290
- Sugar: 30 g
- Sodium: 120 mg
- Fat: 15 g
- Saturated Fat: 8 g
- Unsaturated Fat: 6 g
- Trans Fat: 0 g
- Carbohydrates: 38 g
- Fiber: 1 g
- Protein: 3 g
- Cholesterol: 40 mg
Michael Rivera
Co-Founder & Culinary Instructor
Expertise
Education
The French Culinary Institute (now part of the International Culinary Center)
Michael Rivera is a seasoned chef and culinary instructor based in San Francisco, CA. Trained in Classic Culinary Arts at The French Culinary Institute, he refined his skills in Michelin-starred kitchens, mastering classic French techniques and artisanal bread baking.
Passionate about making gourmet methods accessible, Michael co-founded thatsmyhome.com to share his expertise through interactive online lessons and innovative, plant-based recipes. He loves blending traditional techniques with modern ideas, encouraging home cooks to enjoy the art of cooking in a relaxed, fun environment.