
Sizzling Garlic & Butter Flatbread Recipe: Crispy Homemade Joy
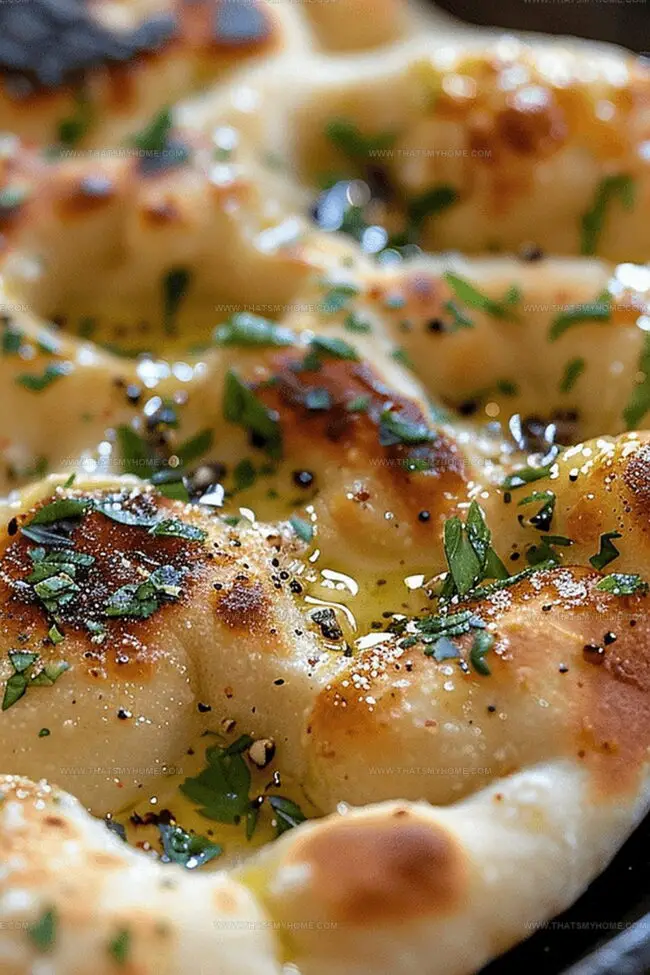
Warm, pillowy flatbread brushed with garlic butter emerges as a culinary dream that melts in your mouth.
Golden edges crisp up while the center remains soft and inviting.
Fragrant garlic infuses each bite with rich, irresistible flavor.
The simple ingredients come together quickly, promising a delightful side that complements almost any meal.
Brushing melted butter across the surface creates a luxurious sheen that beckons you closer.
This recipe delivers restaurant-quality bread with minimal effort and maximum satisfaction.
You’ll want to make extra because these flatbreads disappear faster than you can slice them.
Quick Recipe Overview
Garlic & Butter Flatbread Ingredient Guide
For Bread Base:For Aromatic Enhancement:For Finishing Touch:Tools to Make Garlic & Butter Flatbread Easily
How to Bake Garlic & Butter Flatbread from Scratch
Mix dry ingredients in a spacious bowl, blending them gently until combined. The mixture should feel light and airy.
Knead the soft mixture briefly on a clean surface, creating a smooth texture. Let the dough relax and settle for a short period, allowing the ingredients to meld together.
Divide the rested dough into portions, rolling each piece into delicate, thin circles. Aim for a lightweight, translucent appearance that hints at the deliciousness to come.
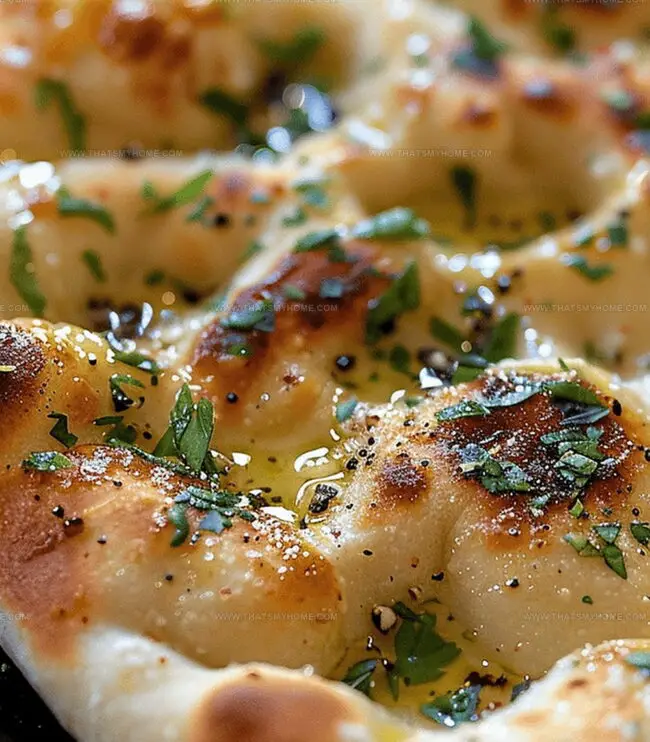
Warm a skillet over medium heat, creating the perfect environment for transforming dough into golden, puffy flatbreads. Each side should develop a beautiful, golden-brown color with tempting bubble formations.
Create a luscious garlic butter by melting butter and sautéing fragrant garlic until it releases its aromatic essence. Generously coat each freshly cooked flatbread with this flavor-packed mixture.
Sprinkle fresh herbs across the warm flatbreads, adding a vibrant finishing note that elevates the entire dish. A light dusting of salt brings out the rich, complex flavors.
Garlic & Butter Flatbread Tips and Variations
Ways to Serve Garlic & Butter Flatbread
Storage Advice for Garlic & Butter Flatbread
Print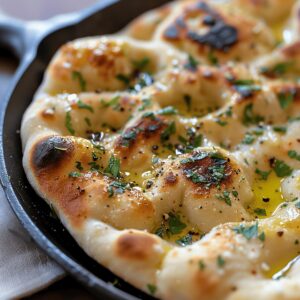
Pillowy Garlic & Butter Flatbread Recipe
- Total Time: 35 minutes
- Yield: 5 1x
Description
Homemade garlic & butter flatbread delivers Mediterranean comfort with rich, herb-infused dough. Crisp edges and golden surfaces invite hungry diners to savor each warm, fragrant slice you’ll want to share.
Ingredients
- 2 cups (474 ml) all-purpose flour
- ¾ cup (177 ml) water
- 4 cloves garlic, minced
- 3 tbsps (45 ml) unsalted butter
- 1 tsp (5 ml) baking powder
- ½ tsp (2.5 ml) salt
- additional salt, to taste
- fresh parsley, chopped
Instructions
- Dough Preparation: Thoroughly mix flour, baking powder, and salt in a large mixing bowl, creating a uniform dry base.
- Dough Formation: Create a central well, gradually introduce water, and stir until a smooth, cohesive dough develops, kneading for one minute on a lightly floured surface.
- Dough Resting: Allow dough to relax at room temperature for 15 minutes, promoting gluten development and enhanced elasticity.
- Shaping: Divide dough into four equal portions, rolling each into thin, circular shapes approximately 1/8 inch thick with consistent dimensions.
- Cooking Process: Heat a large skillet over medium heat, cooking each flatbread for 1-2 minutes per side until bubbles form and a light golden-brown color is achieved.
- Warming Technique: Stack cooked flatbreads in a clean kitchen towel to maintain warmth and moisture.
- Garlic Butter Infusion: Melt butter in the same skillet, quickly sauté minced garlic to release its aromatic essence without browning.
- Finishing Touch: Generously brush warm garlic-infused butter over flatbreads, garnishing with freshly chopped parsley and a light salt sprinkle.
- Serving: Present immediately while warm, ensuring optimal texture and flavor.
Notes
- Knead with Confidence: Work the dough gently but firmly to develop gluten, which creates a soft and stretchy texture.
- Rest for Success: Letting the dough rest allows flour to absorb water and gluten to relax, resulting in more tender flatbreads.
- Heat Control Matters: Maintain medium heat to prevent burning and ensure even golden-brown cooking without scorching.
- Butter Brushing Technique: Apply garlic butter immediately after cooking for maximum flavor absorption and a glossy, appetizing finish.
- Prep Time: 25 minutes
- Cook Time: 10 minutes
- Category: Appetizer, Snacks
- Method: Sautéing
- Cuisine: American
Nutrition
- Serving Size: 5
- Calories: 250
- Sugar: 1g
- Sodium: 300mg
- Fat: 10g
- Saturated Fat: 6g
- Unsaturated Fat: 4g
- Trans Fat: 0g
- Carbohydrates: 36g
- Fiber: 1g
- Protein: 5g
- Cholesterol: 20mg
Michael Rivera
Co-Founder & Culinary Instructor
Expertise
Education
The French Culinary Institute (now part of the International Culinary Center)
Michael Rivera is a seasoned chef and culinary instructor based in San Francisco, CA. Trained in Classic Culinary Arts at The French Culinary Institute, he refined his skills in Michelin-starred kitchens, mastering classic French techniques and artisanal bread baking.
Passionate about making gourmet methods accessible, Michael co-founded thatsmyhome.com to share his expertise through interactive online lessons and innovative, plant-based recipes. He loves blending traditional techniques with modern ideas, encouraging home cooks to enjoy the art of cooking in a relaxed, fun environment.