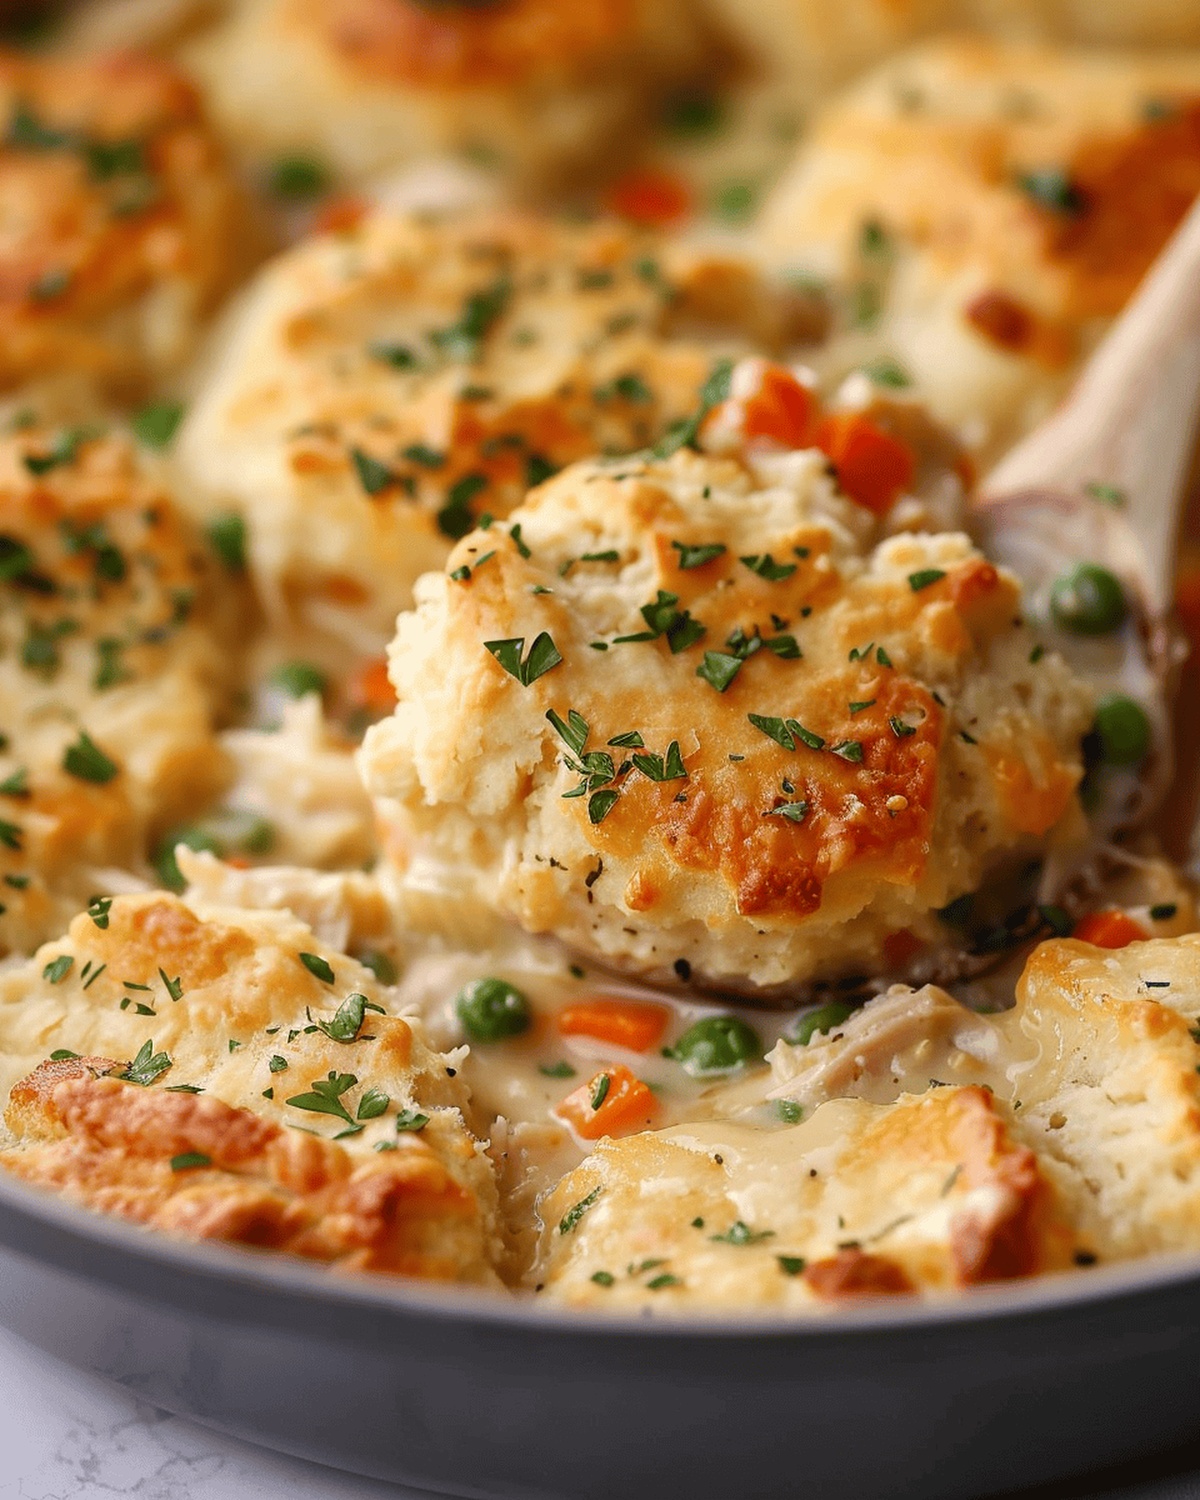
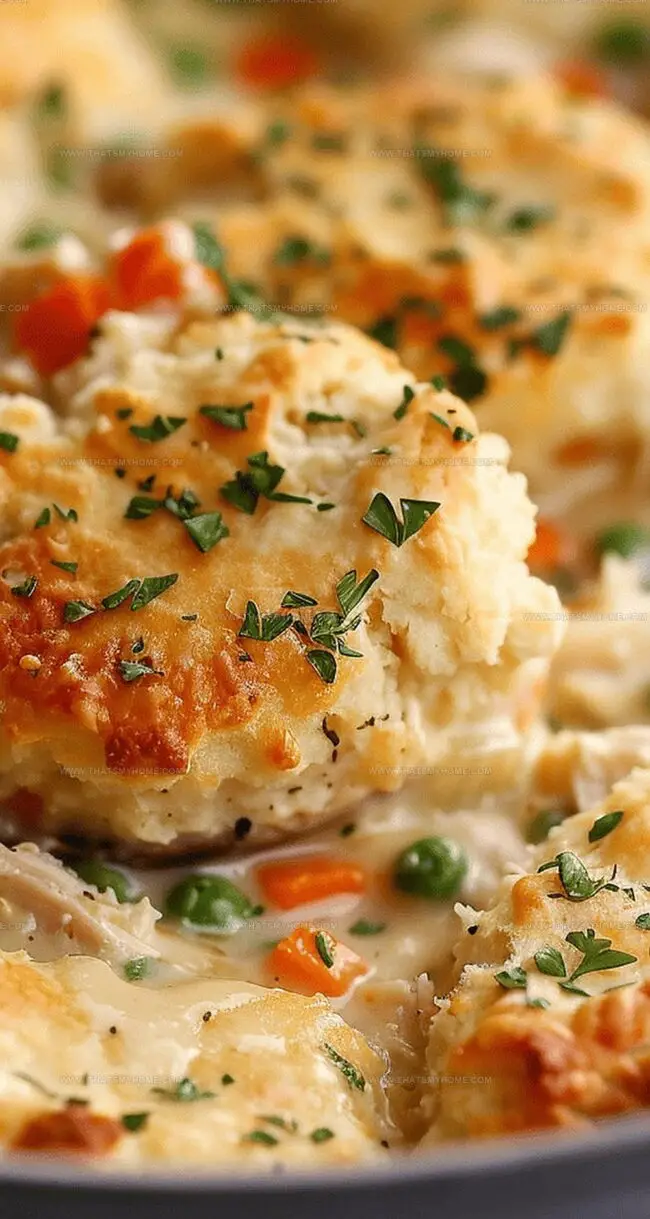
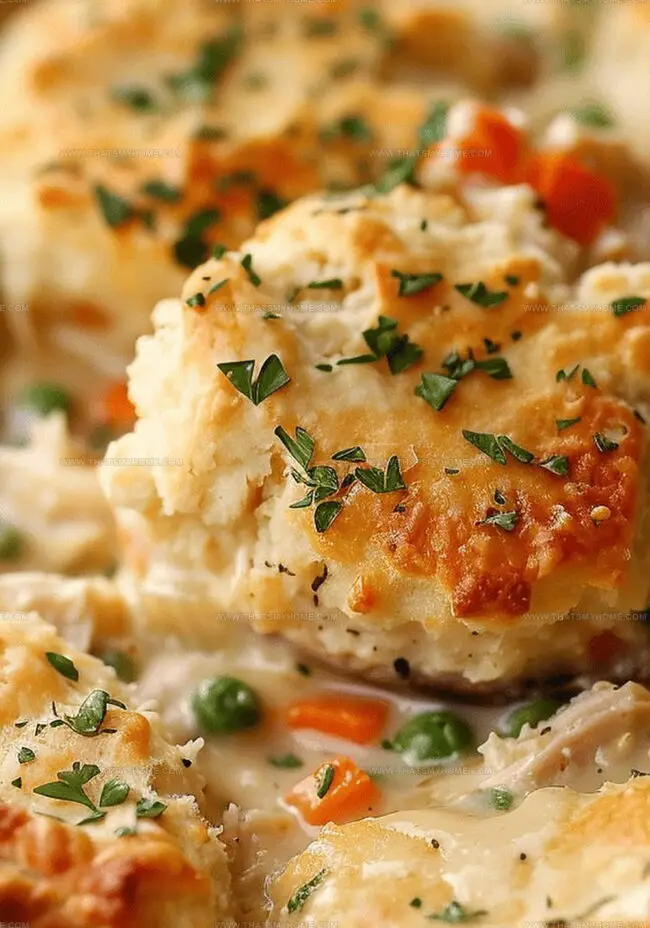
Bubbling with comfort and packed with creamy chicken pot pie magic, this skillet chicken pot pie with cheesy garlic biscuits delivers a hearty meal that instantly warms your soul.
Tender chicken pieces nestle beneath a golden, flaky blanket of cheesy biscuits, creating a rustic dinner experience.
The skillet method adds a delightful crispness to every bite, melding rich flavors into one irresistible dish.
Savory herbs and velvety sauce coat succulent chicken and vibrant vegetables, promising a meal that feels like a warm embrace.
Each forkful brings together classic comfort food elements with a modern twist that’ll have everyone asking for seconds.
The cheesy garlic biscuits crown this one-pan wonder with a crispy, indulgent topping that elevates the entire meal.
Quick Recipe Overview
Prep Time: 20 minutes
Cook Time: 35 minutes
Total Time: 55 minutes
Calories: 450 kcal
Servings: 7
What You’ll Need for Skillet Chicken Pot Pie
For The Base:
Butter: Adds rich flavor and helps sauté vegetables smoothly, choose unsalted for better seasoning control.
Onions: Provides sweet depth and aromatic foundation, select firm and glossy onions without soft spots.
Carrots: Brings vibrant color and natural sweetness, pick bright orange carrots with crisp texture.
Cheese: Adds savory complexity, select sharp cheddar for bold taste.
Tools to Make Cheesy Garlic Biscuits Shine
Large oven-safe skillet: Essential for cooking and baking the entire dish.
Mixing bowl: Perfect for preparing the biscuit topping.
Whisk: Crucial for smoothly blending liquids and creating a creamy sauce.
Measuring cups and spoons: Needed for accurate ingredient measurements.
Wooden spoon or spatula: Great for stirring vegetables and mixing ingredients.
Chef’s knife: Handy for chopping onions, carrots, and parsley.
Pastry brush: Useful for applying garlic butter to baked biscuits.
How to Build a Skillet Pot Pie Step-by-Step
Skillet Preparation Preheat oven to toasty 400℉ and position rack near the top for golden goodness.
Veggie Dance Warm butter in a large skillet and gently sauté onions and carrots until they start whispering softness. Toss in garlic for an extra flavor punch.
Magical Thickening Dust vegetables with flour, creating a delicate blanket that will transform your sauce into creamy wonderland.
Liquid Symphony Slowly pour chicken broth and cream, whisking until the mixture becomes smooth and starts bubbling with deliciousness.
Flavor Fusion Stir in tender chicken pieces, seasoning, and frozen peas. Let the ingredients mingle and create a harmonious filling.
Biscuit Magic Mix baking mix, milk, cheese, and garlic for a dreamy topping. Dollop biscuit mixture across the skillet landscape.
Oven Transformation Bake until biscuits turn golden and filling becomes bubbly and irresistible. Brush with garlic butter and sprinkle parsley for a final flourish.
Flavor Swaps for Biscuits or the Filling
Replace chicken with turkey, ham, or plant-based alternatives like tofu for a personalized twist on the classic pot pie.
Prepare the filling and biscuit mixture separately up to 24 hours in advance, storing them refrigerated and combining just before baking for convenient meal planning.
Customize the veggie mix by adding diced celery, bell peppers, or mushrooms to enhance nutritional content and introduce additional flavor layers.
Experiment with different cheese varieties like sharp cheddar, gruyère, or pepper jack to create unique biscuit toppings that complement the creamy filling.
Use gluten-free baking mix and flour alternatives to make this comforting dish accessible for individuals with dietary restrictions while maintaining delicious taste and texture.
Serving Skillet Chicken Pie Fresh from the Oven
Pair with Fresh Salad: Serve alongside a crisp green salad with light vinaigrette to balance the rich, creamy chicken pot pie. The fresh, tangy greens will complement the hearty skillet dish perfectly.
Explore Wine Pairings: Choose a medium-bodied white wine like Chardonnay or Pinot Grigio to enhance the dish’s creamy texture and savory chicken flavors. The wine’s subtle notes will elevate the entire dining experience.
Create Family-Style Presentation: Bring the skillet directly to the table for a rustic, inviting meal that encourages sharing and conversation. This approach makes dinner feel warm, casual, and interactive for everyone gathered.
Sprinkle Fresh Herbs: Garnish with additional chopped parsley or chives just before serving to add a burst of color and fresh herbaceous flavor. These bright green herbs will make the dish look more appealing and add a subtle aromatic touch.
Planning Ahead fors the Right Way
Refrigerate Wisely: Store leftovers in an airtight container within 2 hours of cooking. Consume refrigerated pot pie within 3-4 days for optimal taste and safety.
Freeze for Future Meals: Transfer cooled pot pie to a freezer-safe dish. Wrap tightly with plastic wrap and aluminum foil. Frozen pot pie maintains quality for up to 2 months.
Reheat with Care: Thaw overnight in the refrigerator. Warm in the oven at 350℉ for 20-25 minutes, covering with foil to prevent biscuits from burning. Add a splash of chicken broth to restore moisture.
Portion and Pack: Divide into individual servings before storing. Use glass containers with tight-fitting lids to keep biscuits crisp and filling fresh. Label with the date to track freshness.
Homemade skillet chicken pot pie with cheesy garlic biscuits delivers comfort and warmth in one hearty meal. Savory chicken, creamy sauce, and golden biscuit topping create a perfect dinner experience you’ll want to savor again and again.
Ingredients
Scale
3 cups rotisserie chicken, diced
1 cup peas, frozen
¾ cup onion, finely diced
1 cup carrots, diced small
3 cups chicken broth, low-sodium
½ cup heavy cream
⅓ cup flour
3 tbsps butter
⅔ cup milk
2 cloves garlic, minced
1 tsp chicken bouillon
½ tsp poultry seasoning
½ tsp kosher salt
¼ tsp black pepper
2 cups baking mix (Bisquick recommended)
1 tbsp vegetable oil
¾ cup cheddar cheese, shredded
¼ tsp garlic powder
2 tbsps butter, melted
Fresh parsley, for garnish
Instructions
Preparation: Position oven rack in upper third position and preheat to 400°F (204°C), ensuring optimal cooking environment.
Vegetable Foundation: In a large oven-safe skillet, melt butter over medium-low heat, then sauté onions and carrots until slightly translucent, approximately 5 minutes.
Aromatic Enhancement: Introduce minced garlic and cook for 2 minutes, releasing rich, fragrant notes throughout the skillet.
Roux Development: Sprinkle flour over vegetables, stirring consistently to eliminate raw taste and create a smooth, thickening base for the sauce.
Liquid Integration: Gradually whisk in chicken broth and heavy cream, generating a velvety sauce that simmers and thickens, creating a luxurious filling texture.
Flavor Layering: Incorporate cooked chicken, bouillon granules, poultry seasoning, salt, and black pepper, carefully balancing seasonings to elevate the dish’s complexity.
Vegetable Incorporation: Fold frozen green peas into the mixture, then remove skillet from heat source.
Biscuit Preparation: In a separate bowl, blend baking mix, milk, vegetable oil, shredded cheese, and half the garlic powder to form a cohesive biscuit dough.
Assembly and Baking: Distribute biscuit mixture evenly over chicken filling, creating approximately 9 biscuits, then transfer skillet to preheated oven and bake for 20 minutes until biscuits turn golden and filling becomes effervescent.
Finishing Touch: Combine melted unsalted butter with remaining garlic powder, brushing warm biscuits and garnishing with chopped parsley to enhance visual appeal and flavor complexity.
Notes
Prevent Lumpy Sauce: Whisk broth and cream gradually and consistently to create a smooth, velvety texture without unwanted flour clumps.
Boost Flavor Depth: Toast flour briefly before adding liquids to eliminate raw taste and develop a rich, nutty undertone in the sauce.
Biscuit Placement Tip: Space biscuit dough evenly across the skillet to ensure uniform cooking and attractive golden-brown appearance.
Garlic Butter Finish: Brush warm biscuits immediately after baking to lock in moisture and enhance the overall aromatic experience.
The French Culinary Institute (now part of the International Culinary Center)
Program: Classic Culinary Arts
Focus: An intensive curriculum rooted in classical French techniques, artisanal bread production, and contemporary culinary methods.
Michael Rivera is a seasoned chef and culinary instructor based in San Francisco, CA. Trained in Classic Culinary Arts at The French Culinary Institute, he refined his skills in Michelin-starred kitchens, mastering classic French techniques and artisanal bread baking.
Passionate about making gourmet methods accessible, Michael co-founded thatsmyhome.com to share his expertise through interactive online lessons and innovative, plant-based recipes. He loves blending traditional techniques with modern ideas, encouraging home cooks to enjoy the art of cooking in a relaxed, fun environment.

Michael Rivera
Co-Founder & Culinary Instructor
Expertise
Education
The French Culinary Institute (now part of the International Culinary Center)
Michael Rivera is a seasoned chef and culinary instructor based in San Francisco, CA. Trained in Classic Culinary Arts at The French Culinary Institute, he refined his skills in Michelin-starred kitchens, mastering classic French techniques and artisanal bread baking.
Passionate about making gourmet methods accessible, Michael co-founded thatsmyhome.com to share his expertise through interactive online lessons and innovative, plant-based recipes. He loves blending traditional techniques with modern ideas, encouraging home cooks to enjoy the art of cooking in a relaxed, fun environment.