
Dreamy Coconut Paradise Cake Recipe for Sweet Escapades
Dessert lovers rejoice as we dive into a tropical coconut paradise cake that promises to whisk you away to a sun-soaked beach with every delectable bite.
This heavenly creation blends rich, creamy coconut flavors into a moist and decadent cake that melts in your mouth.
Layers of soft, pillowy sponge infused with coconut milk create a dreamy texture that’s both light and indulgent.
Each slice bursts with tropical essence, making it the perfect sweet escape for coconut enthusiasts.
The carefully balanced ingredients transform simple baking into a culinary masterpiece that’s sure to impress.
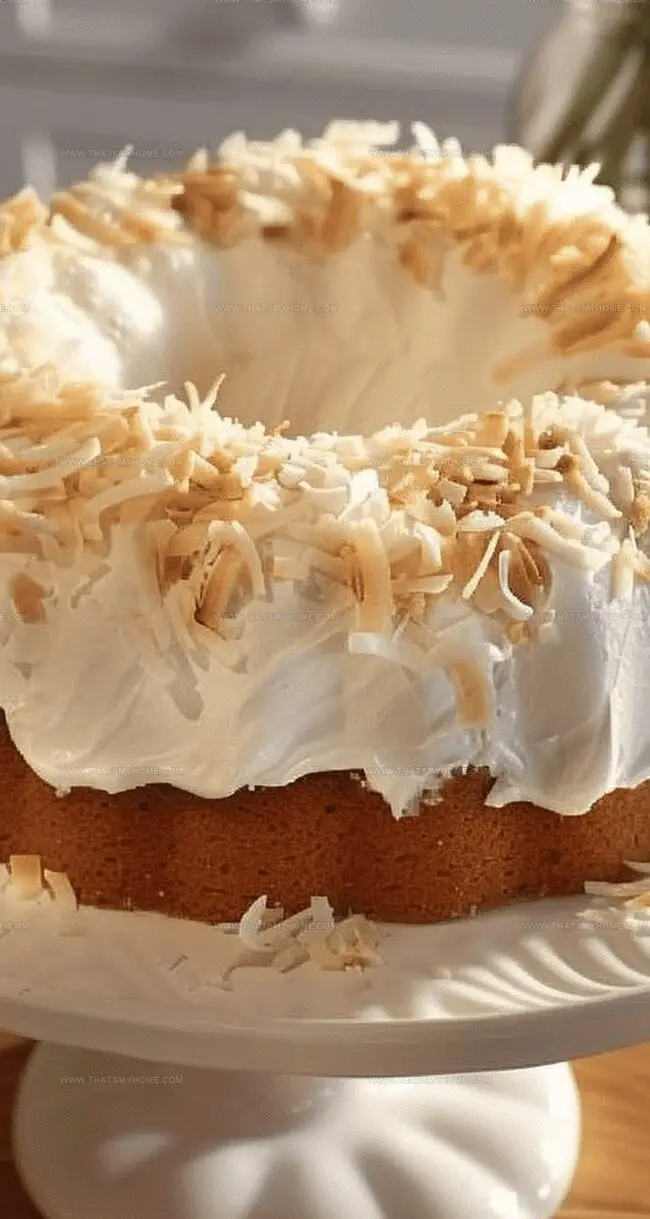
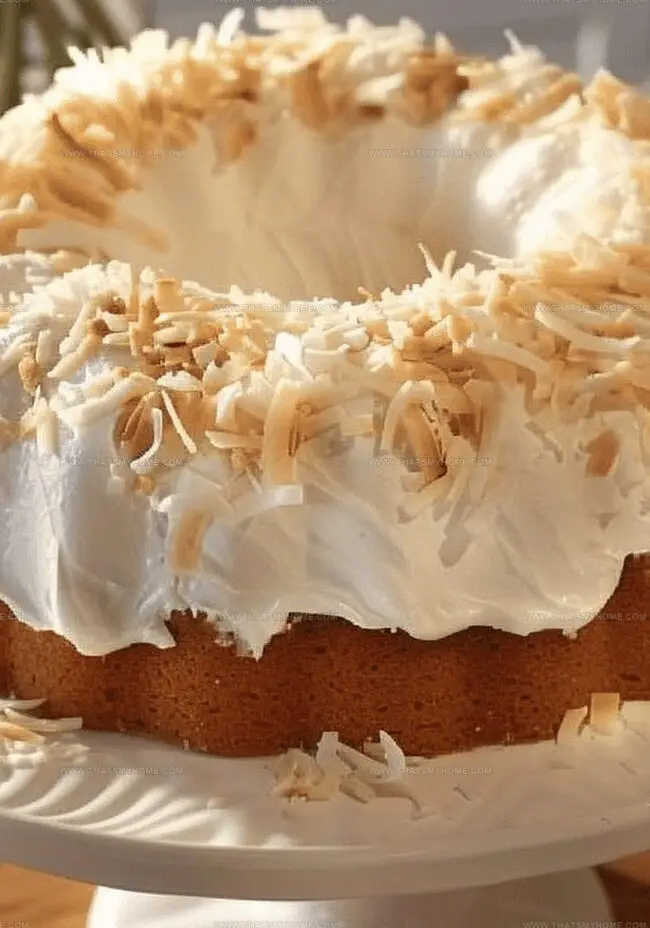
Creamy frosting and toasted coconut flakes add a delightful crunch and visual appeal that’ll have everyone asking for seconds.
Get ready to embark on a delicious journey that’ll transport your taste buds to a tropical paradise.
Quick Recipe Overview
Coconut Paradise Cake: Ingredients to Get
For Cake Base:For Flavor Enhancers:For Topping and Decoration:Tools Checklist for Coconut Paradise Cake
Bake Your Coconut Paradise Cake This Way
Combine yellow cake mix with creamy ingredients like eggs, sour cream, and coconut extract. Blend everything smoothly in a large mixing bowl until the batter looks silky and consistent.
Grease a classic bundt pan and pour the luscious batter inside. Slide the pan into a preheated oven at moderate temperature. Bake until the cake turns a gorgeous golden color and passes the toothpick test.
Remove the cake from the oven and let it rest inside the pan for a few minutes. Gently transfer the cake onto a serving plate, allowing it to cool completely before adding the final touches.
Whip together cool whip and coconut pudding mix until the texture becomes light and fluffy. Chill the topping briefly to help it set perfectly.
Carefully spread the creamy topping across the cake’s surface. Shower the entire cake with generous handfuls of sweet shredded coconut, creating a stunning tropical masterpiece that looks as amazing as it tastes.
Coconut Cake Variations Worth Trying
Serving Coconut Paradise Cake at Special Moments
Make-Ahead and Storage Notes for Coconut Paradise Cake
Print
Silky Coconut Paradise Cake Recipe
- Total Time: 1 hour 5 minutes
- Yield: 13 1x
Description
Coconut paradise cake blends tropical flavors from Caribbean kitchens with rich, creamy textures. Sweet layers promise a delightful escape for dessert enthusiasts seeking luxurious island-inspired indulgence.
Ingredients
- 1 yellow cake mix
- 4 eggs
- ½ cup (120 ml / 4 fl oz) vegetable or canola oil
- 1 box instant coconut cream pudding mix
- ¾ cup (180 ml / 6 fl oz) sour cream
- ⅔ cup (160 ml / 5.4 fl oz) water
- 1 tsp coconut extract
- 1 large container cool whip topping, thawed
- ½ package instant coconut cream pudding mix
- ¾ cup (65 g / 2.3 oz) sweetened shredded coconut
Instructions
- Prep Station: Preheat oven to 350°F (175°C) and meticulously grease a bundt pan with non-stick spray or butter to guarantee effortless cake release.
- Batter Creation: In a large mixing bowl, amalgamate yellow cake mix, whole eggs, vegetable oil, sour cream, coconut extract, instant coconut cream pudding mix, and water. Whisk energetically until achieving a luxuriously smooth, lump-free consistency.
- Baking Process: Pour the velvety batter into the prepared bundt pan, using a spatula to level the surface and eliminate potential air bubbles. Slide the pan into the preheated oven and bake for 40-45 minutes, verifying doneness by inserting a toothpick that emerges clean.
- Cooling Technique: Immediately after baking, let the cake rest in the pan for 5 minutes. Carefully invert onto a serving plate, gently coaxing the cake free. Allow the cake to cool completely at room temperature for approximately one hour.
- Topping Transformation: Blend thawed whipped topping with half a package of instant coconut cream pudding mix until achieving a light, airy texture. Chill the mixture for 10 minutes to enhance spreadability.
- Final Flourish: Once the cake has cooled, lavishly spread the chilled topping across the entire surface. Conclude by generously showering sweetened shredded coconut over the cake, creating a tropical masterpiece that promises a paradise of flavor and visual delight.
Notes
- Prevent Cake Sticking: Generously grease the bundt pan with non-stick spray or butter to ensure easy cake removal without breaking.
- Achieve Smooth Batter: Whisk ingredients thoroughly to eliminate lumps, creating a silky, uniform mixture that guarantees a perfect cake texture.
- Master Baking Precision: Use the toothpick test to confirm doneness – a clean toothpick means the cake is perfectly baked, avoiding undercooking or overbaking.
- Optimize Frosting Technique: Chill the topping briefly before spreading to create a smooth, manageable layer that enhances the cake’s tropical appearance.
- Prep Time: 20 minutes
- Cook Time: 45 minutes
- Category: Desserts
- Method: Baking
- Cuisine: American
Nutrition
- Serving Size: 13
- Calories: 380
- Sugar: 22 g
- Sodium: 310 mg
- Fat: 18 g
- Saturated Fat: 10 g
- Unsaturated Fat: 8 g
- Trans Fat: 0 g
- Carbohydrates: 52 g
- Fiber: 1 g
- Protein: 4 g
- Cholesterol: 70 mg
Michael Rivera
Co-Founder & Culinary Instructor
Expertise
Education
The French Culinary Institute (now part of the International Culinary Center)
Michael Rivera is a seasoned chef and culinary instructor based in San Francisco, CA. Trained in Classic Culinary Arts at The French Culinary Institute, he refined his skills in Michelin-starred kitchens, mastering classic French techniques and artisanal bread baking.
Passionate about making gourmet methods accessible, Michael co-founded thatsmyhome.com to share his expertise through interactive online lessons and innovative, plant-based recipes. He loves blending traditional techniques with modern ideas, encouraging home cooks to enjoy the art of cooking in a relaxed, fun environment.