Dreamy Apple Pie Ice Cream Recipe

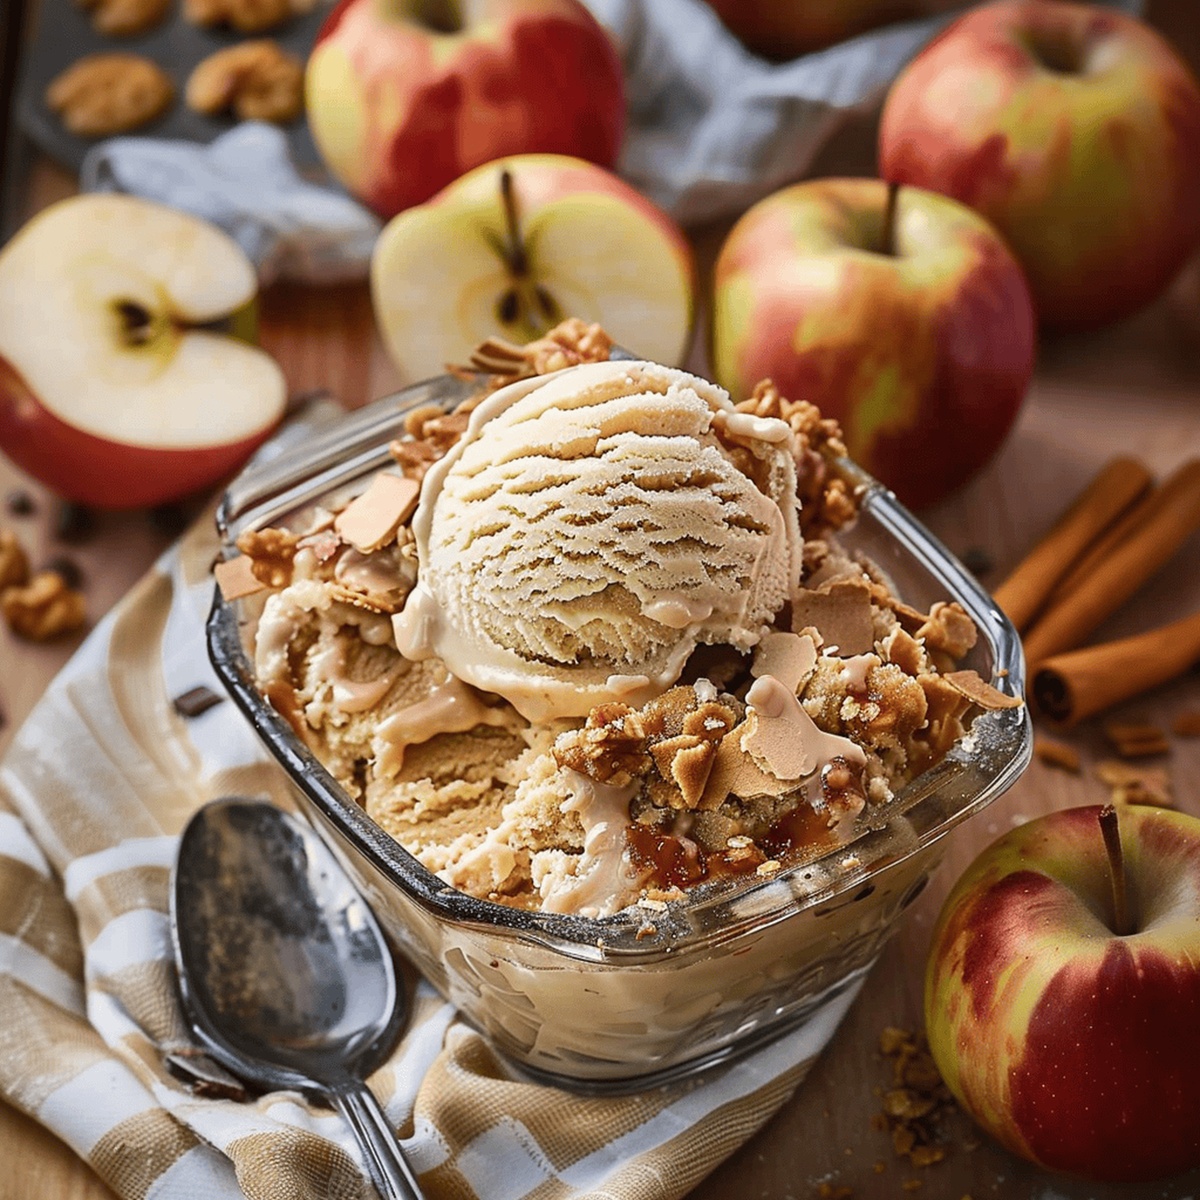
Cinnamon-Swirled Apple Pie Ice Cream Recipe for Dessert Lovers

Dessert lovers swoon over this heavenly apple pie ice cream that blends the classic comfort of warm, spiced pastry with a cool, creamy twist.

Rich, velvety vanilla serves as the perfect canvas for generously folded chunks of cinnamon-laced apple pie filling.

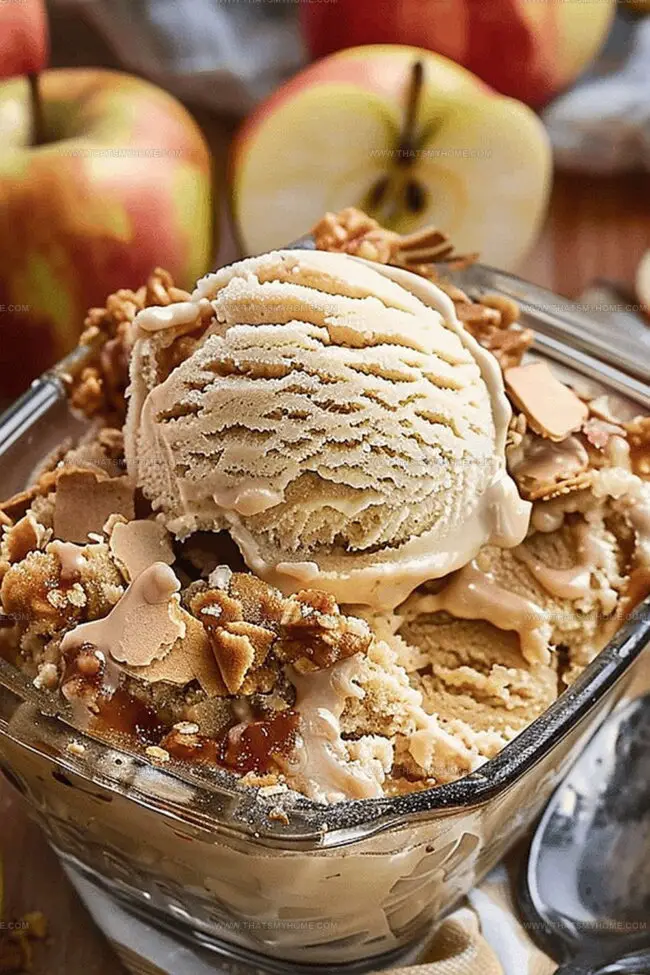
Every spoonful delivers a delightful contrast between smooth ice cream and tender pie pieces that dance across your palate.

Seasonal apples bring a fresh, vibrant essence to this indulgent treat that captures autumn’s essence in a single scoop.

Homemade magic happens when traditional pie flavors merge with the luxurious texture of churned cream.

Crafted with simple ingredients and a touch of culinary creativity, this dessert promises to become your new favorite sweet obsession.

One taste will transport you to a cozy kitchen filled with warm, nostalgic aromas and pure deliciousness.

Quick Recipe Overview

Prep Time: 40 minutes

Cook Time: 45 minutes

Total Time: 1 hour 25 minutes

Calories: 466 kcal

Servings: 9

Apple Pie Ice Cream Ingredient

For Base Ingredients:
  • Cream Cheese: Provides rich, tangy foundation for creamy texture.
  • Condensed Milk: Adds sweetness and helps create smooth, soft ice cream consistency.
  • Vanilla Extract: Enhances overall flavor with warm, aromatic notes.
For Fruit Components:
  • Apples: Choose firm, tart varieties like Granny Smith for balanced sweetness and texture.
  • Brown Sugar: Brings deep caramel undertones and helps soften apple during baking.
  • Cinnamon, Nutmeg, Cloves: Warm spices that complement apple's natural flavor profile.
For Texture and Crunch Elements:
  • Pie Crust: Select butter-based crust for rich, flaky texture.
  • Heavy Cream: Creates airy, light whipped cream base.
  • Granulated Sugar: Essential for creating golden, glossy caramel sauce.
  • Salt: Balances sweetness and enhances overall flavor complexity.

Tools for Creating Ice Cream with a Twist

  • Electric mixer: Essential for beating cream cheese and whipping cream smoothly.
  • Large mixing bowl: Needed for combining apple pie filling ingredients and mixing ice cream base.
  • Spatula: Perfect for folding whipped cream and ingredients gently into the mixture.
  • Saucepan: Used for creating caramel sauce over medium-low heat.
  • 8×8 baking dish: Ideal for roasting apple pie filling in the oven.
  • Baking sheet: Required for baking pie crust crumbles until golden-brown.
  • Parchment paper: Helps prevent crust crumbles from sticking during baking.
  • Whisk: Crucial for whisking caramel sauce and ensuring smooth consistency.
  • Heatproof bowl: Necessary for cooling roasted apple pie filling.
  • Large airtight container: Perfect for freezing and storing the finished ice cream.

Making Apple Pie Ice Cream from Scratch

  • Oven Warmup Location preparation for your delightful dessert journey, heat the oven to a cozy 375 degrees.
  • Apple Magic Transformation toss brown sugar, warm spices, and apples together in a welcoming bowl, coating each slice with sweet potential.
  • Baking Bliss Transfer seasoned apples into a baking dish and let the oven work its transformation for about half an hour until tender and juicy.
  • CaramelAlchemy Create a golden sauce by slowly melting sugar, then introducing cream with swift whisking, transforming simple ingredients into liquid gold.
  • Crispy Crust Creation Break pie crust into playful fragments, baking until perfectly golden and crunchy at 400 degrees.
  • Creamy Base Crafting Whip cream cheese with condensed milk, folding in whipped cream to create a luxurious, silky foundation.
  • Elegant Assembly Gently fold apples and crust pieces into the creamy mixture, drizzling caramel between layers for unexpected bursts of flavor.
  • Freezing Finale Nestle your creation into a freezer-safe container, topping with remaining apple pieces, crust crumbles, and a final caramel dance.

Top Tips & Mix-Ins for a Perfect Scoop

  • Break pie crust into uneven chunks to create delightful textural contrast in every bite.
  • Let caramel sauce cool completely before adding to ice cream to prevent unwanted melting and maintain smooth consistency.
  • Adjust cinnamon, nutmeg, and clove quantities to match your personal flavor preference, creating a signature apple pie ice cream experience.
  • Cover the ice cream container with plastic wrap directly touching the surface to prevent ice crystals and preserve creamy texture.

How to Plate Your Apple Pie Ice Cream

  • Serve Alongside Warm Desserts: Pair this ice cream with a slice of warm apple pie, bread pudding, or a freshly baked cinnamon roll to enhance the cozy, comforting flavors.
  • Garnish with Crunchy Toppings: Sprinkle additional pie crust crumbles, chopped nuts, or a drizzle of caramel sauce on top just before serving to add extra texture and visual appeal.
  • Create Decadent Sundaes: Layer the apple pie ice cream in a tall glass with whipped cream, extra caramel sauce, and a sprinkle of cinnamon for an indulgent dessert experience that feels like a special treat.
  • Enjoy as a Standalone Delight: Scoop this creamy, spiced ice cream into a bowl and savor each bite, letting the rich apple pie flavors and caramel swirls transport you to a cozy autumn afternoon.

Storage Guidelines for Ice Cream Fans

  • Maximize Freshness: Store the apple pie ice cream in an airtight container with a tight-fitting lid to prevent freezer burn and maintain optimal flavor.
  • Quick Freeze Strategy: Place the container at the back of the freezer where temperature remains most consistent, helping preserve the creamy texture and preventing ice crystal formation.
  • Smart Serving Tip: Remove the ice cream from the freezer 5-10 minutes before serving to soften slightly, allowing easier scooping and enhancing the delightful flavor profile.
  • Longevity Hack: Consume the homemade ice cream within 7-10 days for the best taste and texture, as the quality gradually declines with extended freezer storage.
Print
clock clock iconcutlery cutlery iconflag flag iconfolder folder iconinstagram instagram iconpinterest pinterest iconfacebook facebook iconprint print iconsquares squares iconheart heart iconheart solid heart solid icon
Dreamy Apple Pie Ice Cream Recipe

Dreamy Apple Pie Ice Cream Recipe


5 Stars 4 Stars 3 Stars 2 Stars 1 Star

4.7 from 38 reviews

  • Total Time: 1 hour 25 minutes
  • Yield: 9 1x

Description

Sweet homemade apple pie ice cream blends classic dessert flavors into a creamy frozen treat. Cool spices and caramelized apple chunks promise delightful seasonal comfort for home cooks craving nostalgic indulgence.


Ingredients

Scale
  • 3.5 cups / 840 ml apples, peeled and diced
  • 8 oz / 226 g cream cheese, room temperature
  • 14 oz / 397 g sweetened condensed milk
  • 2 cups / 480 ml heavy whipping cream, whipped to stiff peaks
  • 1 9-inch frozen pie crust
  • 1 cup / 200 g granulated sugar
  • ⅔ cup / 160 ml heavy whipping cream, lukewarm
  • 1 tbsp / 15 ml pure vanilla extract
  • 1 tsp vanilla extract
  • ¼ cup / 50 g light brown sugar
  • ½ tsp ground cinnamon
  • ¼ tsp nutmeg
  • ¼ tsp cloves
  • ½ tsp salt
  • 1 pinch kosher salt
  • 1 tsp vanilla extract

Instructions

  1. Spice Preparation: Blend brown sugar, vanilla extract, cinnamon, nutmeg, cloves, and salt in a large mixing bowl to create a fragrant spice mixture.
  2. Apple Roasting: Coat sliced apples in the spice blend, spread evenly in an 8×8 inch baking dish, and roast at 375°F for 30 minutes until tender and juicy.
  3. Caramel Crafting: Melt granulated sugar in a saucepan over medium-low heat, swirling gently. Once golden, whisk in heavy cream, then remove from heat and stir in salt and vanilla extract until smooth.
  4. Pie Crust Transformation: Break pie crust into varied sizes, bake at 400°F for 13-15 minutes until golden-brown, then crush into crumbles while preserving some larger pieces.
  5. Ice Cream Base: Beat cream cheese until smooth, gradually incorporate sweetened condensed milk and vanilla extract. Gently fold in whipped cream to maintain a light texture.
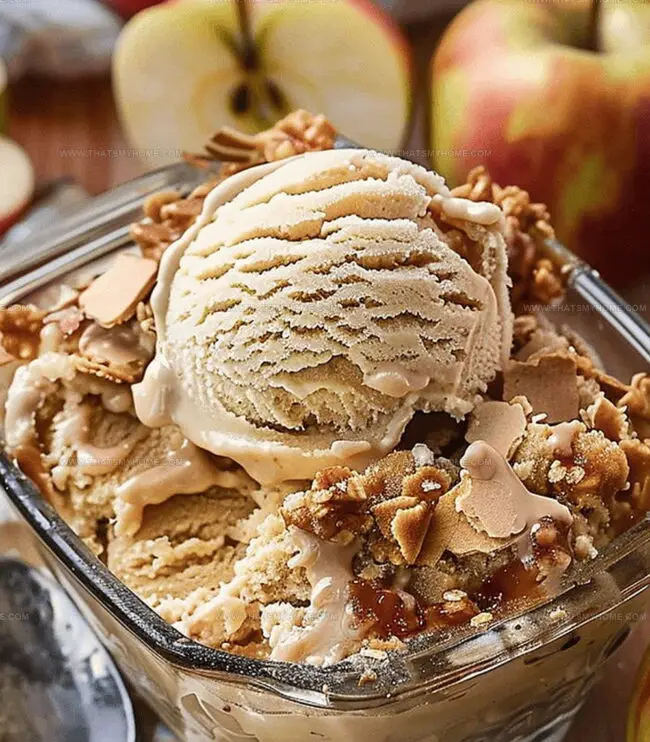
  6. Flavor Layering: Fold roasted apples into the cream cheese mixture, creating a marbled effect. Drizzle cooled caramel sauce and integrate pie crust crumbles.
  7. Freezing and Finishing: Transfer to a freezer-safe container, garnish with remaining apple pieces and crust crumbles, and add a final caramel sauce drizzle.

Notes

  • Roast Apples Carefully: Ensure apples are evenly coated with spices and spread out in the baking dish for consistent caramelization and tender texture.
  • Monitor Caramel Closely: Swirl sugar gently while melting to prevent burning and achieve a smooth, golden color without crystallization.
  • Maintain Texture Variety: Keep some larger pie crust chunks when crushing to provide delightful crispy bites throughout the ice cream.
  • Fold Gently: Use light, minimal mixing techniques when incorporating whipped cream and mix-ins to preserve the ice cream’s airy, creamy consistency.
  • Prep Time: 40 minutes
  • Cook Time: 45 minutes
  • Category: Desserts, Snacks
  • Method: Baking
  • Cuisine: American

Nutrition

  • Serving Size: 9
  • Calories: 466
  • Sugar: 35 g
  • Sodium: 204 mg
  • Fat: 32 g
  • Saturated Fat: 18 g
  • Unsaturated Fat: 14 g
  • Trans Fat: 0 g
  • Carbohydrates: 43 g
  • Fiber: 1 g
  • Protein: 4 g
  • Cholesterol: 78 mg
Michael Rivera

Michael Rivera

Co-Founder & Culinary Instructor

Expertise

  • Classic French Cuisine
  • Artisanal Bread Baking
  • Plant-Based Culinary Innovation
  • Recipe & Menu Development
  • Interactive Online Instruction

Education

The French Culinary Institute (now part of the International Culinary Center)

  • Program: Classic Culinary Arts
  • Focus: An intensive curriculum rooted in classical French techniques, artisanal bread production, and contemporary culinary methods.

Michael Rivera is a seasoned chef and culinary instructor based in San Francisco, CA. Trained in Classic Culinary Arts at The French Culinary Institute, he refined his skills in Michelin-starred kitchens, mastering classic French techniques and artisanal bread baking. 

Passionate about making gourmet methods accessible, Michael co-founded thatsmyhome.com to share his expertise through interactive online lessons and innovative, plant-based recipes. He loves blending traditional techniques with modern ideas, encouraging home cooks to enjoy the art of cooking in a relaxed, fun environment.

Leave a Reply

Your email address will not be published. Required fields are marked *

Recipe rating 5 Stars 4 Stars 3 Stars 2 Stars 1 Star