
Snap-Happy Crispy Rice Squares Recipe for Sweet Smiles
Golden, gooey marshmallows melt into a delightful crispy rice squares recipe that sparks childhood memories.
Sweet nostalgia dances on your taste buds with every bite.
These classic treats require just a few simple ingredients and minimal effort.
Soft marshmallows blend perfectly with crisp rice cereal, creating a texture that’s both chewy and crunchy.
Each square promises a delectable balance of sweetness and crunch that appeals to all ages.
The recipe takes mere minutes to assemble, making it an ideal quick dessert or snack.
You’ll love how these squares bring instant joy to any gathering or quiet moment of indulgence.
Quick Recipe Overview
Building Blocks of Crispy Rice Squares
For Rice Base:For Seasoning Blend:For Frying and Finishing:Equipment Guide for Crispy Rice Squares
Mastering the Method for Crispy Rice Squares
Perfectly clean white rice prepared with meticulous washing technique, creating a smooth base for delicious squares.
Delicate seasoning blend incorporating tangy and sweet elements that transform ordinary rice into a gourmet experience.
Carefully molded rice pressed into precise geometric form, then chilled to develop structural integrity and concentrated flavor profile.
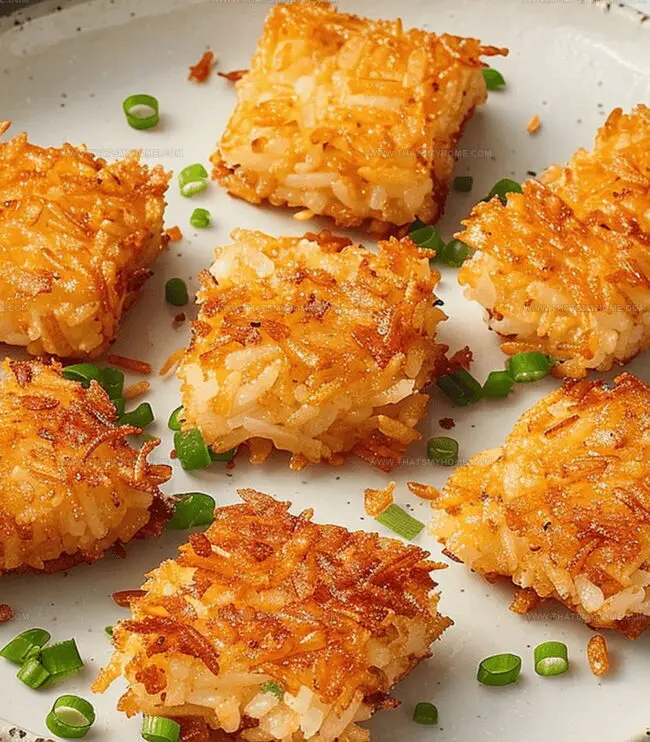
Precise rectangular slices created from solid rice block, ensuring uniform size and elegant presentation.
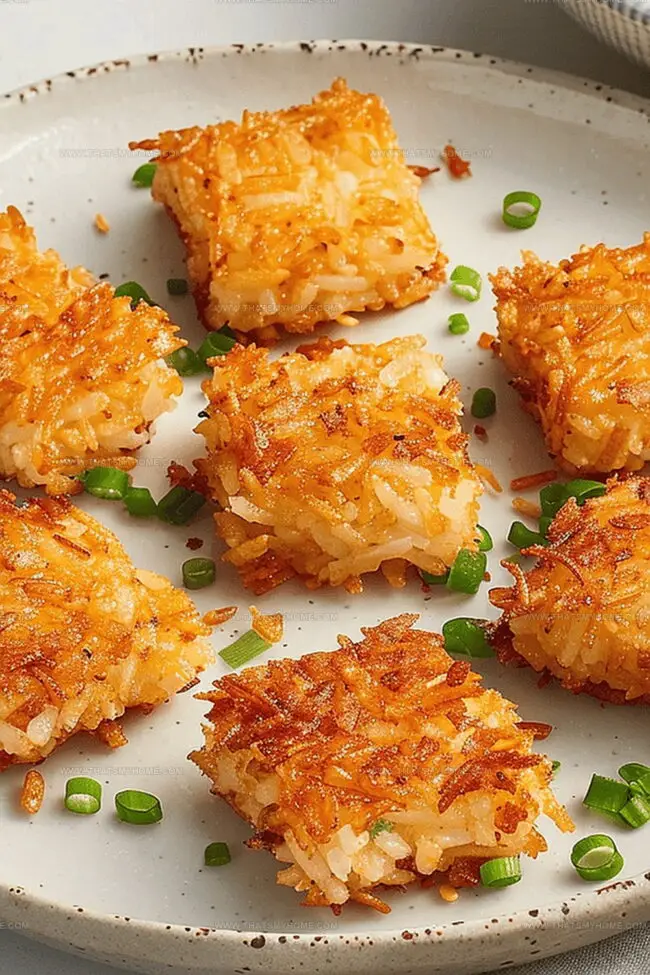
Skillful pan-frying process that delivers crispy exterior with delicate inner texture, developing rich golden-brown coloration through controlled heat application.
Crispy Rice Squares: Helpful Prep Tips & Changes
Plating Crispy Rice Squares
Keeping Crispy Rice Squares Fresh
Print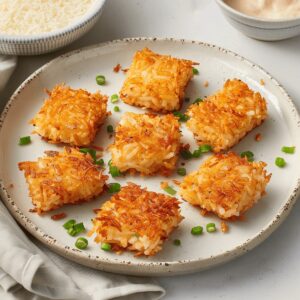
Gooey Rice Squares Recipe
- Total Time: 20 minutes
- Yield: 9 1x
Description
Homemade crispy rice squares combine marshmallow sweetness with nostalgic childhood memories. Classic ingredients blend seamlessly for a quick, delightful treat that satisfies sweet cravings instantly.
Ingredients
- 2 cups water (approx. 470 ml)
- 1.5 cups dry sushi rice (approx. 270 g)
- 1 tsp salt
- 3 tbsps rice vinegar
- 1 tbsp granulated sugar
- 1 tsp toasted sesame oil
Instructions
- Rice Preparation: Meticulously rinse rice multiple times under cool water until liquid runs crystal clear, eliminating excess starch completely.
- Rice Seasoning: Whisk rice vinegar, sugar, salt, and sesame oil in a mixing bowl until sugar dissolves, then gently fold into cooked rice ensuring uniform coating.
- Molding Process: Line a square tray with plastic wrap, transfer seasoned rice, and compress into a compact rectangular block using moistened hands, then refrigerate for minimum 3 hours to solidify.
- Cutting Technique: Extract chilled rice block and slice into uniform bite-sized rectangular pieces, patting with paper towels to absorb surface moisture.
- Frying Method: Heat vegetable oil in a medium skillet over medium-high temperature until shimmering, then carefully place rice pieces with spacing to prevent overcrowding.
- Crispy Transformation: Fry each side for 1-2 minutes until achieving a golden-brown crispy exterior, rotating precisely to ensure even browning.
- Finishing Touch: Transfer fried rice squares onto a wire cooling rack positioned over a lined baking sheet, allowing excess oil to drain while maintaining optimal crispness.
Notes
- Rinse Thoroughly: Remove excess starch by washing rice multiple times to ensure crisp, clean texture and prevent clumping during cooking.
- Precise Chilling: Refrigerate rice block for minimum 3 hours or overnight to guarantee firm structure and easier handling during frying.
- Oil Temperature Control: Heat oil to medium-high, checking for shimmer to achieve perfect golden-brown crispy exterior without burning.
- Moisture Management: Pat rice pieces with paper towels before frying to eliminate surface condensation, ensuring maximum crispiness and preventing oil splatter.
- Prep Time: 5 minutes
- Cook Time: 15 minutes
- Category: Snacks, Desserts
- Method: Frying
- Cuisine: American
Nutrition
- Serving Size: 9
- Calories: 160
- Sugar: 2 g
- Sodium: 230 mg
- Fat: 3 g
- Saturated Fat: 0.5 g
- Unsaturated Fat: 2.5 g
- Trans Fat: 0 g
- Carbohydrates: 34 g
- Fiber: 1 g
- Protein: 3 g
- Cholesterol: 0 mg
Michael Rivera
Co-Founder & Culinary Instructor
Expertise
Education
The French Culinary Institute (now part of the International Culinary Center)
Michael Rivera is a seasoned chef and culinary instructor based in San Francisco, CA. Trained in Classic Culinary Arts at The French Culinary Institute, he refined his skills in Michelin-starred kitchens, mastering classic French techniques and artisanal bread baking.
Passionate about making gourmet methods accessible, Michael co-founded thatsmyhome.com to share his expertise through interactive online lessons and innovative, plant-based recipes. He loves blending traditional techniques with modern ideas, encouraging home cooks to enjoy the art of cooking in a relaxed, fun environment.