Ketchup: Provides sweet-tangy base for glaze and meatloaf moisture, use quality tomato-based brand.
Seasonings: Blend of salt and pepper creates fundamental flavor profile, adjust according to personal preference.
For Glaze:
Ketchup: Continues sweet-tangy foundation for exterior coating.
Additional Seasonings: Completes glaze with balanced flavor intensity.
Equipment for Juicy, Flavorful Meatloaf
Large mixing bowl: Essential for combining all meat and seasoning ingredients thoroughly.
Measuring cups and spoons: Precise for accurate ingredient amounts.
Parchment paper: Prevents sticking and makes cleanup easier.
Baking dish: Perfect for shaping and cooking the meatloaf.
Small bowl: Used for preparing the glaze mixture.
Wooden spoon or spatula: Helps mix ingredients smoothly.
Meat thermometer: Ensures the meatloaf reaches safe internal temperature.
Sharp knife: Needed for slicing the meatloaf after cooking.
Instructions for Meatloaf That’s Never Dry
Kitchen Preparation Warm up your cooking space and gather all your culinary tools for a delightful meatloaf adventure.
Meat Mixture Create a flavor-packed blend by gently combining ground beef with aromatic herbs, zesty garlic, and soft bread crumbs in a spacious mixing bowl.
Flavor Resting Let the meat mixture chill in the refrigerator, allowing the ingredients to mingle and develop deep, rich flavors for about 30 minutes.
Loaf Shaping Carefully sculpt your meat mixture into a rustic, hearty loaf on a parchment-lined baking dish, giving it a beautiful, homemade appearance.
First Bake Slide the meatloaf into a preheated oven and let it roast until it develops a golden exterior and fills the kitchen with mouthwatering aromas.
Glaze Magic Whip up a tantalizing glaze and generously coat the partially cooked meatloaf, transforming it into a show-stopping main course.
Final Bake Crank up the oven temperature for a final sizzle, creating a caramelized exterior that locks in all the incredible flavors.
Resting Period Allow the meatloaf to rest briefly, letting the juices redistribute and ensuring each slice is tender and succulent.
Tweak Your Meatloaf with These Tips
Add ground pork or veal for extra richness and a more complex flavor profile.
Replace traditional breadcrumbs with gluten-free options like almond flour or crushed rice crackers for those with dietary restrictions.
Incorporate diced jalapeños, red pepper flakes, or smoked paprika to give the meatloaf a kick of heat and depth.
Prepare the meatloaf mixture the night before and store it covered in the refrigerator to enhance the melding of flavors and save time during meal preparation.
Serving Ideas for Traditional Meatloaf
Pair with Hearty Sides: Serve the meatloaf alongside creamy mashed potatoes, roasted seasonal vegetables, or a crisp green salad for a complete and satisfying meal.
Create Leftover Magic: Transform cold meatloaf slices into delicious sandwiches the next day, adding fresh lettuce, tomato, and a smear of tangy mustard on crusty bread.
Enhance with Fresh Garnishes: Sprinkle chopped fresh parsley or chives on top of the sliced meatloaf to add a pop of color and a burst of herbal freshness that complements the rich meat flavor.
Make Family Dinner Special: Present the meatloaf on a large serving platter with the sides arranged beautifully, creating a warm and inviting centerpiece that brings everyone together at the table.
How to Store Slices and Keep Them Moist
Refrigerate Smartly: Store leftover meatloaf in an airtight container within two hours of cooking, keeping it fresh in the refrigerator for 3-4 days.
Freeze for Future Meals: Wrap individual slices or the entire meatloaf tightly in plastic wrap and aluminum foil, then place in a freezer-safe container to maintain quality for up to 3 months.
Reheat with Care: Warm refrigerated meatloaf in the oven at 350 degrees for 20-25 minutes, ensuring it reaches an internal temperature of 165 degrees F to guarantee food safety and retain moisture.
Slice and Prep Ahead: Cut cooled meatloaf into portions before storing, making it easier to grab and reheat individual servings for quick and convenient meals throughout the week.
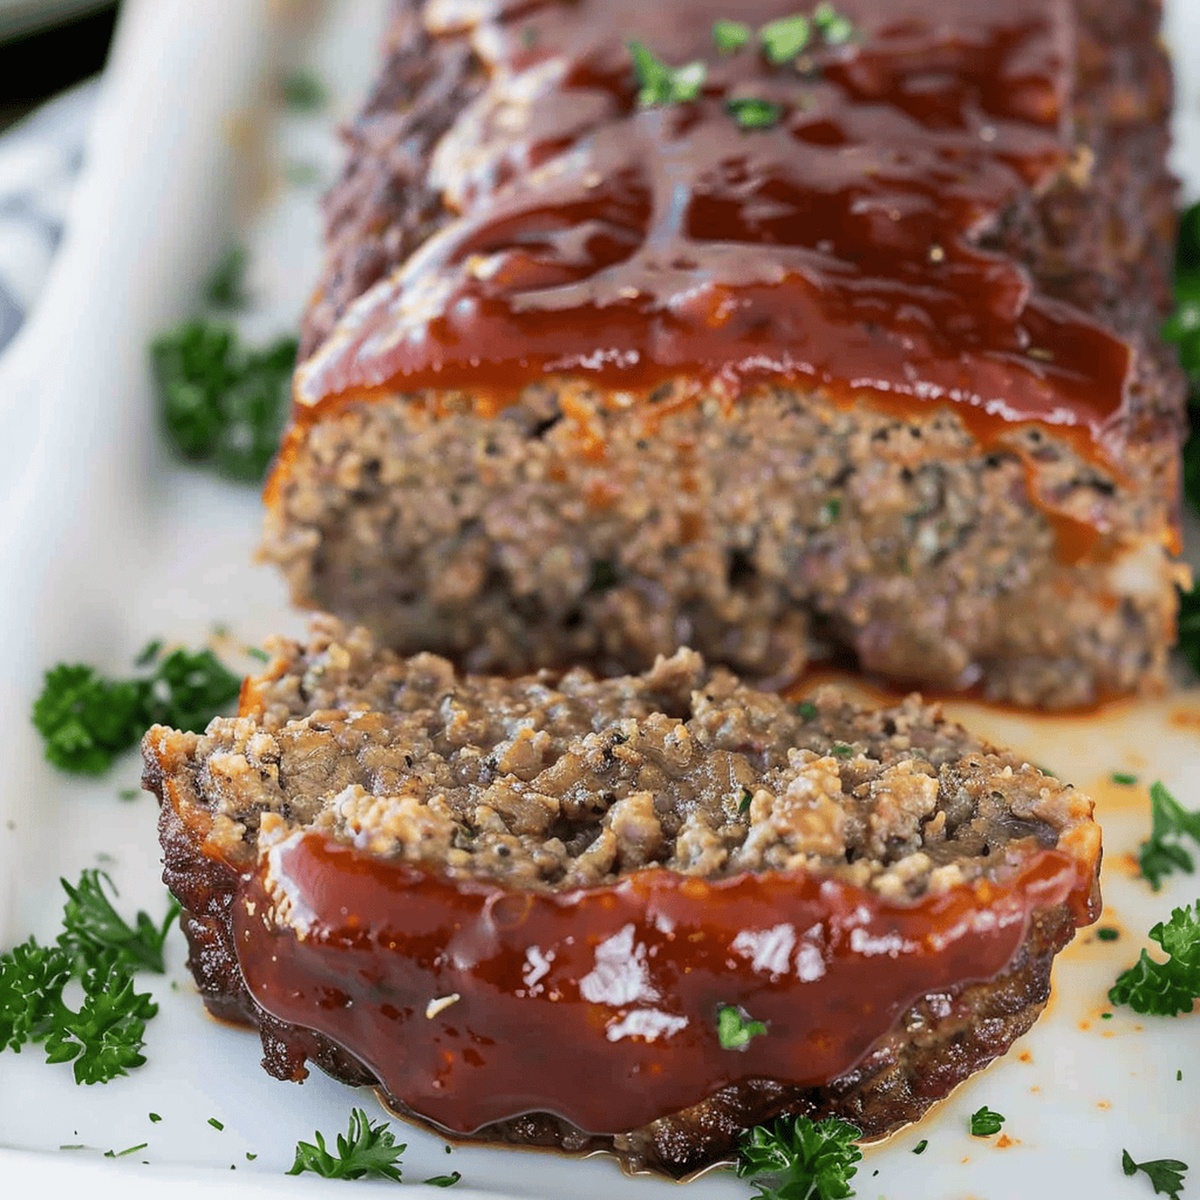
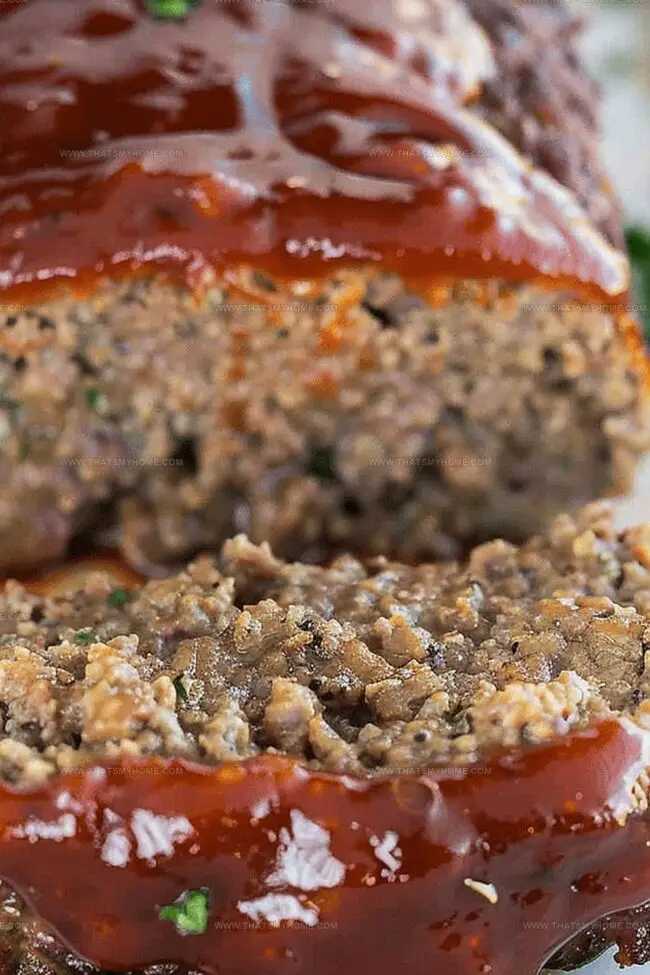
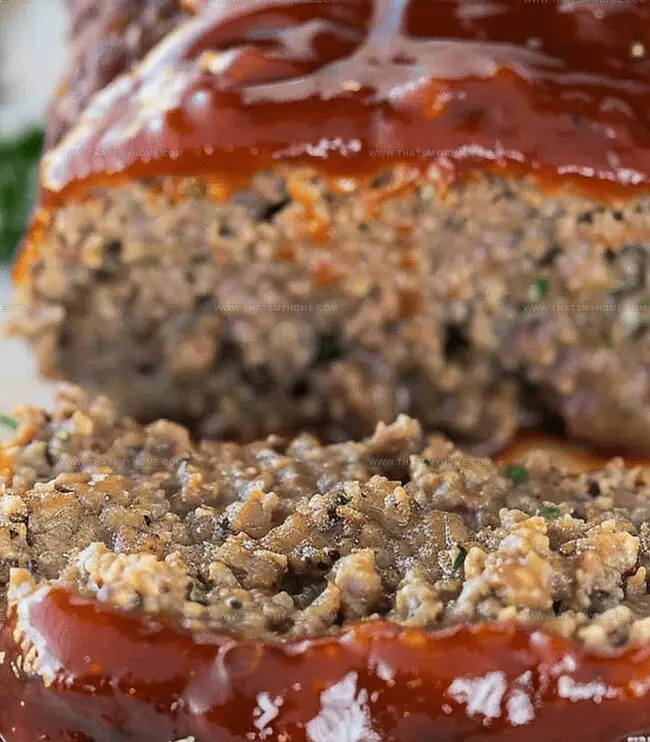
Hearty home-style classic meatloaf recipe brings comfort and nostalgia to family dinner tables. Rich ground beef combined with herbs and spices creates a satisfying main course that welcomes everyone to the table.
Ingredients
Scale
2 lbs (907 g) ground beef (85 – 90% lean)
2 large eggs
1 cup breadcrumbs (plain, panko or seasoned)
1 cup onion, finely diced
2 cloves garlic, minced
⅓ cup milk
¾ cup ketchup
2 tbsps brown sugar
2 tbsps ketchup
2 tbsps Worcestershire sauce
2 tbsps fresh parsley, finely chopped
2 tsps cider vinegar
1 tsp sea salt
1 tsp dried or fresh basil
1 tsp dried or fresh oregano
1 tsp garlic powder
1 tsp onion powder
½ tsp paprika (sweet or smoked)
½ tsp salt
¼ tsp black pepper
¼ tsp black pepper
Instructions
Preparation: Combine ground beef, garlic, onion, breadcrumbs, milk, eggs, ketchup, Worcestershire sauce, salt, and pepper in a large mixing bowl, blending ingredients thoroughly until uniformly mixed.
Chilling Phase: Refrigerate the meat mixture for 30-60 minutes to enhance flavor integration and texture cohesiveness.
Oven Preparation: Preheat oven to 350°F (175°C) and line a baking dish with parchment paper for convenient cleanup.
Shaping: Gently mold the meat mixture into a compact loaf, maintaining a consistent height to ensure uniform cooking, without compressing the meat excessively.
Initial Baking: Place the formed meatloaf in the prepared dish and bake for 45 minutes, allowing the meat to cook through and develop a golden-brown exterior.
Glazing Process: During baking, whisk the glaze ingredients until smooth, then remove the meatloaf and liberally brush the entire surface with the prepared mixture.
Final Roasting: Increase oven temperature to 400°F (200°C) and continue baking for an additional 15 minutes, or until the internal temperature reaches 165°F (74°C) when verified with a meat thermometer.
Resting and Serving: Allow the meatloaf to rest 5-7 minutes after removing from the oven, enabling juice redistribution, then slice into even portions and serve with complementary side dishes.
Notes
Chill for Flavor: Refrigerating the meat mixture helps ingredients blend and creates a more tender, cohesive texture.
Handle with Care: Mix ingredients gently and avoid overworking the meat to prevent a tough, dense meatloaf.
Temperature Perfection: Use a meat thermometer to ensure the internal temperature reaches 165°F for safe, juicy results.
Resting is Key: Allow the meatloaf to rest after baking, letting juices redistribute for maximum tenderness and flavor.
The French Culinary Institute (now part of the International Culinary Center)
Program: Classic Culinary Arts
Focus: An intensive curriculum rooted in classical French techniques, artisanal bread production, and contemporary culinary methods.
Michael Rivera is a seasoned chef and culinary instructor based in San Francisco, CA. Trained in Classic Culinary Arts at The French Culinary Institute, he refined his skills in Michelin-starred kitchens, mastering classic French techniques and artisanal bread baking.
Passionate about making gourmet methods accessible, Michael co-founded thatsmyhome.com to share his expertise through interactive online lessons and innovative, plant-based recipes. He loves blending traditional techniques with modern ideas, encouraging home cooks to enjoy the art of cooking in a relaxed, fun environment.

Michael Rivera
Co-Founder & Culinary Instructor
Expertise
Education
The French Culinary Institute (now part of the International Culinary Center)
Michael Rivera is a seasoned chef and culinary instructor based in San Francisco, CA. Trained in Classic Culinary Arts at The French Culinary Institute, he refined his skills in Michelin-starred kitchens, mastering classic French techniques and artisanal bread baking.
Passionate about making gourmet methods accessible, Michael co-founded thatsmyhome.com to share his expertise through interactive online lessons and innovative, plant-based recipes. He loves blending traditional techniques with modern ideas, encouraging home cooks to enjoy the art of cooking in a relaxed, fun environment.