Dreamy Peanut Butter Chocolate Layer Cake Recipe for Treats
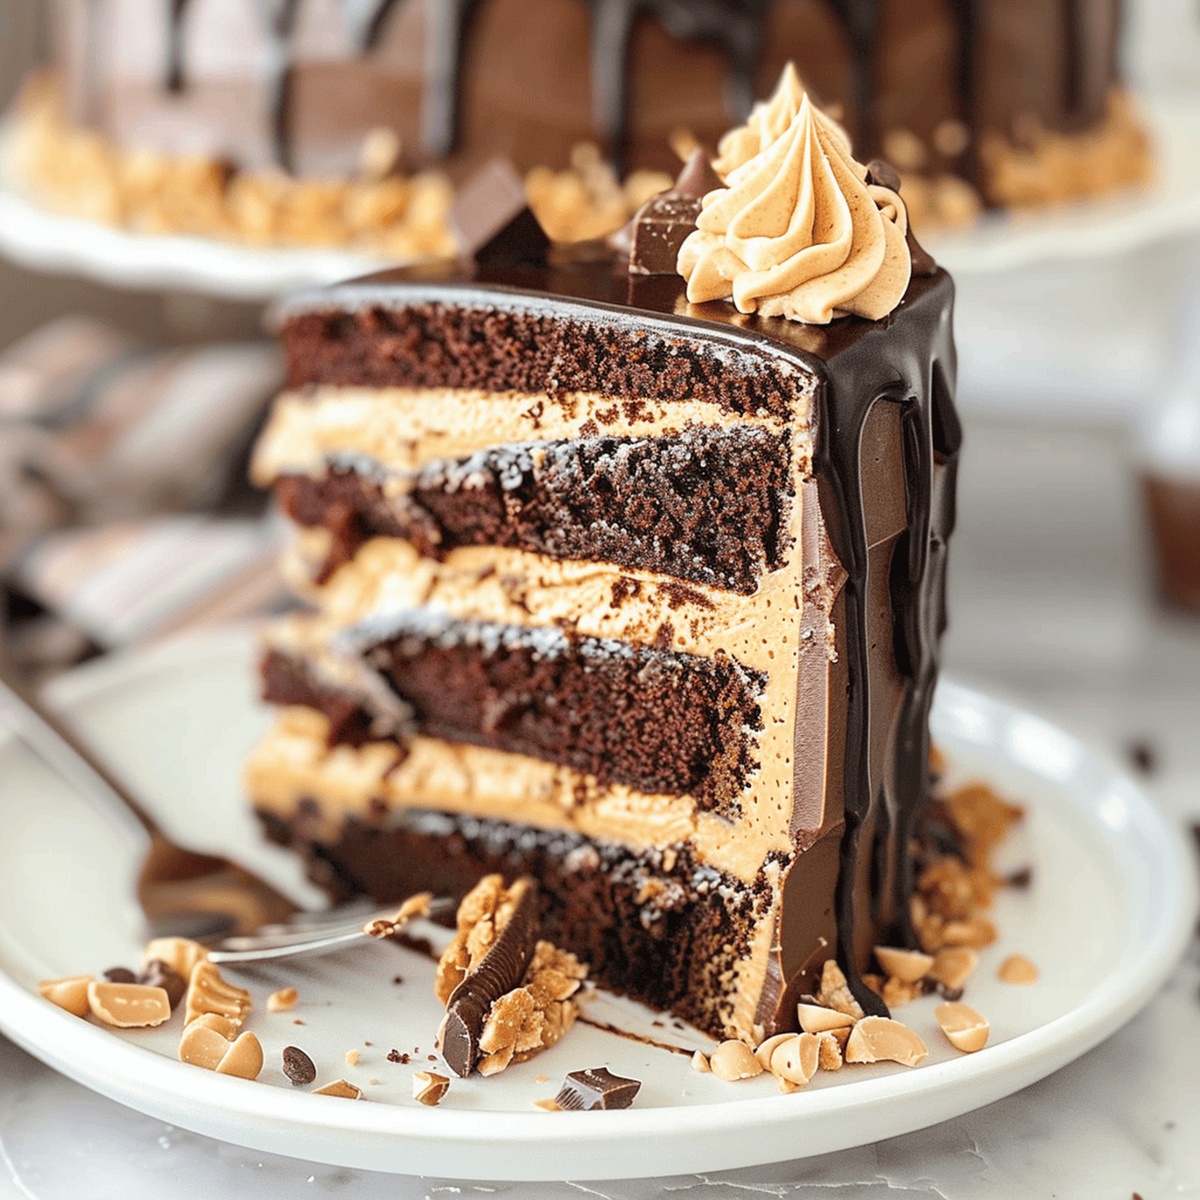
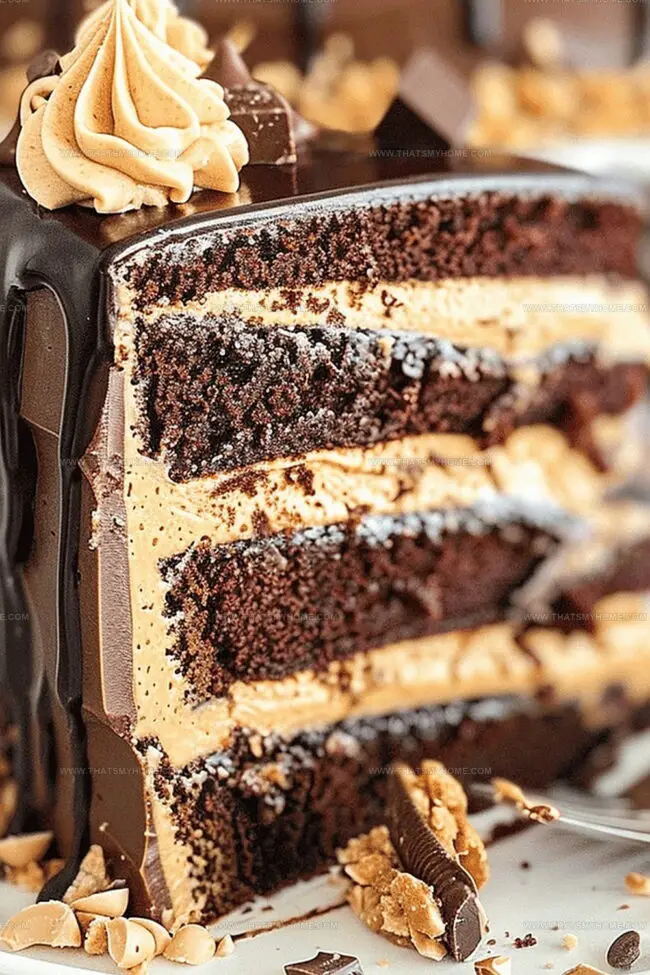
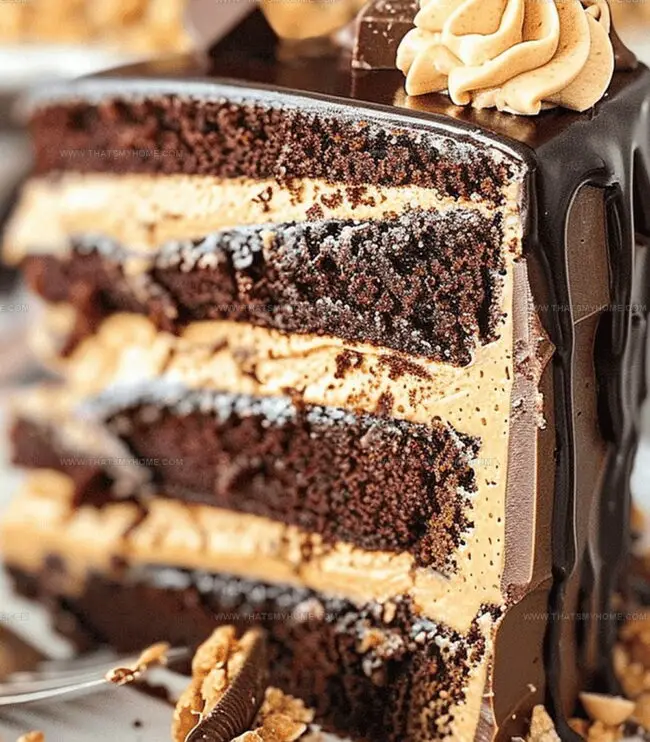
Decadent layers of rich chocolate and creamy peanut butter chocolate layer cake dance together in a dessert that promises pure indulgence.
chocolate lovers and peanut butter enthusiasts unite over this irresistible treat.
Each slice delivers a symphony of flavors that melts effortlessly on your tongue.
The combination strikes a perfect balance between deep cocoa notes and nutty smoothness.
Delicate cake layers promise a luxurious experience that feels both comforting and elegant.
Bakers seeking a showstopping dessert will find this recipe a delightful challenge.
Grab your mixing bowl and get ready to create a masterpiece that will have everyone asking for seconds.
Quick Recipe Overview
What You Need to Make Peanut Butter Chocolate Layer Cake
For Cake Base:For Moisture and Binding:For Frosting and Decoration:Tools That Help Bake Peanut Butter Layer Cake Right
Steps for Building a Peanut Butter Chocolate Layer Cake
Grab three 8-inch cake pans and line them with parchment paper. Lightly spray with cooking spray to ensure smooth cake removal.
Mix all dry cake ingredients in a large mixing bowl, creating a rich chocolate foundation for your dessert.
Combine milk, oil, vanilla, and eggs in a separate bowl. Whisk these components until they create a smooth, silky liquid mixture.
Blend wet and dry ingredients together, stirring until everything is perfectly combined. Slowly add hot water to develop a deep, luxurious chocolate flavor.
Pour batter into prepared pans and bake until a toothpick comes out clean. Let cakes cool completely on a wire rack.
Whip butter and peanut butter until light and fluffy. Gradually incorporate powdered sugar to create a smooth, spreadable frosting.
Carefully layer cakes, spreading frosting between each level. Cover the entire cake with remaining frosting for a decadent finish.
Create a glossy ganache by melting chocolate with cream. Pour over the cake, allowing it to cascade down the sides.
Sprinkle crushed peanut butter cups on top for extra crunch and decoration. Chill briefly before serving at room temperature.
Peanut Butter Cake Tips That Change the Game
Serving This Rich Chocolate Layer Cake
How to Store Peanut Butter Chocolate Cake for Later
Print
Velvety Peanut Butter Chocolate Layer Cake Recipe
- Total Time: 1 hour 10 minutes
- Yield: 13 1x
Description
Rich chocolate layers of Peanut Butter Chocolate Layer Cake reveal creamy peanut butter frosting between indulgent dark chocolate sponge. Dessert enthusiasts will savor complex flavors melding smooth chocolate with nutty peanut butter in each delectable slice.
Ingredients
- 2 cups (414g) sugar
- 1 ¾ cups (228g) all-purpose flour
- ¾ cup (85g) natural unsweetened cocoa powder
- 2 ¼ tsp baking soda
- ½ tsp baking powder
- 1 tsp salt
- 2 large eggs
- 1 cup (240 ml) milk
- ½ cup (120 ml) vegetable oil
- 1 ½ tsp vanilla extract
- 1 cup (240 ml) hot water
- 2 cups (448g) salted butter, room temperature
- 1 ¼ cups (350g) peanut butter
- 9 cups (1035g) powdered sugar
- 6–7 tbsps (90–105 ml) water or milk
- 6 Reese’s, chopped
- 6 oz (1 cup) semi-sweet chocolate chips
- ½ cup (120 ml) heavy whipping cream
- 8 Reese’s, cut in half
- Crumbled Reese’s
Instructions
- Preparation: Grease three 8-inch cake pans with non-stick spray and line bottoms with parchment. Heat oven to 350°F.
- Dry Mixture: Combine flour, sugar, cocoa powder, baking soda, baking powder, and salt in a large mixing bowl.
- Wet Ingredients: Whisk milk, vegetable oil, vanilla extract, and eggs in a separate bowl until perfectly blended.
- Batter Creation: Merge wet and dry mixtures, beating until silky smooth. Gently introduce hot water, mixing at low speed to maintain consistent texture.
- Baking Process: Distribute batter evenly across prepared pans, smoothing surfaces with a spatula. Bake for 22-25 minutes until a toothpick emerges clean. Cool completely on a wire rack.
- Frosting Development: Cream butter and peanut butter in a stand mixer until light and airy. Gradually fold in powdered sugar, adjusting consistency with milk or water.
- Cake Assembly: Level cake layers using a serrated knife. Stack layers, spreading peanut butter frosting and sprinkling chopped Reese’s Peanut Butter Cups between each.
- Frosting Technique: Apply a thin crumb coat, refrigerate for 15 minutes, then cover with a final smooth frosting layer.
- Ganache Creation: Heat heavy cream until barely boiling. Pour over chocolate chips, letting sit for 2-3 minutes. Whisk until glossy and smooth.
- Final Touches: Drizzle cooled ganache over frosted cake. Garnish with halved and crumbled Reese’s Peanut Butter Cups. Refrigerate for 30 minutes to set, then serve at room temperature for optimal flavor and texture.
Notes
- Chill Before Frosting: Allow cake layers to cool completely to prevent frosting from melting and ensure a smooth, professional finish.
- Prevent Dry Cake: Do not overmix batter or overbake, as this can lead to a dry, dense texture that ruins the cake’s moisture.
- Smooth Ganache Technique: Let chocolate mixture rest briefly after adding cream to create a silky, glossy chocolate drizzle without lumps.
- Room Temperature Ingredients: Use eggs, milk, and butter at room temperature for better integration and a more consistent cake batter.
- Prep Time: 45 minutes
- Cook Time: 25 minutes
- Category: Desserts
- Method: Baking
- Cuisine: American
Nutrition
- Serving Size: 13
- Calories: 485
- Sugar: 58 g
- Sodium: 367 mg
- Fat: 25 g
- Saturated Fat: 10 g
- Unsaturated Fat: 15 g
- Trans Fat: 0 g
- Carbohydrates: 63 g
- Fiber: 2 g
- Protein: 7 g
- Cholesterol: 40 mg
Michael Rivera
Co-Founder & Culinary Instructor
Expertise
Education
The French Culinary Institute (now part of the International Culinary Center)
Michael Rivera is a seasoned chef and culinary instructor based in San Francisco, CA. Trained in Classic Culinary Arts at The French Culinary Institute, he refined his skills in Michelin-starred kitchens, mastering classic French techniques and artisanal bread baking.
Passionate about making gourmet methods accessible, Michael co-founded thatsmyhome.com to share his expertise through interactive online lessons and innovative, plant-based recipes. He loves blending traditional techniques with modern ideas, encouraging home cooks to enjoy the art of cooking in a relaxed, fun environment.